 I was over at my friend, Crystal’s house a couple weeks ago and in browsing her magazines that she had out on her coffee table, ran across Bon Appetit. I loved the layout of the magazine and it had such beautiful photos! Anyway, I came across a recipe for Peppermint Meringues and thought they looked so pretty and festive and asked Crystal if I could borrow the magazine for the recipe. She ended up finding a link on their website to the same recipe which can be found here.
I was also interested to make these because I figured it’s always nice to have a lower calorie option on your cookie plate! This is a pretty simple ingredient list and doesn’t take too long to whip up (literally), but they take 2 1/2 hours to bake! So, just be warned this isn’t really a last minute thing. (Not that I’m EVER doing anything LAST minute! 😉 ) Meringues have a very light, melt in your mouth, taste, which is a welcomed change after eating tons of fudge and cookies!
Ingredients:
- 3 large egg whites, room temperature
- 1/8 teaspoon salt
- 1/3 cup white sugar
- 1/2 cup powdered sugar
- 1/8 teaspoon peppermint extract (more to taste)
- 12 drops red food coloring
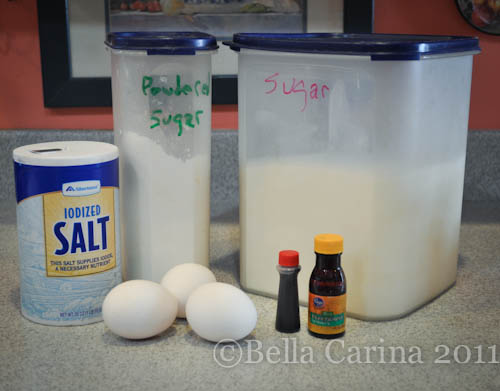 If you are wondering why there is a little change of scenery, it’s because I’m baking at my parents’ house this time!
I love the fact that the baking supplies are labeled with my dad’s chicken scratch writing. Not because my dad is any kind of a baker, but because there was a little beef burgundy mishap several years ago. Prior to this incident, the containers were never labeled because my mom just knew by memory what was in what container. One night, in an attempt to be a good husband and father, my dad made us dinner and used powdered sugar instead of flour! In his defense they do look similar, but after the whole family having a good laugh about our “very sweet” beef burgundy, my dad took a sharpie to the containers and they have been properly labeled (and used) ever since!
Here’s my mom’s 34 year old KitchenAid mixer that’s still kickin’! (You’ll need a whisk attachment for this recipe like the one shown below.)
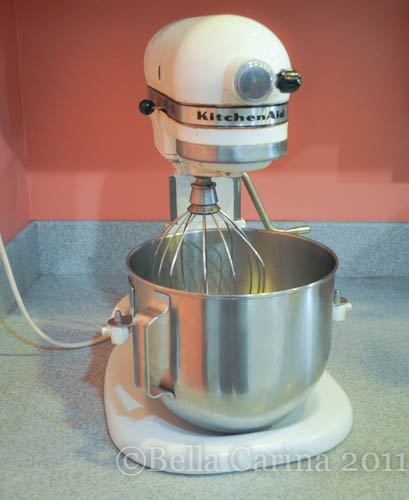 First, preheat your oven to 200 degrees. Yes…only 200 degrees!
To start this recipe, you need to first separate the yolks from the whites of the eggs. I recommend doing each egg in a separate bowl since sometimes there is blood in eggs which is not harmful, but will kinda mess up the look of your meringue! This happened to me while making this recipe and, of course, it was on the third egg! Grrr!
First, crack the egg and then carefully transfer the yolk back and forth between the two sides of the shell.
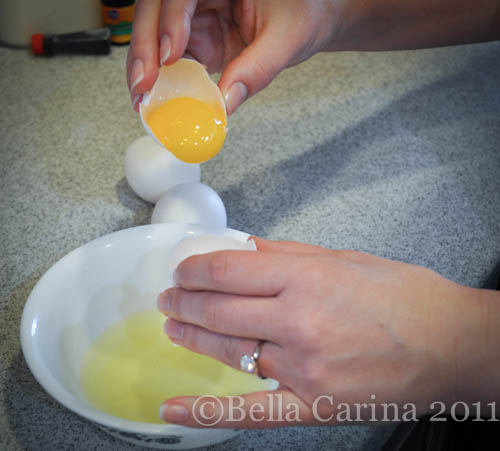 Pinkies out! I have no idea why my pinkie is out like that…maybe it makes separating the whites easier? haha
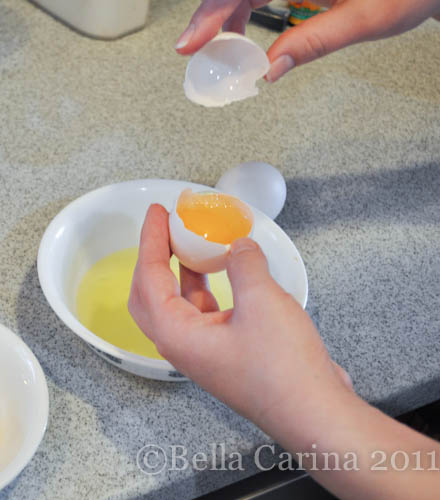 After I separated an egg in one bowl, I would transfer the whites to another bowl when I knew it was blood free. One more tip, my mom said that she uses egg yolk with food coloring to “paint” her sugar cookies, so if you are on a baking spree, use the yolks for that! Or make some Alfredo sauce!
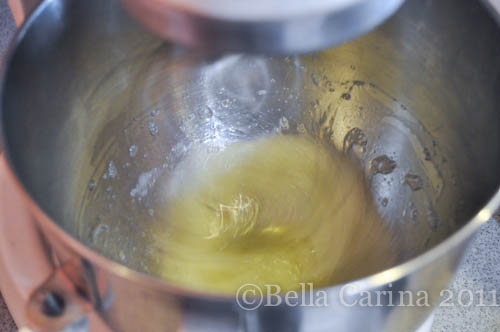
In a stand up mixer with a whisk attachment, whisk the egg whites and salt on medium high until white and foamy.
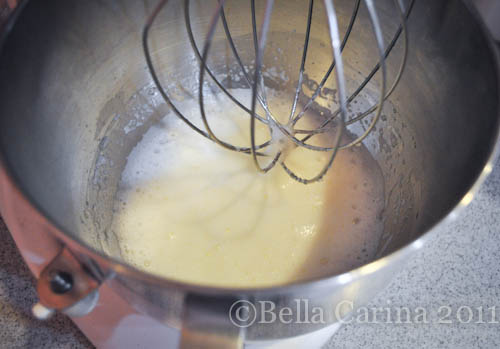 Then, with the mixer running, gradually add the white sugar in 3 different parts. Beat for 2 minutes between each addition.
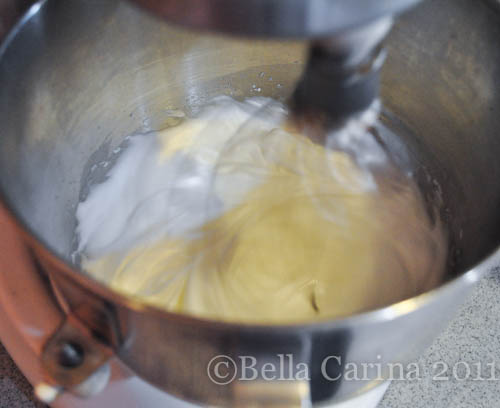 You’ll want to beat it until firm peaks form. For the next step, the recipe says to beat in the powdered sugar and peppermint extract, but my mixture was already really stiff, so I just folded the powdered sugar and extract in with a spatula. You want it to look like this. Can you believe it’s just egg whites and sugar? (Note…1/8 of a teaspoon gives it a very light peppermint flavor, adjust if you would like a stronger taste.)
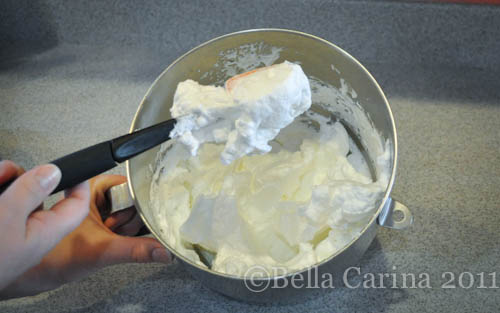 For this next part, you are going to need a pastry bag or a ziplock back with the tip cut off. (See this post on Homemade Oreos to see another example of this easy pastry bag.)
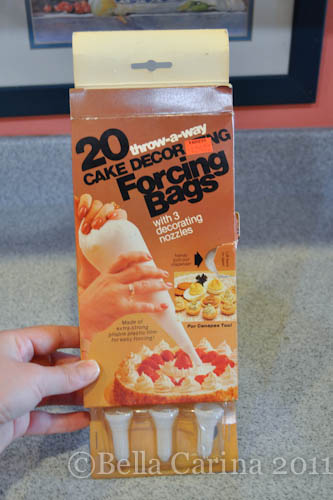
My mom happened to have these way back in one of her cupboards. Totally vintage, but worked perfectly! Oh and I just didn’t use a tip, because you are supposed to use a large round one. They are disposable plastic pastry bags.
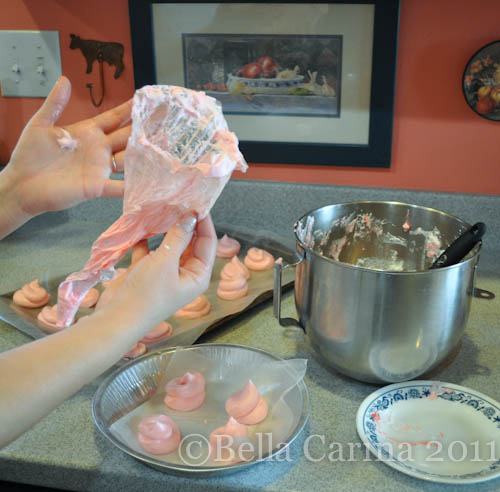
 The recipe says to dot the top of the mixture with 12 drops of red food coloring. (If you are not into food coloring, you can omit this, they will just be snowy white meringues instead of candy cane.) I ended up only using 6 drops total. Now, not all of the mixture will fit into the bag, and what ended up happening with me is the first batch came out cute and striped, but by the end, it had mixed up too much and they came out pink! My suggestion would be to split up the batch and dot the top separately with each batch you do. Here’s what “dotting the top” looks like.
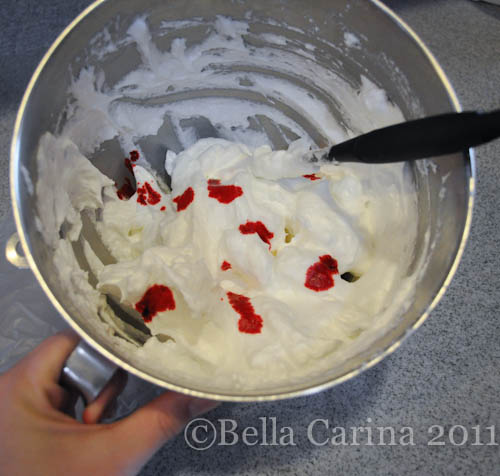 Then, carefully spatula the mixture into a pastry bag, trying not to mix the food coloring in as much as possible.
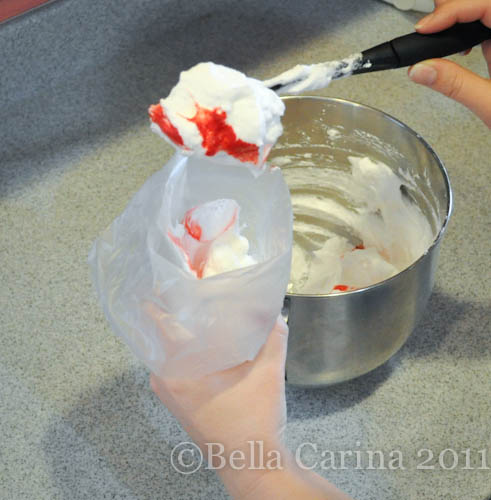
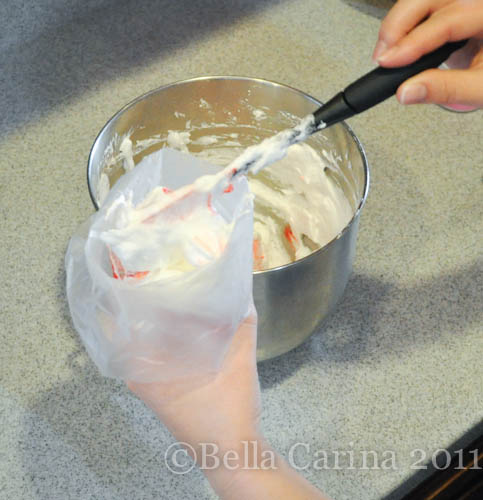 Then pipe round meringues onto a baking sheet lined with parchment paper or a silicone baking sheet. (Note…I ended up using wax paper for my second baking sheet because I didn’t have parchment and it came out fine. The oven isn’t too hot on this one.)
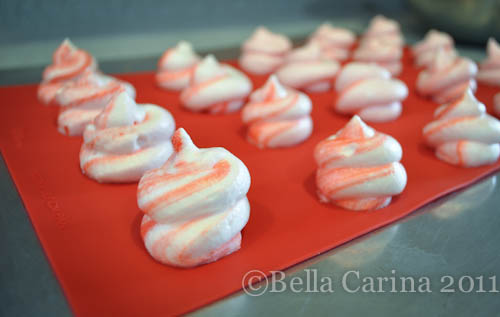
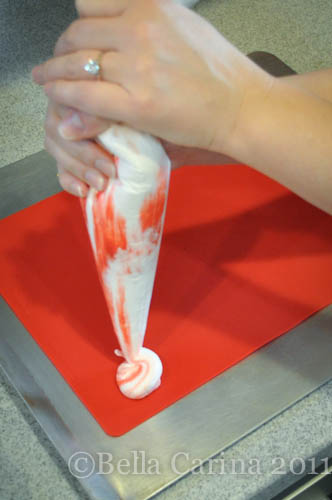 How perfect is my mom’s red silicone mat for this? So festive.
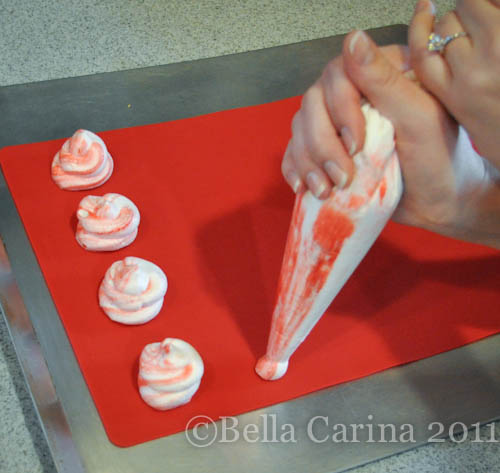 They should be about one inch apart. These don’t spread out in the oven.
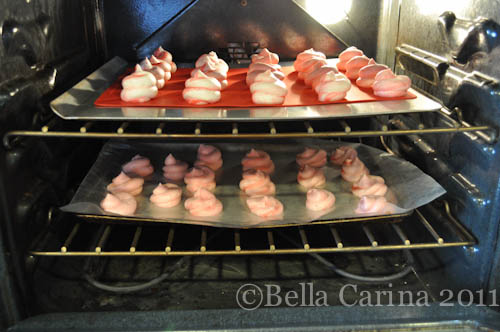
 Once they are all piped, pop them in the oven for 2 1/2 hours…yes, 200 degrees for 2 1/2 hours. You are basically just drying them out.
I kind of made a mess…and this stuff it sticky!
 See how the second tray is pink? Unsat.
 After 2 1/2 hours, take them out and let them set as they cool before touching them. Then they should just pop right off. They are pretty delicate, so be gentle!
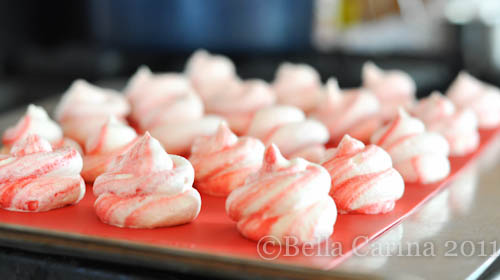
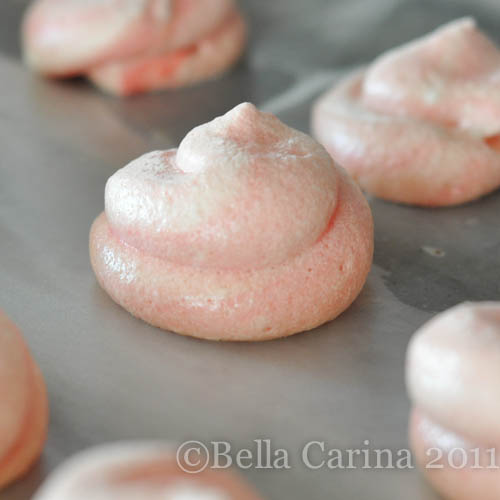 But, here’s a plate of the pretty ones. I love how these just look like Christmas!
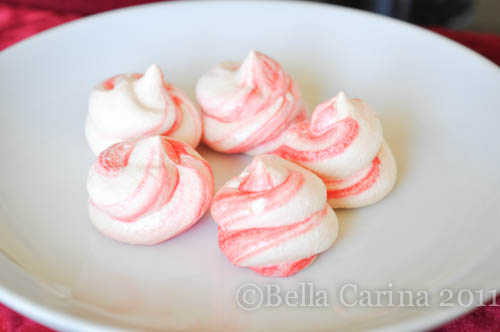 They are just a hint of sweet peppermint that melts in your mouth!
Let me know if you whip a batch of these up!
If you missed the first nine days of Christmas Cookies & Candies here’s some quick links!
- The First Day of Christmas ~ Peanut Butter Blossoms
- The Second Day of Christmas ~ Snowballs
- The Third Day of Christmas ~ Homemade Oreos
- The Fourth Day of Christmas ~ Almond Roca
- The Fifth Day of Christmas ~ Red & Green m&m Cookies
- The Sixth Day of Christmas ~ Salted Caramels
- The Seventh Day of Christmas ~ Easy Chocolate Fudge
- The Eighth Day of Christmas ~ Chocolate Covered Peanut Butter Balls
- The Ninth Day of Christmas ~ Sugar Cookie Disaster

