I’m the type of person that gets on food “kicks.” As in, I’ll eat one type of food for two weeks straight and then not eat it again for a year. My current kick is for artichokes. I grew up eating artichokes on a pretty regular basis and they were never weird to me. I have my parents to thank for exposing me to a wide variety of foods growing up. Now that I’m an adult, I’ve come to realize that not everyone knows how to cook or even eat an artichoke. That, my friends, is a travesty because they are delicious!
This post will show you not only how to cook an artichoke, but also how to eat it, just in case there’s anyone out there that is intimidated by this flower-looking delight. Artichokes are actually pretty easy to cook, but you have to plan ahead. They need about an hour of cook time.
What you will need:
- 2 medium to large artichokes (I make 1 per person for us, but artichokes are very shareable)
- a couple bay leaves, dried
- oregano, dried
- garlic salt
- pepper
- about a tablespoon of lemon juice
- 2 tablespoons extra virgin olive oil
- large pot with a lid
- 3-5 tablespoons butter
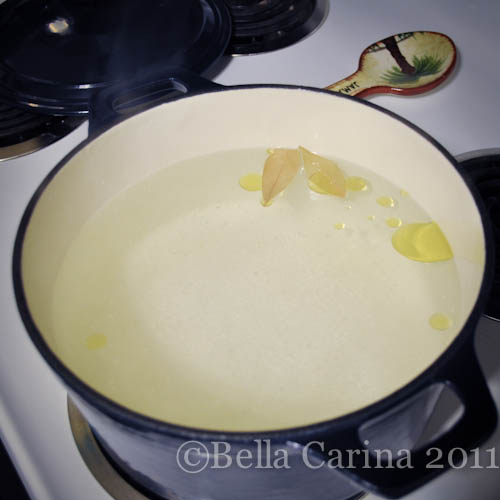
 First, you’re going to want to get your water going so that it’s good and boiling when your artichokes are ready to go in. I fill a large pot almost full of water and add some olive oil, lemon juice, and two bay leaves. I don’t measure the oil and juice, but I would say a tablespoon or two of each. The lemon juice adds a subtle flavor, but it also helps to preserve some of the green color of the artichoke. The bay leaves add amazing flavor. Turn the burner on high to get it to a rolling boil.
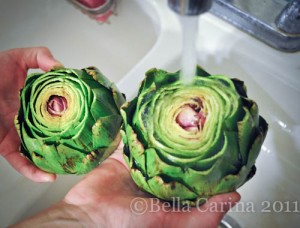
 Next, rinse your artichokes under cold water making sure to get water between all of the leaves (petals?) and remove any stickers that the grocery store may have put on. Turn the artichoke with leaves pointing down to get most of the water out. Then, bring the artichokes over to your cutting board.
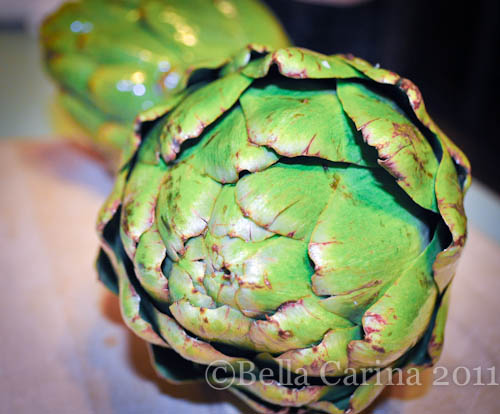 Aren’t they pretty? Usually, you would want your artichoke to be a nice shade of green all over and not have any of those brown marks. But, alas, this is Ohio and the produce is what it is. The taste of the artichoke will not be affected. Also, try to choose one where all the petals are still rather tight to the center.
Use a large knife to cut the stem of the artichoke off. (I discuss my favorite knife in this Easy Chili Recipe post.)
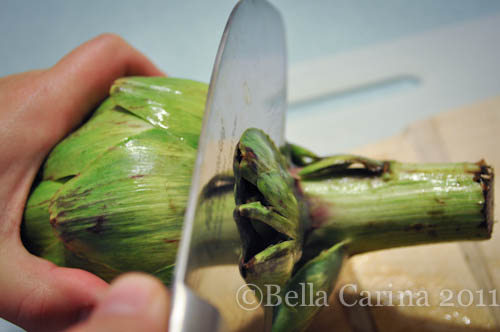 You can cut a few of the leaves at the bottom off if you need to. The goal is to have the bottom be flat so the artichoke sits nicely on a plate. It should look like this.
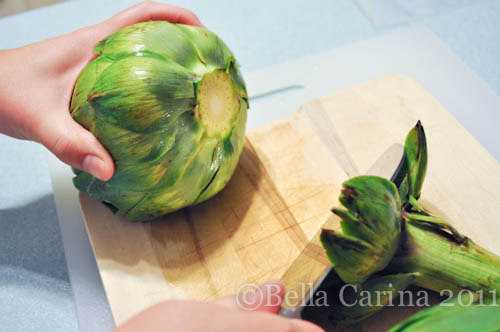 Next, you will want to flip the artichoke around and cut the top inch or so of the leaves. A sharp knife is key and you might need to put your back into it a little as the leaves are pretty sturdy.
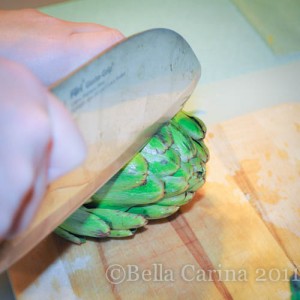
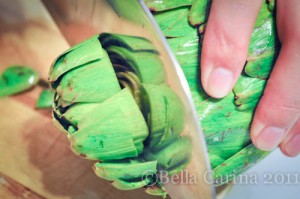 Your artichokes should look a little something like this.
 Give your artichokes another good rinse under cold water and hold them upside down to release any water from inside.
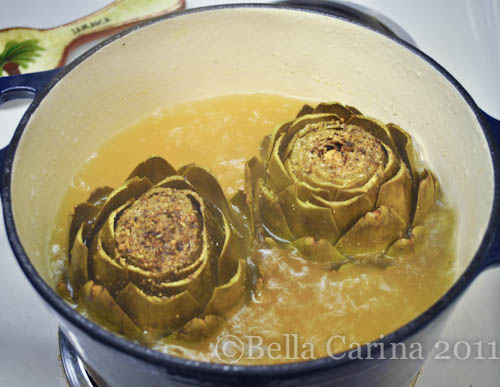
 By this time, your water should be at a rolling boil. Turn the burner down to medium high. Now it’s time to put your artichokes into a nice jacuzzi for the next hour or so. Place them into the water bottoms down and be sure not to drop them from any significant height to avoid water splashing. Be careful not to burn yourself. Using tongs for this is suggested.
 Drizzle a little extra olive oil over the top of each artichoke and then liberally sprinkle the garlic salt, oregano, and pepper over the top of each one.
 Now, cover the pot with its lid and set the timer for an hour. The burner should stay on medium high the entire time. You want it to be at a good and steady boil, but not so much that the artichokes are bouncing around too much. You can pretty much forget about these until the timer goes off. Just make sure that you had put enough water in the pot to start, since a significant amount of water will boil off even with the lid on. After an hour, your chokes should look like this. Notice how low the water level is now.
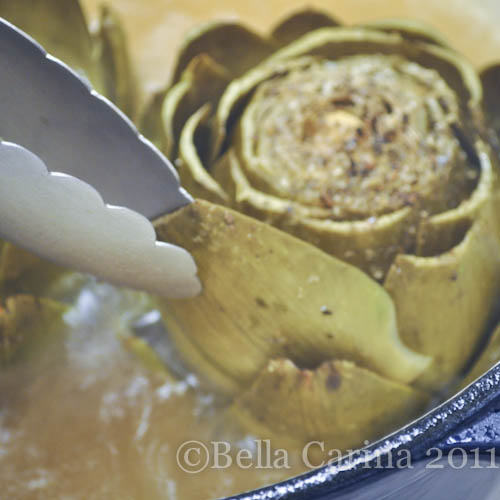
 In order to be sure they are ready, use a pair of tongs to pull one of the outer leaves off. It should come off with ease. (I had to cook mine for an hour and 10 minutes before they were done, so make sure you do this test.)
 When the artichokes are done, turn off the burner, but leave them in the water bath until you have completed this next step. Cut about three to five tablespoons of butter into tablespoon sized pieces and put them into a microwave safe bowl the size for dipping. Microwave the butter for about 15 seconds or until melted. (Sometimes, the butter doesn’t look completely melted, but I just swirl it around a little and it should melt any of the larger pieces.)
 I start with 3 tablespoons since you can always melt more if you need it. Next, used tongs to remove the artichoke from the water and hold it upside down over the pot to release any water still trapped inside.
 Then place it onto a plate. When Dane and I are eating these, I just let the artichokes get cozy and share a plate, but if it is a more formal affair, you can place them on individual plates. Serve with warm, melted butter for dipping. Oh, and don’t forget to provide a plate or bowl for the refuse!
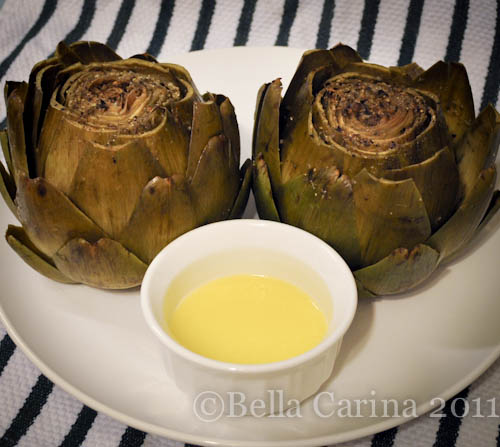 Now, if you are already an artichoke expert, you can ignore the rest of this post. For those not so artichoke savvy, here’s a little lesson on how to eat these beauties.
First, take a leaf and dip the end into the melted butter. Then, use your teeth to scrape off the meaty part of the leaf. Savor the deliciousness. Here’s a photo in case you are still confused.
 Dip. Scrape. Place in the refuse pile. Repeat.
I think part of the reason why I love artichokes is for the ritual of eating it. You take your time to eat all of the leaves (petals?) and then for all your hard work, you get rewarded. The heart of the artichoke is my most favoritest part (yes, I realize that “favoritest” is not a real word 😉 ). This next part can get a little scary for some. When you get closer to the heart, the leaves get to be smaller and thinner. The first step to getting to the heart is removing the rest of the leaves.
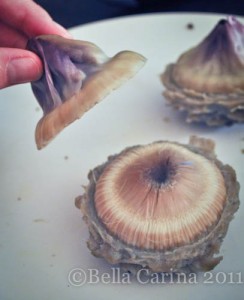 This next part needs to be done with care because that hairy stuff underneath the leaves can choke you if you eat it. (Now, don’t you feel like eating artichokes makes you daring? I mean, you are basically defying death!) Use a knife blade to carefully scrape off all the hairy part. Like so
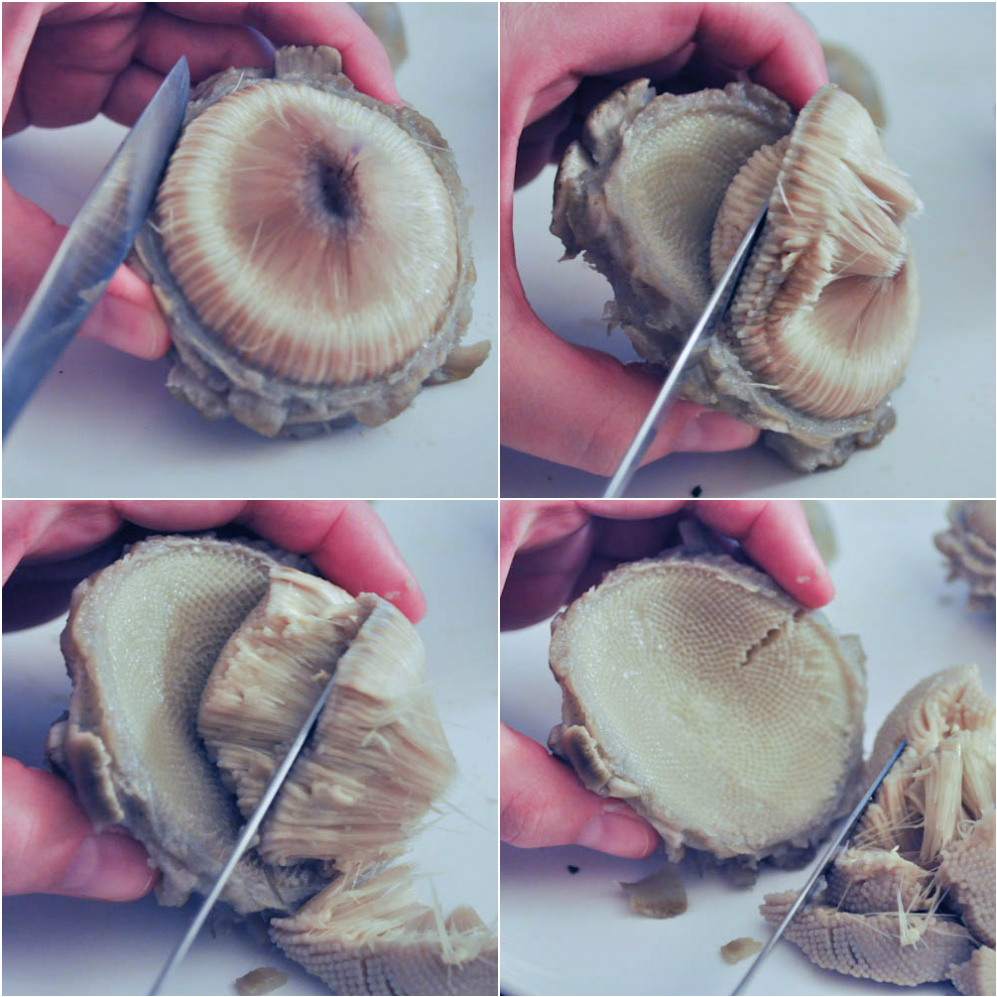 Isn’t it so pretty?! Ok, maybe just in my crazy, food loving mind. 😉
Next cut the heart into pieces. It’s customary to divide it up among all that put in the hard work to get to it. That’s why I like having my own artichoke because then I get to eat the. whole. thing.
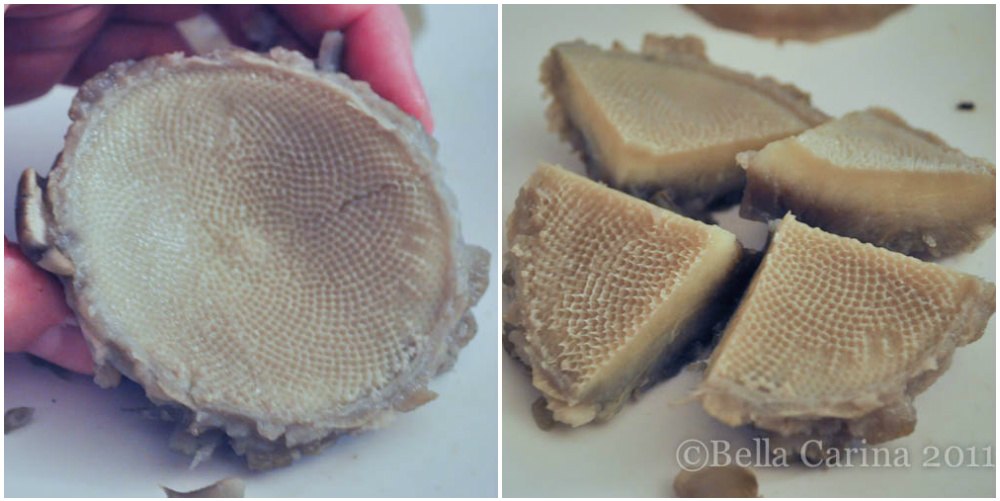 I still divide into four pieces to make it easier to dip in the melted butter.
Yummy. Yummy.
Anyone else out there the type of person that gets stuck in a two week food “kick”? Maybe next week will be peanut butter and jelly for me. We just won’t know until it hits me. Anyone a first time artichoke eater?


 The original image is from


