Yesterday was my 29th birthday. To make it excruciatingly clear, this was my very. last. birthday of my twenties…eek! And I know everyone always says this, but I really do still feel like I’m 25…crazy how that works.
So, I’ve been wanting to go to The Melting Pot restaurant for quite a while (probably since undergrad where I had seen one in Irvine, CA where I went to school) and never actually found a time/reason to go. Ummm, melted cheese and melted chocolate?? Sign me up! By now you know that I’m into those group deals that you buy online (see this post where I used a Groupon for a photo on canvas). One of my more recent purchases was through eversave.com where I paid $16 for a $10 gift card to Target and a $50 gift card for restaurant.com. We ended up splitting that between two restaurants; $25 to The Melting Pot and $25 to Amber Rose (a local restaurant). The only catch with restaurant.com is that there are often limitations with each gift card you buy. With The Melting Pot, we could only use it Sunday through Thursday and it had to go towards their Big Night Out meal. Had I actually known how much this meal was going to cost, I may have put all $50 towards it! So, with the gift card in hand we made a reservation for my birthday dinner.
 I apologize in advance for the quality of these photos since they were all taken on my iPhone! The first thing I noticed about this restaurant was the ambiance. There was low lighting, nice music, and lots of cool paintings on the dark colored walls. Oh, and what we also noticed is that we were pretty much the only ones there…apparently we didn’t need that reservation for a Sunday night!
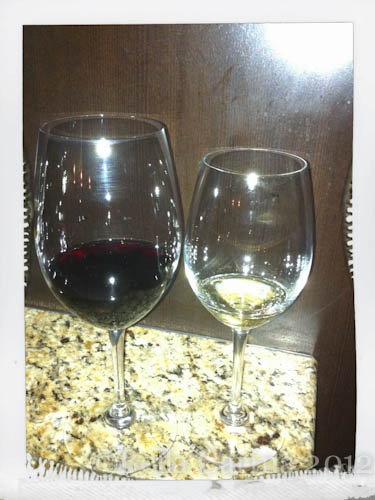
Since we were ordering the Big Night Out option, we didn’t have too many decisions to make. That option consisted of 4 courses. A cheese fondue appetizer, a salad, an entree, and, of course, the dessert fondue. The server was very nice and she let us know that we could swap out pretty much anything we wanted to personalize the meal, which was also nice. On top of the Big Night Out, I ordered a wine flight, which was 4 different 3 oz portions of wine to compliment each course. Two whites and two reds. Here’s two of them. 
 Before we got there I really had no idea what to expect as far as how the fondue was to be served. First, the server brought out a fondue pot and put it on a hot plate in the middle of our table.
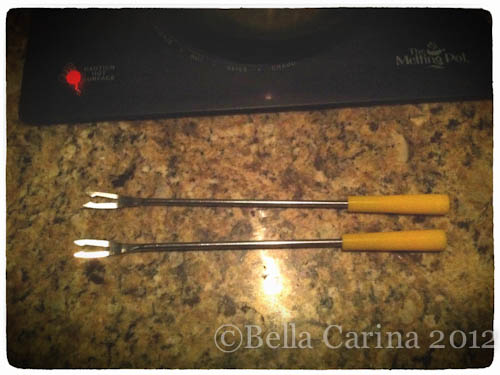
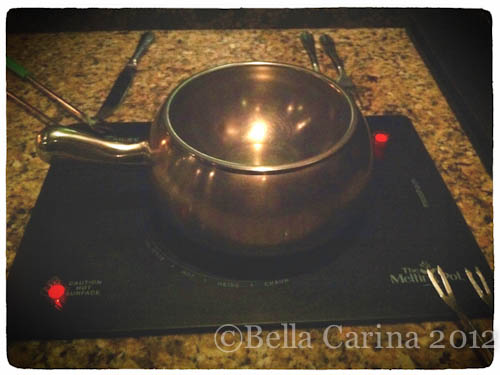 It’s basically a double boiler. There is water under the bowl which keeps the cheese/chocolate warm. You also each get two of your own fondue skewers.
 The server then came back and actually mixed the fondue in front of us, which I really liked. Our cheese fondue started with some Sam Adams lager and then she mixed in sharp cheddar cheese, dijon mustard (I think it had bacon in it, too) and a few other mix-ins that I can’t remember. Then she stirred it all up and topped it with chives.
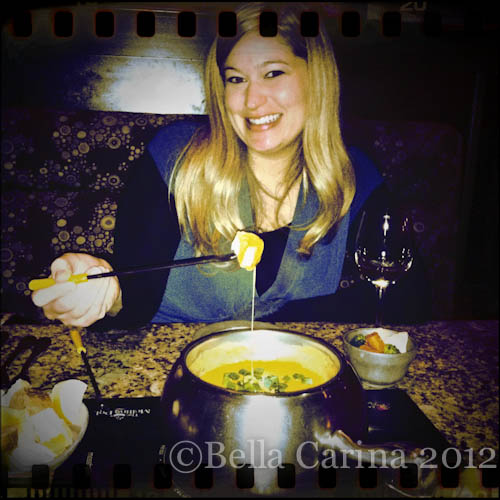
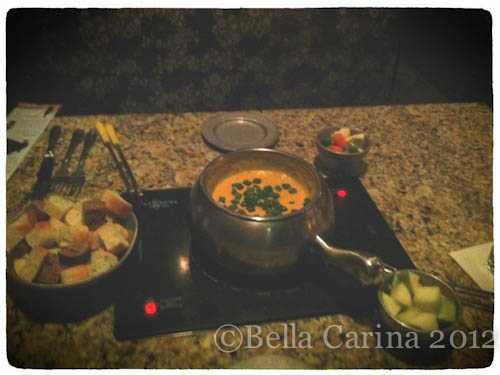 It came with a variety of bread, apple slices (which were surprisingly very good with the cheese!) and some cold veggies to dip. I loved this course. It was really yummy. Here’s a not so good picture of me demonstrating how to eat fondue. (Since it’s really hard to figure out, right?…haha.)
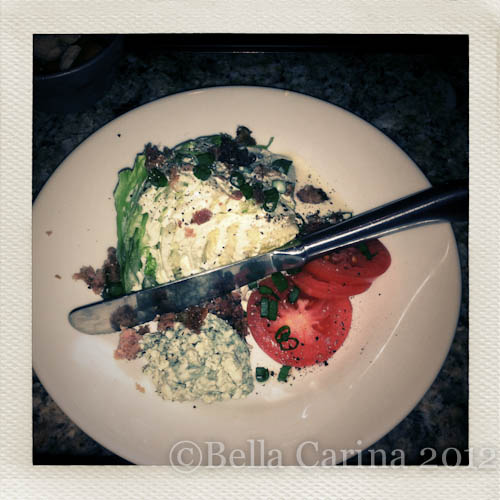
 For the next course, we got the Wedge Salad. I am a huge wedge salad fan anyway, but this one was really, really good. It’s all about high quality ingredients when it comes to this type of salad and these were all up there. And yes, that’s a huge pile of Gorgonzola cheese…yum!
 The next course, the entree, was honestly my least favorite part of the evening. Not because it wasn’t all quality ingredients or good flavors, I just preferred the other courses more. You are able to choose your “cooking method” for the entree along with the mix of raw meat that you get. This is where the price of the Big Night Out varies. We went with the least expensive option (Still $82 for the two of us! gulp!) mainly because we both weren’t super excited about lobster and the more expensive options contained that. For the cooking method, you can choose a simple beef broth, Coq au Vin (mushrooms, broth, red wine), Mojo (citrus and garlic in a broth), or Bourguignon (hot oil with wine and other flavors). Since all the meat comes seasoned as well, we went with the Coq au Vin since it was in between the plain broth and the more flavorful options.
To start, she brought out the broth in a new fondue pot to heat to a boil.
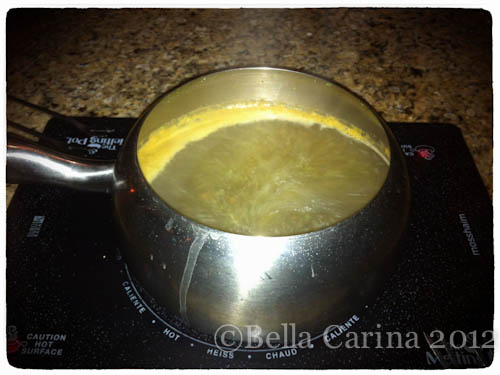 And then she added red wine along with mushrooms and herbs. We also had her add all the veggies into the pot to cook while we cooked the meat. This included red potatoes, whole mushrooms, and broccoli. Along with all the meat came a wide variety of dipping sauces. I was actually a little overwhelmed. It seemed like waaay too many flavors to mix, but it’s nice if you like variety.
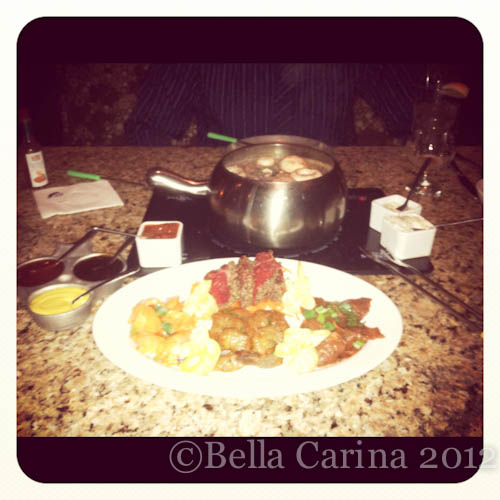 Here’s a close up of the meats. There is beef, pork, shrimp, buffalo chicken, and mushroom filled pasta.
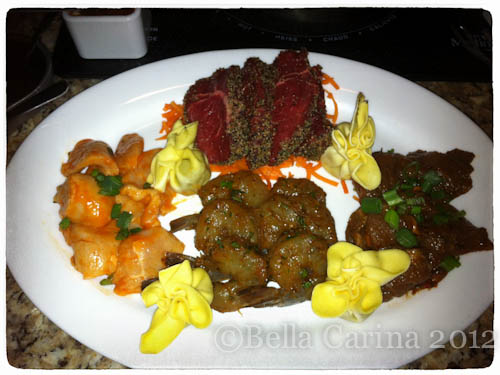 She told us the cooking times for each and let us go at it. This part was a little slow. And being the OCD person that I am, used my phone to be sure of all the cooking times. Kinda made it a little less enjoyable, but it was still good! My favorites were the chicken, the shrimp, and the pasta. I was also getting really full by this point. Since you are eating slowly, your body has time to tell you that you’re full…awesome if you are trying to lose weight…major bummer when you are having a birthday meal and trying to eat as much as you can, haha. 😉
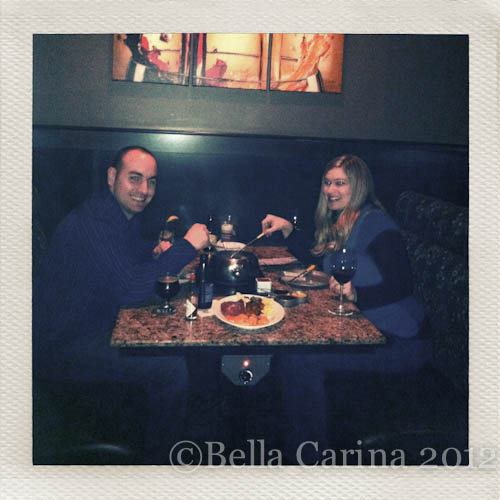
Here’s a horrible picture of us (dang you iPhone!) eating at the table. I actually really loved the painting above our table. It was a wine glass with red and white wine being poured into it. Maybe I’ll try to DIY it someday. 
 After the entree came my favorite part of the night…the chocolate! We ordered the Caramel Turtle Flambee. I really wish I had taken a picture of when she flambeed it because it was super cool. I was just too in the moment to think about pictures at the time. She also put a candle in the piece of cheesecake for me to blow out for my birthday…nice touch.
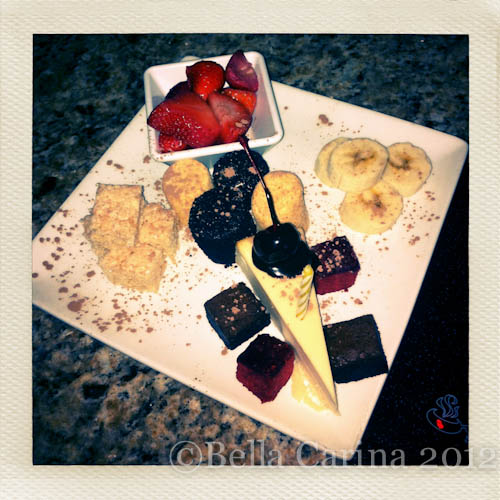 There were bananas, brownies, cheesecake, red velvet pieces, rice krispie treats, graham cracker and oreo covered marshmallows, and, of course, strawberries. I was in heaven.
The caramel turtle dip was pure amazingness. Milk chocolate, caramel, candied pecans, and whatever alcohol she used to set the whole thing on fire…wow.
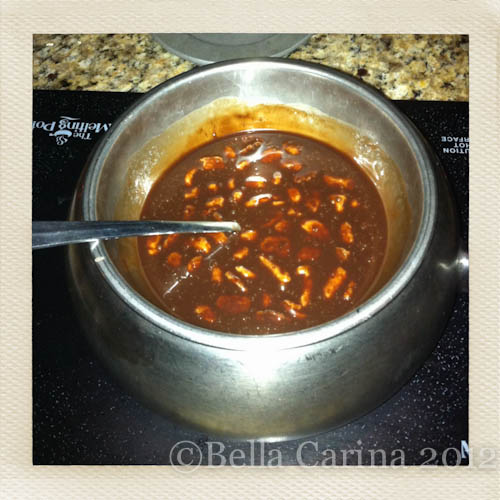 We finished it all (even with stuffed tummies, but that’s how dessert always works with me). And she even brought out extra strawberries to finish the last of the chocolate.
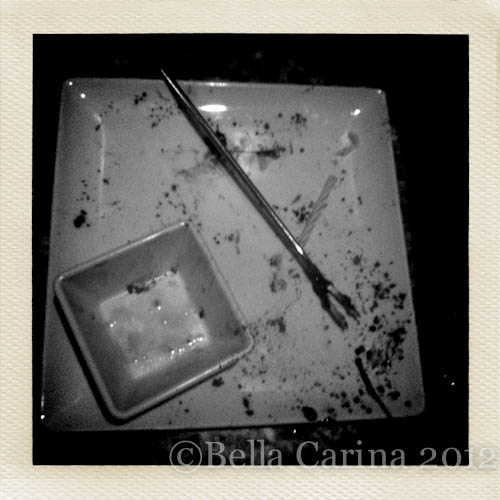 Killed it! The dessert was by far my favorite course (duh!).
Overall, it was an awesome evening and since we basically had the whole place to ourselves (there may have been a couple other tables with people) it was nice and romantic as well.
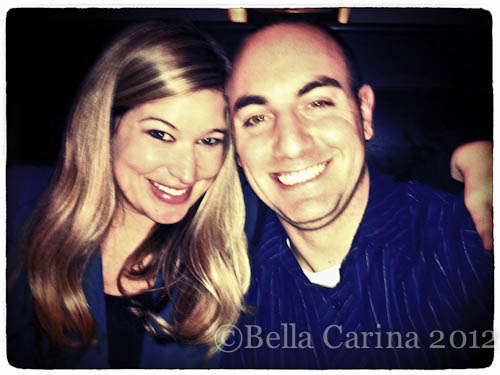 Best last birthday of my twenties ever.
Today, Dane and I talked about if we would go back to The Melting Pot. It is definitely somewhere we would go every couple of years as opposed to every few months. Although it is very expensive (even with the gift card it was over 100 bones), the quality of the food and the experience were both on par with the price. They also had a huge wine list and a pretty good selection of beers, which we were impressed with. I would for sure go back for dessert!
Has anyone else gone to The Melting Pot recently? What were your thoughts?

 I love that they are customizable and you get to pick your colors…and F-R-E-E. But, like I said, I’m photographer minded, and so I scrapped that idea and went back to the drawing board.
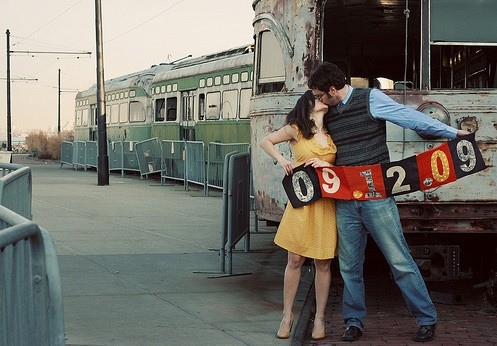 Or like this one, which I did not pin, but I like, but you know…with numbers. (Originally from here.)
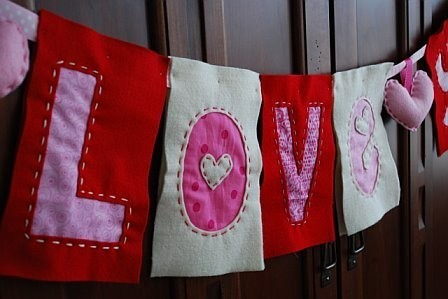 I started to think about what kind of fabric to use and I thought the easiest fabric to use would likely be felt since the edges don’t fray. And then I can use hot glue, which is always fun!
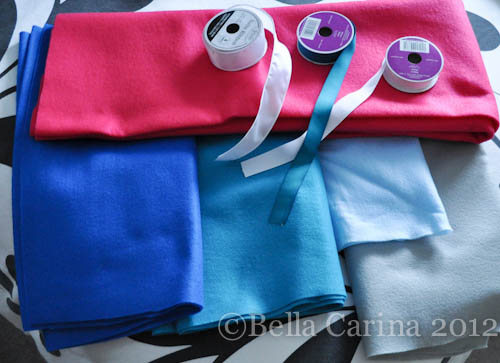 So, I’m not sure what I’ll come up with, or if I’ll even end up using it in our save the date, but I’ll be sure to let you know!
