 This recipe is one that my sweet Grandma Fannye used to make every Christmas. (Learn more about my Grandma Fannye in this post.) I remember her teaching me how to make it when I was in high school and it was always one of my favorite Christmas treats.
In case you didn’t know, almond roca is almonds, butter toffee, and chocolate…aka pure yumminess. This candy recipe is good for beginners because you don’t need a candy thermometer or anything like that. All you really need is patience and the knowledge of what peanut butter looks like (that will make more sense later). 
One more note, when making candy, things can get very hot and a sugar burn is no fun, so this is not an activity for kids and adults need to be careful, too!
To make this you’ll need:
- 2 sticks of butter (I used salted butter cream)
- 1 cup white sugar
- 1 tablespoon room temperature water
- 2-3 Hershey bars
- 1 cup sliced almonds
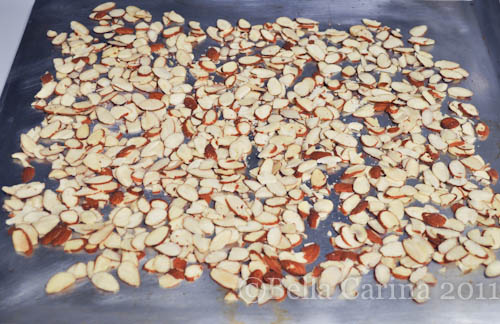
 You’ll need a large skillet and a cookie sheet as well. Before you do anything, spread your sliced almonds out on a cookie sheet like so.
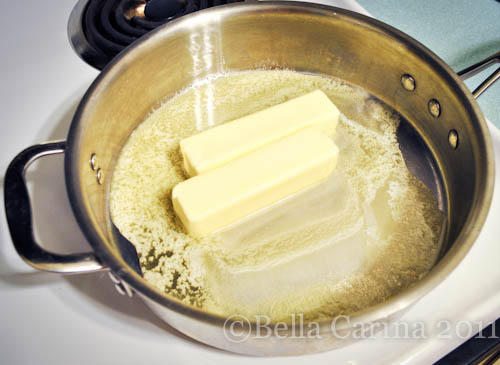
 Next, start to melt both sticks of butter in your skillet over medium heat. The key with this recipe is to keep it on medium heat and to stir constantly.
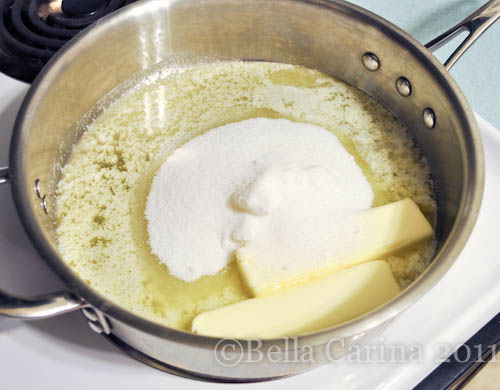
 When the butter is mostly melted, add the cup of sugar.
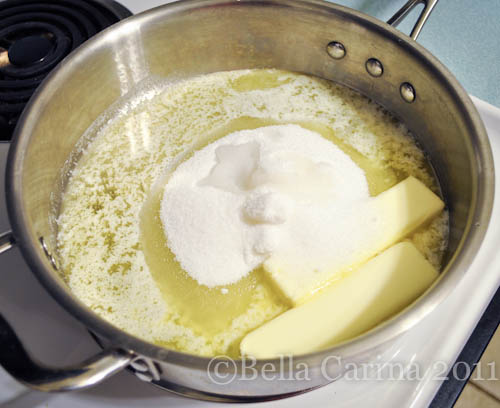
 And then the tablespoon of water.
 Now, with a wooden spoon (I used bamboo) start stirring and don’t stop. Make sure you stretch out thoroughly before starting this recipe because it’s a marathon…or at least a 5K. 😉
I’m going to take you through all the stages of the toffee because the toffee is the trickiest part of this candy. For this particular batch it took about 20 minutes to get to the correct color and consistency before it was time to pour it over the almonds. Like I said, patience.
At this stage, all the butter is melted and the sugar is starting to fully incorporate. Cookers on your mark, get set, GO!!!
OFFICIAL TIME –> 0:00:
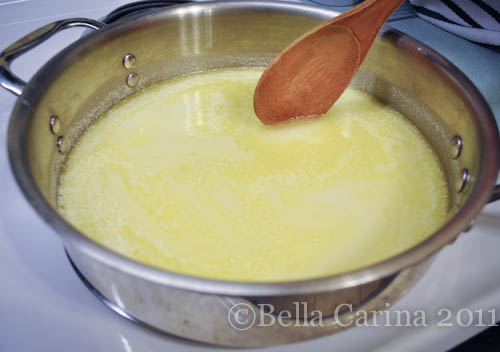 6:24: Now the mixture is becoming thicker and kind of an off white color. You can see that it’s starting to bubble, too…that’s normal.
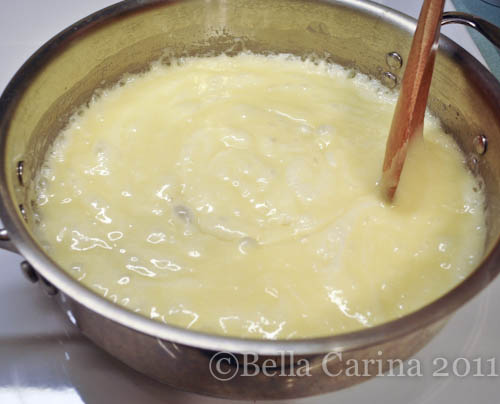 10:24: Now it’s starting to look even thicker…almost the consistency of melted cheese. Keep stirring!
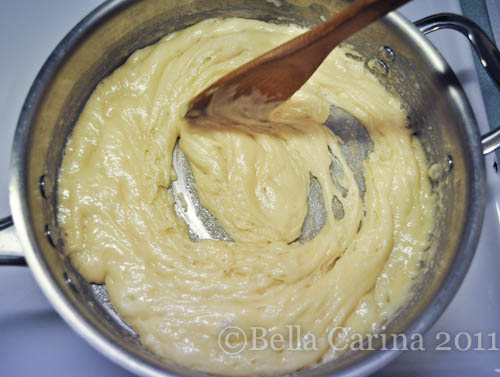 In this next stage, you can see that the mixture is starting to change color and is looking a lot more like toffee as the sugar starts to caramelize. It also starts smelling super delicious. 😉 The candy should be boiling slightly throughout the cooking process, but never get too crazy. You don’t want to burn the sugar, so be sure to keep it at a low enough heat setting (medium on my electric range was perfect).
15:01: We are looking for our toffee to be the color AND consistency of peanut butter (Grandma Fannye’s orders!) and we’re not quite there yet…keep stirring!
 16:16: And there it is! Once it gets to the right color, you need to move pretty quickly because the toffee will keep cooking as long as it’s in the pan.
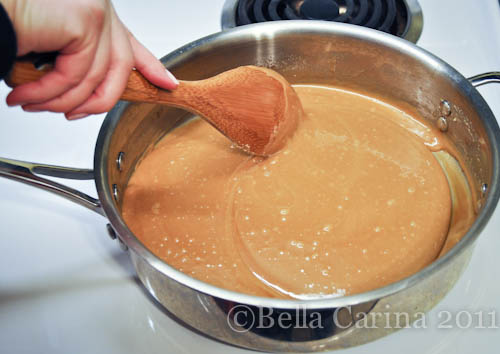 Pour the toffee over the almonds.
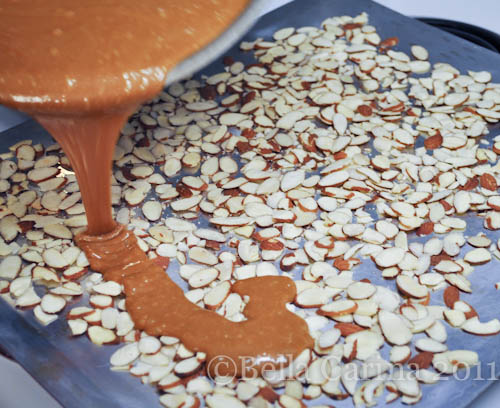 The toffee won’t move very much from where you pour it, so make sure to keep it all together. I think my almonds were spread a little too thin because I ended up not covering all of the almonds, but that’s no big deal.
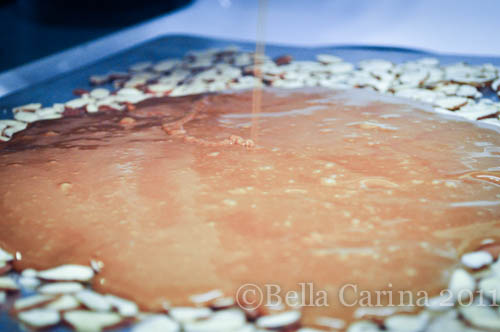 Wait about 30 seconds and then place pieces of the chocolate bar all over the top of the toffee. The heat from the toffee will melt the chocolate.
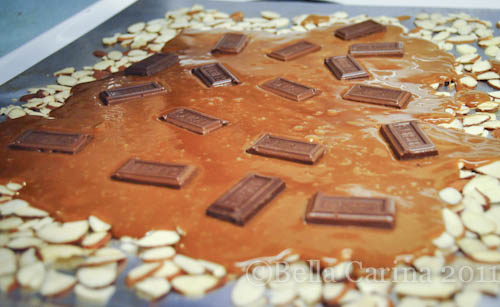 I ended up using three whole chocolate bars, but I am a chocolate lover after all, so 2 probably would have been fine. Use a heat resistant spatula to spread the chocolate all over the top.
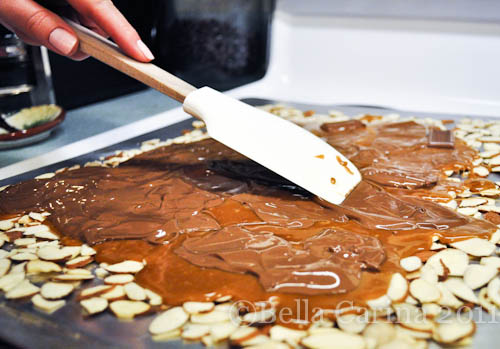 Make sure you reach all the edges with chocolate.
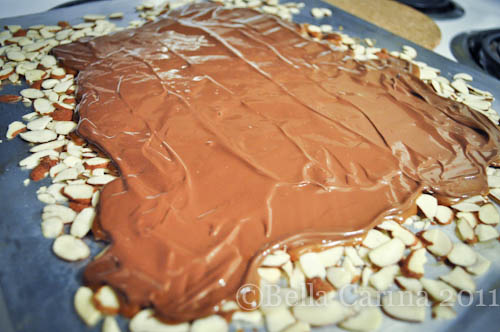 Here’s a shot to show you all three of the yummy layers.
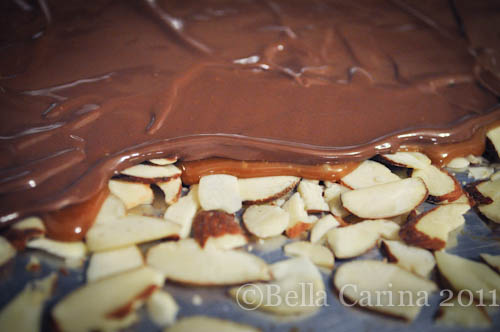 And now for the hardest part of the recipe…waiting. You have to wait for the toffee to cool and the chocolate to set before you can break it all up and taste it. Placing this freshly made deliciousness in the refrigerator will help speed up the setting process…and get you quicker to the eating process.
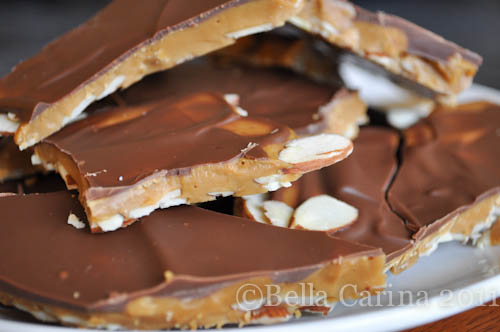
After a night in the fridge, I took my gusto grip knife to it and kinda let it do its own thing and break up into very organic pieces…it’s a rustic, homemade look.
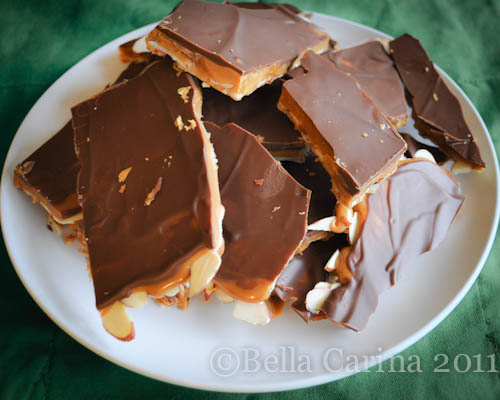 Now it’s all ready to eat or put into a cute tin for gifting! I think smaller pieces might look cute in clear plastic cups with some cellophane for smaller gifts. This batch makes exactly what you see on the plate above, so if you decide to make this candy to give away, you might want to make a couple batches to make sure there is some left for you to eat!
One bite of this and it makes me remember my grandma, which is always a good thing. 
Happy candy making!
If you missed the first three days of Christmas Cookies & Candies here’s some quick links!
- The First Day of Christmas ~ Peanut Butter Blossoms
- The Second Day of Christmas ~ Snowballs
- The Third Day of Christmas ~ Homemade Oreos

Pingback: On the Sixth Day of Christmas…I made Salted Caramels! | Bella Carina
Pingback: On the Tenth Day of Christmas…I made Peppermint Meringues! | Bella Carina