 I mean, what is Christmas without red and green m&m cookies, right? These are a classic cookie that almost no one can say no to, which means to say they are a crowd pleaser!
So, I knew that I wanted to make these for this little bloggy series I got goin’ on here, so Dane and I made a special trip to the grocery store to get the most important part of the recipe…the m&m’s…specifically the red and green m&m’s. I had to get a couple other baking supplies so we went to the baking aisle first. I figured there would be an end cap near that area with bags of Christmas m&m’s…I thought wrong.
Then we went to the special set up area for all things holiday baking related…surely they would have red and green m&m’s there, right? ummmm, how ’bout, no. Then, Dane spots what appears to be another Christmasy set up at the other end of the store, so we head that way only to find a tower of poinsettias and pepperoni…ya, weird combination…that one made both of us laugh.  Nothing says “Christmas” like poinsettias and pepperoni!
At this point we were at least 10 minutes into our quest for red and green m&m’s. This is one of those fancy Kroger Marketplace stores, so there’s quite a bit of ground to cover. That’s when we decided to go to the candy aisle…they must have m&m’s there…and oh did they ever!…they had every kind of m&m you could imagine from plain to coconut…but no red and green freaking m&m’s! It was here that Dane suggested we buy several bags of regular m&m’s and pick out the green and red ones…desperate times…desperate, I tell you.
At this point I was just plain mad. I mean, they have, and I kid you not, Easter candy displays at the front of the store near the registers and I can’t find red and green m&m’s! We eventually make our way to the customer service counter as I’m mumbling under my breath, “what is the world coming to when you can buy cadbury eggs without any problems in the middle of December, but you can’t find any Christmas candy?!” That’s when the nice lady says, “did you check the seasonal aisle?” Ummmm, no we didn’t…where the heck is the seasonal aisle? We felt like we had walked every aisle of the store practically except for the home section. The seasonal aisle is actually right next to the home section, just past the baby aisle in case you were wondering…how could we not have known that…eeesh.
Alas, all was right in the world when I found a super jumbo bag of red and green plain m&m’s…right next to all the “as seen on TV” stuff. (Sometimes the set up of grocery stores boggles my mind.) They actually didn’t have any of the normal size bags of the plain, but I won’t complain because I am a chocolate lover after all…these won’t go to waste.
So, moving on, these cookies are just my basic chocolate chip cookie recipe (the one I have memorized straight from my mom, which is likely straight from the bag of toll house chocolate chips, only slightly modified to my own tastes), but instead of the chips, I used m&m’s.
Ingredients:
- 1 cup (2 sticks) unsalted butter (room temperature)
- 3/4 cup white sugar
- 3/4 cup plus a tablespoon-ish of packed brown sugar
- 2 large eggs
- 2 teaspoons vanilla extract (I just used my Costco bottle, since I wasn’t sure if my homemade stuff was quite ready yet!)
- 2 1/4 cup flour
- 1 teaspoon baking soda
- 1/2 teaspoon salt
- about 16 oz of red and green m&m’s and some extra to put on top of the cookies
 First, preheat your oven to 375 degrees.
Before we get started, let me talk about my favorite measuring cup that I own.
 You may not actually have one of these because they are hard to find. It’s a 3/4 cup measuring cup. The day I found a set of measuring cups with this particular size cup was one of the happiest days of my life…well, I was pretty excited at least. The reason why I love it so much is because it makes this recipe go so fast. I can probably whip up a batch of chocolate chip cookie dough in 5 minutes flat with this little gem. You see, all the dry measurements are in increments of 3/4 cups! So, if you like this recipe and love making cookies, this might be worth your investment.
Now, back to the cookies…in a stand up mixer add the butter, eggs, both sugars (I always add a little extra brown sugar, hence the 3/4 cup plus a tablespoon-ish in the ingredients list), and vanilla.
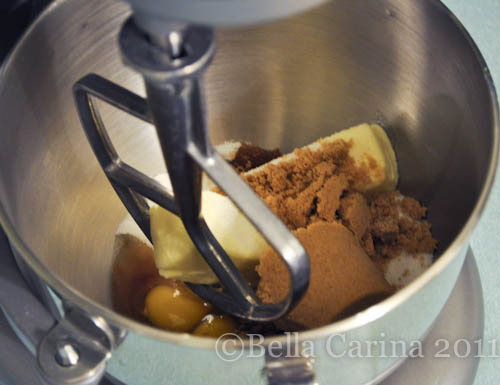 Cream them all together…
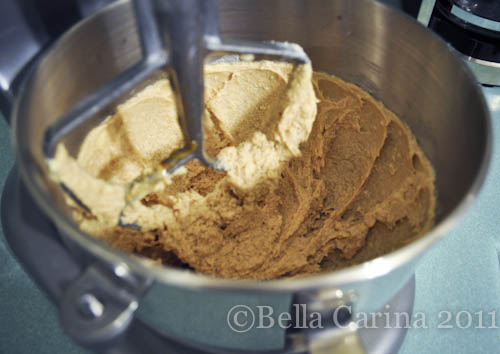 Now, traditionally, recipes will tell you to put all of the dry ingredients in a separate bowl, mix them up, and then add them in a little at a time. When I’m in a rush to make cookie dough, I just sprinkle the baking soda and salt over the creamed mixture and then add the flour 3/4 cup at a time (it comes out to 3 – 3/4 cup measures of flour). After adding each 3/4 cup of flour, mix thoroughly before adding the next until it’s all incorporated.
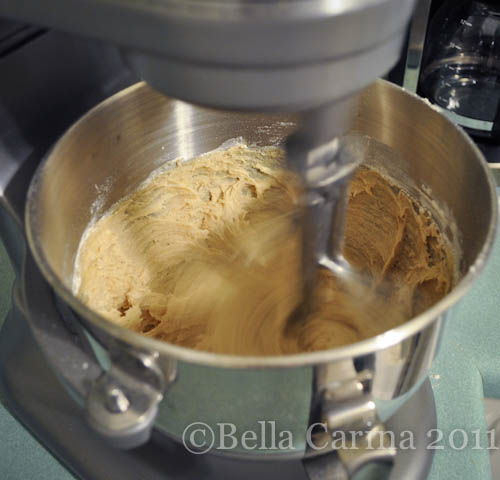 Your dough should be looking a little something like this… (I cranked the bowl down to give you a better view)
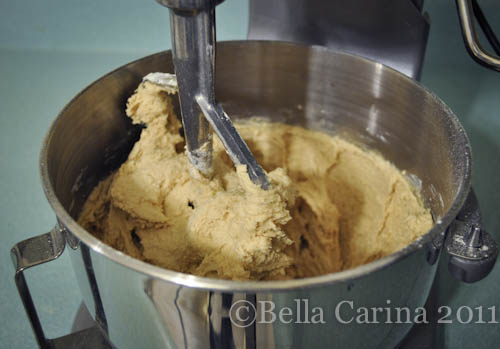 Since I ended up buying the mega size bag of m&m’s, I measured out approximately 16 oz into a pyrex measuring cup.
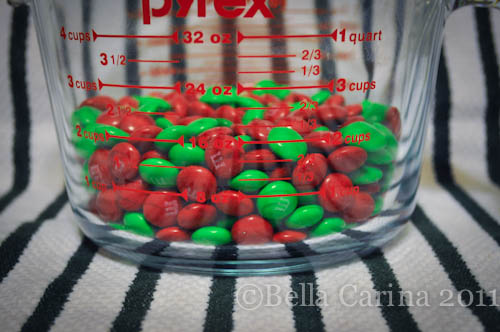 And then tossed them in the mixer…
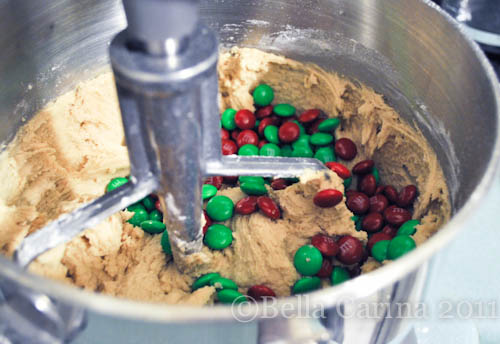 You only want to mix these up on low for a few seconds because otherwise the m&m’s will break up too much. Just mix it enough so they are good and spread around.
The thing about this recipe is that it makes for delicious raw cookie dough eating (**note: Dane actually just read that it’s not so much the raw eggs that you should worry about, but the uncooked flour…crazy, huh?), but my cookies always seem to come out a little flat. They taste amazing (slightly crunchy, but soft in the middle), but the presentation is not as beautiful as they could be. I have used another recipe which uses shortening that solves this issue, but that recipe will have to be for another day. One way to try and make these cookies less flat looking is to refrigerate the dough for a bit before baking. So, that’s what I did…after I remembered that tip after baking the first batch of these. It’s up to you, both cookies come out tasting pretty darn good either way.
My other neat kitchen tool which I grew up using with my mom is a cookie scoop, which looks kind of like a melon baller, but has a little arm that moves to get the dough out for you.
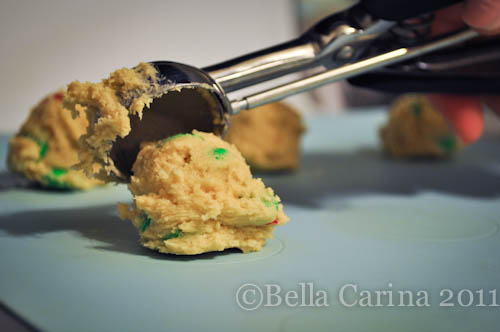 It’s perfect for a perfectionist like me because it makes all the cookies more or less the same size. And you don’t have to use your finger to get the cookie dough off the spoon.
I used my silicone cookie mat on a regular baking sheet, but it’s not really necessary…just makes clean up easier.
 Total bake time for these is between 7 and 8 minutes, but if you want some cute little m&m’s to be showing on the top, take them out after 5 minutes and place some extra ones wherever you see fit. Then bake for 2 minutes more. This photo is at the 5 minute point.
 Once they are baked, take them out and let them cool on the baking sheet for a couple minutes before transferring them to a cooling rack to let them cool completely.
Then, you can arrange your cookies in a Christmas wreath, if you please…
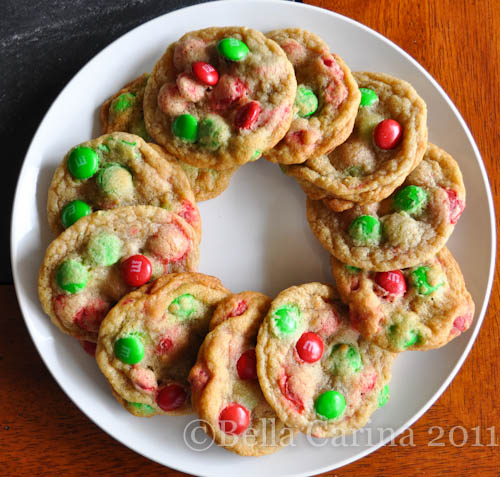 or stack them up into a tower and see how high you can go before they all fall over…
 into a pile…
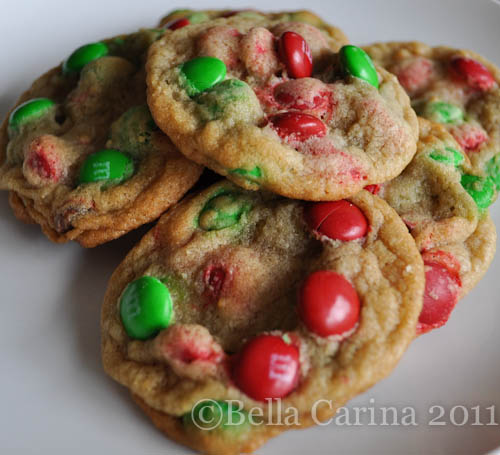 These cookies are jam-packed full of m&m’s and are just crispy enough at the edges with lots of chewy goodness on the inside.
 These may not be the most beautiful cookies you’ve ever seen, but no on will care once it’s in their mouth!
Anyone else have a hard time finding the right holiday cheer in your local grocery store? How about finding the WRONG holiday cheer? like Easter candy? This is a strange world we live in.
If you missed the first four days of Christmas Cookies & Candies here’s some quick links!
 Which is a steal compared to the ones I saw at Target and Kroger. At first, I wasn’t too sure about the bursts of yellow pines needles and the green and red apple accents, but they are growing on me. And it smells amazing. Which was much needed in our home since we went with a fake Christmas tree this year.

 Nothing says “Christmas” like poinsettias and pepperoni!


