 If you’ve been reading my blog lately, you may have figured out that I am a chocolate lover…I mean, as a kid, I wouldn’t even touch creamsicles…I was all about the fudgsicles. So, I figured it was about high time I tried my hand at some good ol’ fashioned chocolate fudge. And I like it pure…no nuts allowed! But, I know there are many of you that love nuts, so I’ll be sure to let you know how to taint this fudge with the nut of your choice. 😉
Since I went with a little higher level of difficulty for the Salted Caramels, I thought this recipe should be on the easier side. I know some of you love a good, quick, easy and also delicious recipe and this one is right up your alley! I went to my trusty Better Homes and Gardens Cook Book that my mom gave me a few Christmases ago. I love that it’s pink and I have no doubt in my mind that that is the very reason my mom bought me this specific cook book. 😉 (It’s a great all purpose cook book if you are in the market for one.)
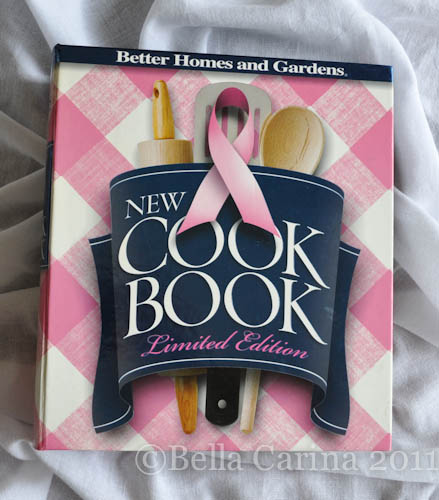 I went to the ‘candies’ section and on the first page there was a recipe for “fudge” and right next to it, “simple fudge”…I’ll let you guess which one I went with. I made this recipe while Dane was home and when I was done he asked, “really? that’s it?” as in, that was super quick! Obviously, my other Christmas recipes have taken a little more effort! So, as I said, this is easy and quick and comes out really good. Ok, I think that’s enough convincing…here we go! (Oh, and no candy thermometer needed!)
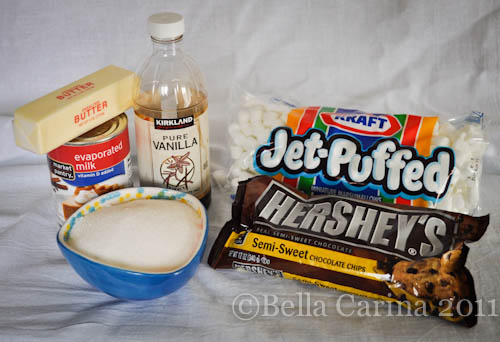
Ingredients:
- 1 1/2 cups white sugar
- 2/3 cup evaporated milk (I used the regular, not the non-fat kind)
- 1 stick of butter (I used unsalted, but the recipe did not specify)
- 2 cups tiny marshmallows
- 1 cup semi-sweet chocolate chips
- 1/2 teaspoon vanilla extract
- 1/2 cup chopped nuts …if you so choose to taint this fudge. 😉
(Recipe modified from the Better Homes and Gardens: New Cook Book, shown above)
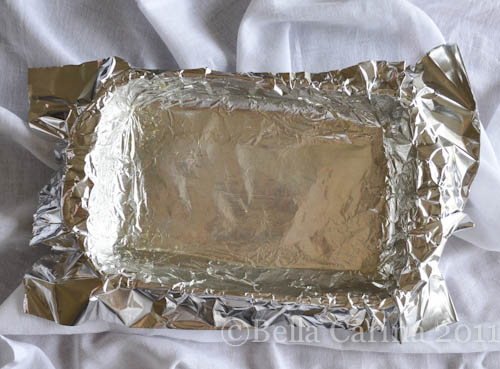
 First, use foil to line a baking pan. The recipe suggests an 8x8x2, but since I don’t have that size, I used my 11×7 which worked fine. Be sure to have the foil extend a couple inches over the edges of the pan. Spray with non-stick spray and set aside.
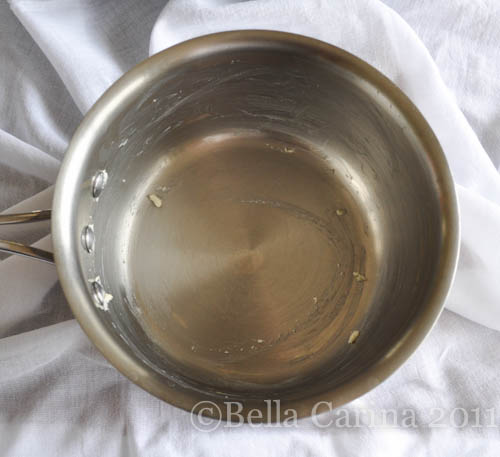
 Now, using at least a 2 quart sauce pan (I used my 2 1/2 quart Calphalon that I love), butter the sides of the pan. I just took a stick of butter and rubbed it all around the inside.
 Now, put the sugar, evaporated milk, and butter in your saucepan.
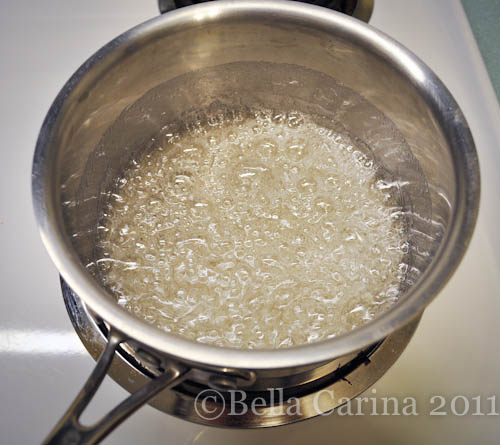
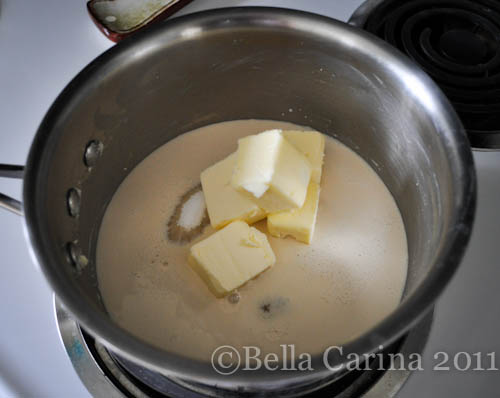 Turn your burner on to medium high heat and cook stirring often until the mixture boils. The recipe says 10 minutes, but mine was at a good boil by around 6 minutes. Once at a boil, reduce heat to medium and continuing cooking while stirring constantly for 6 minutes.
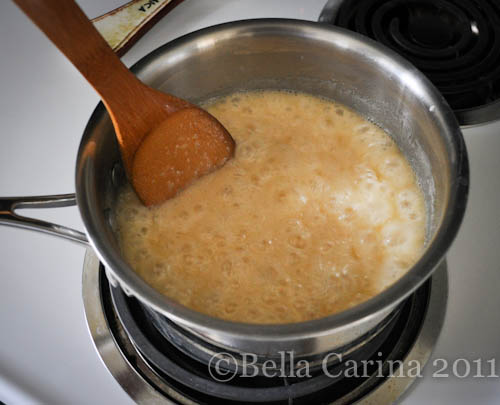 Be sure to have you chocolate chips and marshmallows already measured out and your vanilla extract close. Candy is needy and when it’s time for you do do something, it doesn’t like to be kept waiting!
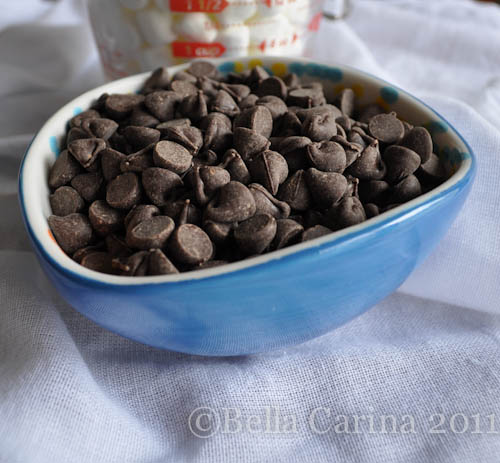 After 6 minutes of cooking and stirring, remove the pan from heat and add the chocolate chips, marshmallows, and vanilla into the sugar and milk jacuzzi that you got goin’ on. (If you are going to do the nut thing…toss those in now, too.)
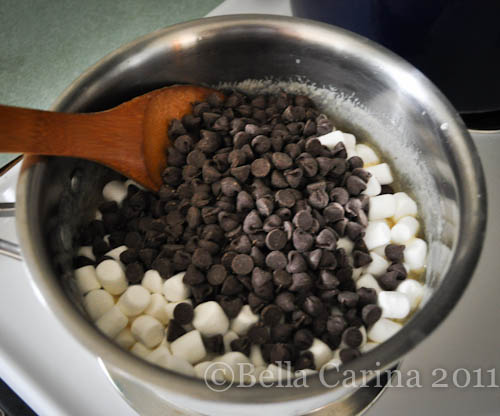 Pull out your huge guns and start stirring up the pot…too many figures of speech in one sentence, you say? I say nay.
You need to stir constantly for about a minute until it’s all nice and melty and smooth. (And, yes, that is a spoon rest that we got on a trip to Jamaica two years ago…I love that it’s something I get to look at everyday. 😉 )
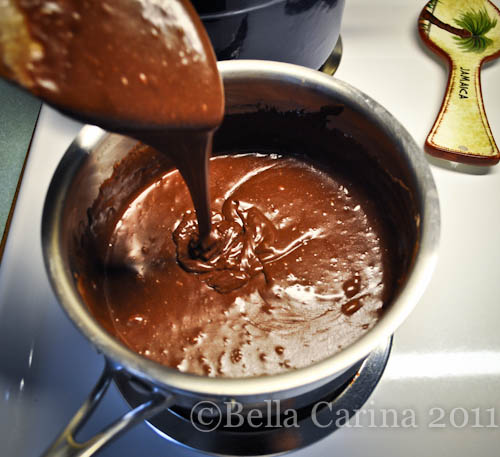 Then, pour it into your pan that you already got good and buttered up.
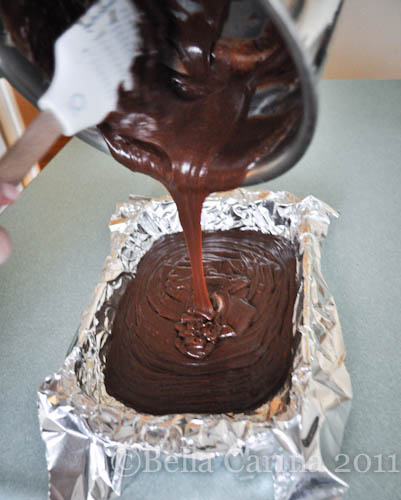 I noticed that this sets pretty quickly, so work fast and smooth out the top.
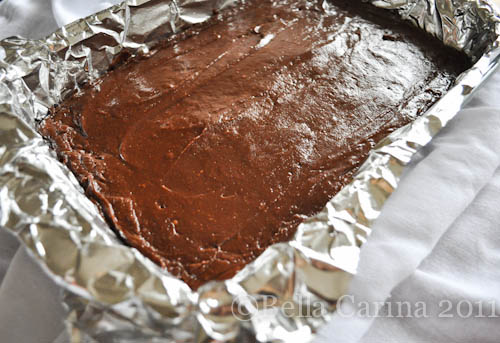 Wait a minute or two for it to set and then use a knife to score the fudge however you wish. I’m incredibly boring and unimaginative, so I chose squares.
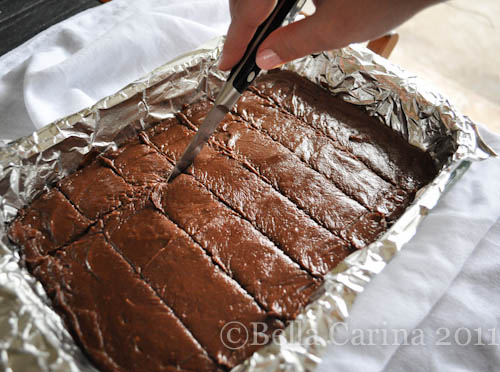 Then, pop ‘er in the fridge for about 3 hours. (Remember how we talked about how lame candy is because you always. have. to. wait. to. eat. it.)
But, once it’s done, it’s pretty darn good!
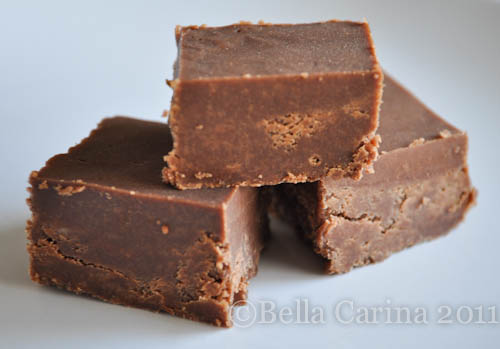 And if you want to get all fancy (creative/imaginative) you can throw some of the ingredients on the plate with it.
  So pretty.
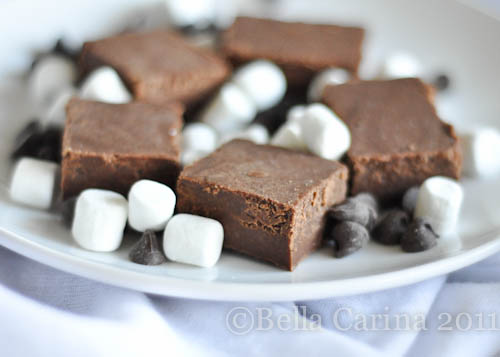 This fudge passed the Dane eatability test with flying colors (yes, that is a real test).
Hope you enjoy this simple and yummy recipe!
If you missed the first six days of Christmas Cookies & Candies here’s some quick links!
- The First Day of Christmas ~ Peanut Butter Blossoms
- The Second Day of Christmas ~ Snowballs
- The Third Day of Christmas ~ Homemade Oreos
- The Fourth Day of Christmas ~ Almond Roca
- The Fifth Day of Christmas ~ Red & Green m&m Cookies
- The Sixth Day of Christmas ~ Salted Caramels

