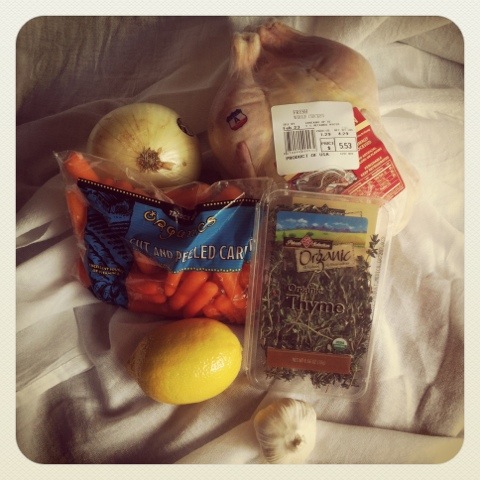
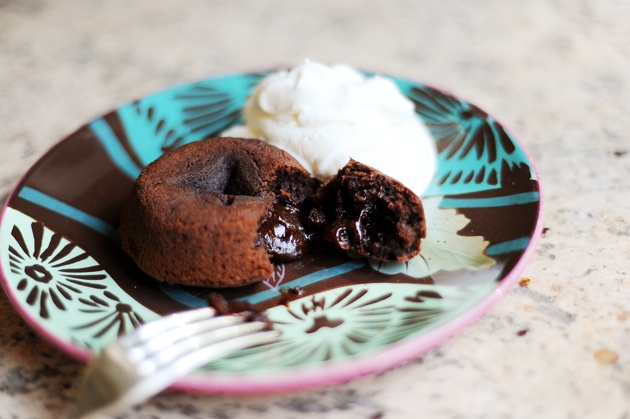
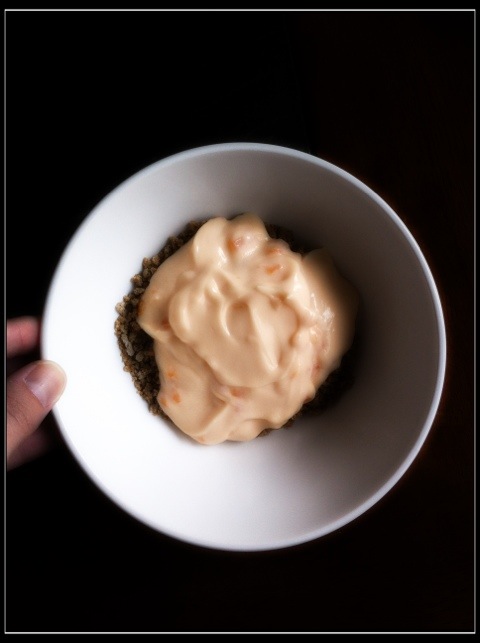
Our Valentine’s dinner was a huge success! Dane loved the chicken (it is one of his favorites after all) and we ate a nice candlelit dinner at the dining table (as opposed to on the couch where we usually eat!). I’ll be back to share how you can roast your own chicken to perfection later this week!
Now, back to the regularly scheduled programming…
Finally, after putting this project off for weeks after I gave you all a sneak peek at the materials I wanted to use to make a date banner for our save the dates, I finally have something to show for it! I am a procrastinator at heart after all.
Here’s a picture of the materials I had at my disposal (for free since they were already lying around my house, minus the pink felt, which I bought for $2.50 a yard with coupon).
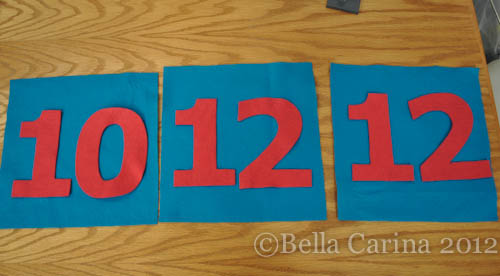
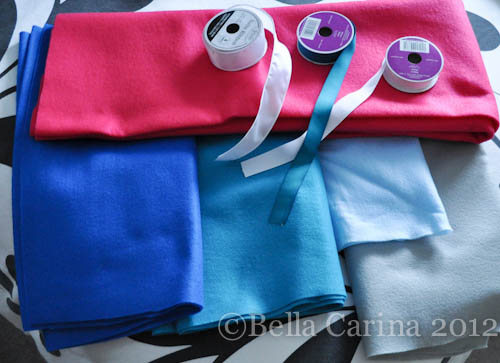 In the end, I decided to keep it simple and chose to use the teal felt for the background and the pink for the numbers. I started by printing out the numbers on regular printer paper. My mom was kind enough to help me out with this project by cutting out the numbers.
 I drew out a quick sketch of what I wanted it to look like.
 I contemplated cutting out rectangles, but ended up going with 11 inch squares. I cut out three.
 I also came up with another idea for a smaller banner with our initials that I thought might be cute for our engagement pictures. Here’s a rough sketch of what I wanted.
 So, along with numbers and squares, we cut out letters and a heart.
 I laid everything out the way I wanted it with the numbers.
 I planned on using a glue gun to assemble everything, but my mom had forgotten her glue gun at school (she’s the fashion design teacher at my old high school). So, she dug around in her supply closet and found some old heat n’ bond, which I hoped would do the trick.
 This is the ultra hold (as opposed to the lighter version that I used for applique back in this post), so it doesn’t need to be sewn (and shouldn’t be). It works the same way the light version does. I just followed the directions. Use an iron on the silk (or 3) setting with no steam to iron it on to the back side of the fabric.
 One side is textured and the other is smooth. The textured side should be down at this step. My mom and I got a good system down with her cutting and me ironing and this went pretty quickly. Once each number cooled, I pulled the paper backing off and they were ready to be placed and ironed on the teal squares.
 I laid them out as straight as possible (I just eyeballed it). Then, since this felt is synthetic, I used a handkerchief to be sure I didn’t melt the felt and ironed on the numbers. (Haha…’melt the felt’ ;))
 I finished all three the same way and was happy with the result.
 I thought that I would be able to use heat n’ bond to iron my D {heart} K onto the ribbon…
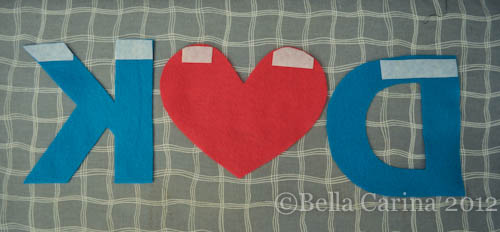 which seemed like a good idea at the time. But, in the end I couldn’t get it to stick to the ribbon. So, I waited until the next day when I was able to get my hands on that glue gun.
 I laid the banner out the way I wanted it and then folded back a corner to apply the glue. {Thanks to my dad for playing photographer for me on this one!}
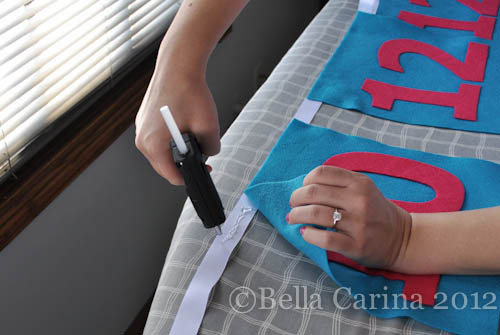 And then pressed down until it cooled slightly.
 And I just continued to work my way down until everything was stuck. Glue guns are fun!
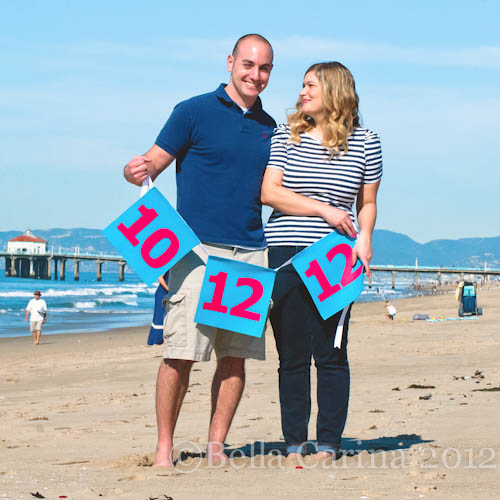
I loved how it came out! And how perfect was the weather for our photo shoot!? I don’t want to give the whole kit and kaboodle away, so this is one shot that we don’t plan on using in our actual Save the Date. 😉
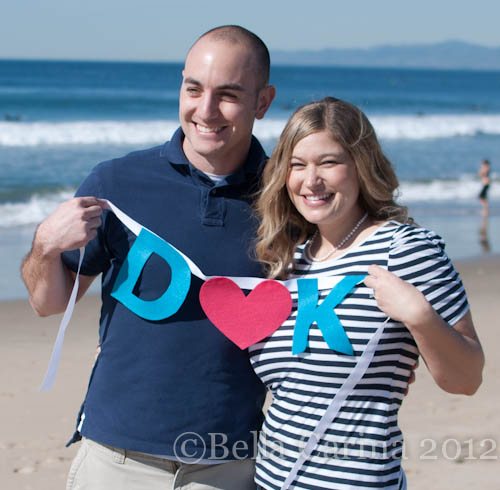 What do you think of the banners? Not, bad for a grand total of $2.50! Have any of you made your own banners? Any other fun ideas for save the dates?
{A special thanks to my friend, Courtney, and her friend, Thomas, from Wish For Color Photography for taking the photos! For my Southern California peeps, check out Thomas’ website at http://www.wishforcolor.com/. He is just starting out his photography business and is very reasonably priced!}

