So, I realize that I get a big fat F for the day for being horrible at keeping up with the blog. That’s F for fail in case you weren’t sure. I owe you approximately one million photos of the befores of our house and probably at least half the amount of photos for some rooms that are getting up to speed (although I’m sure the whole house will be “in progress” for quite a while). For all this, I am sorry.
In other exciting news, I had my very first comment left by someone I don’t know in real life the other day! I was probably more excited than I should have been, but in an ocean of spam comments that I get everyday it was exciting to see a real life comment! And don’t get me wrong, I love when people I know comment on the blog, but there’s something exciting about a stranger. 😉
Anyway, on to what you all came here for, my new deck/patio garden! Last year, we went all out and did a full on above ground garden bed and planted all kinds of vegetables like tomatoes, basil, and an assortment of peppers. That was back when we lived on a half acre of land in Ohio. Now that we’re back to being “city folk” and we have a postage stamp of a yard, which is basically a bathroom for our dog, Roman, we decided that a patio garden on our deck would suit us better.
Before researching anything, we bought these large pots from Costco on a whim (Costco does that to us sometimes). I think they were about $10 each and are made out of some type of plastic, but look a little fancier than your average plastic pot.
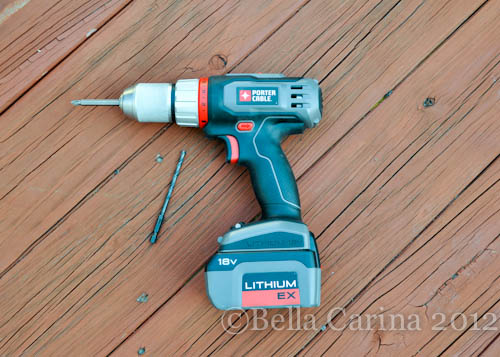
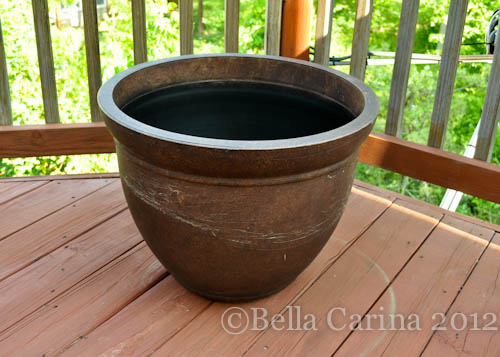 After doing a little research, I was slightly dismayed because there were no drainage holes in this pot and it turns out, poor drainage is a great way to kill your tomato plants. So, I decided to just go for it and drill some holes in the bottom myself. I used our regular drill.
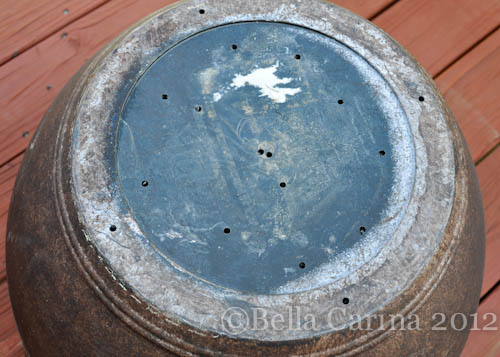
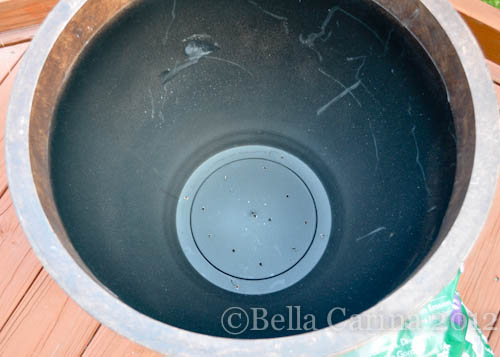
 When I flipped the pot over to get down to business, I discovered that it actually told you to “drill here” for drainage holes…duh! There was no real rhyme or reason for where I put the holes. Just drill in and then flip the switch to reverse and dill it back out of the hole. This took less than 5 minutes per pot (we had two).
 Here’s the supplies that you’ll need to do this project:
- large pot
- drill
- rocks (I used lava rocks because they were the cheapest)
- cheap top soil
- fancier soil
- plant
- tomato cage (if you are planting tomatoes)
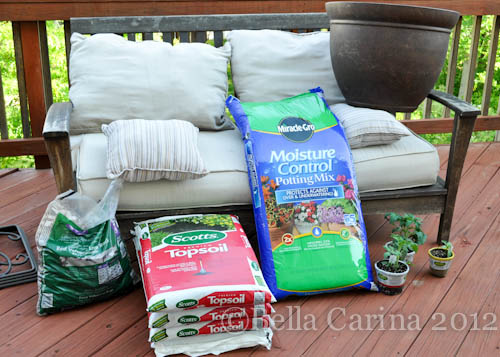 (Please ignore the cushions on the couch…new cushions are on my to-do list!)
Here’s my empty pot all ready to go with freshly drilled drainage holes.
 My
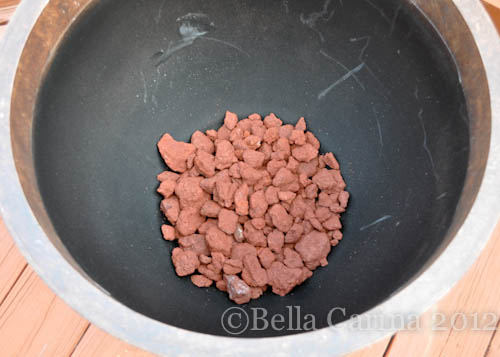
My extensive quick internet research not only taught me that I needed drainage holes in my pot, but it also suggested adding rocks as a bottom layer in the pot for even better drainage. I bought all my supplies at Walmart and lava rocks happened to be the least expensive rocks that I knew wouldn’t fall through my drainage holes. I poured some rocks into the bottom of my pot.
 Last year, when we built our above ground garden, we were shocked to find out that the most expensive part about our garden was going to be the soil! That’s when we decided that mixing inexpensive topsoil with some fancier Miracle Grow (full of nutrients and whatnot) was a good middle ground. Our plants did very well in the soil mixture and since I was going to need quite a bit of soil to fill these pots, I went with the same method. So, after the rocks, I filled the pot about 2/3 of the way with regular old topsoil.
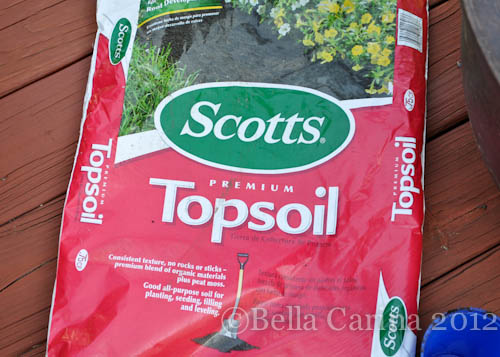 I happened to use Scotts brand this time mainly because the bags of the even cheaper off-brand soil were all open and leaking soil…not so good for the trunk of my car, but last year we used the $0.99 bags from Home Depot and they were fine. Someday I’ll have a truck…if someone’s buying, I’ll take a 4 door Toyota Tacoma (grey with black rims)…just sayin’ 😉
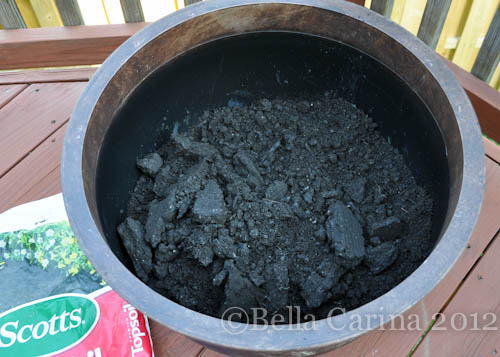 Be sure to break up all the chunks. I have no idea where my gardening supplies are (is it horrible that we’re still not totally unpacked after 6 weeks??) so, I just barehanded it (don’t worry, Mom, I took my ring off first!…my mom may or may not have misplaced her wedding band in a pot of soil only to be found a couple years later by my grandpa!)
Lastly, I cracked open the bag of Miracle Grow. They sell this huge bag at Costco for around $10 and it’s the best deal I’ve found. I like the moisture control because it rains a ton in the summer here on the Right Coast, so I rarely have to water the garden and on days it doesn’t rain, I’m not scared that my plants are thirsty. I have no idea if it actually works, but it gives me a little peace of mind when we are out of town for a few days.
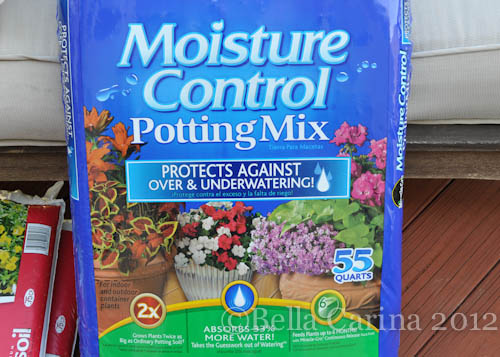 Top off the pot with the fancy stuff and mix it up a little.
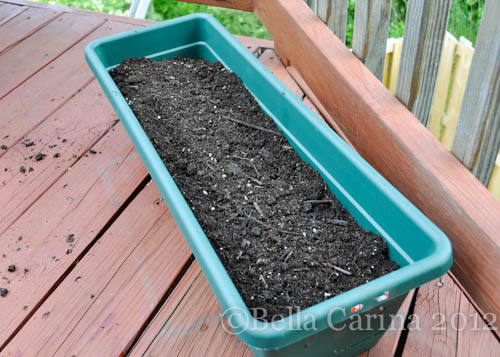
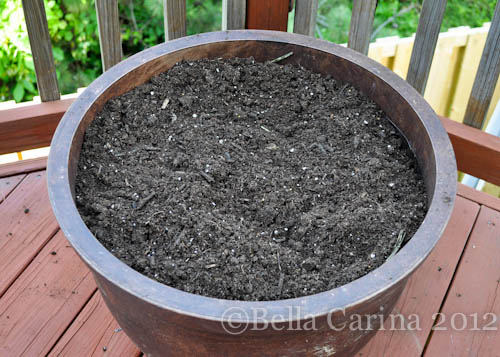 Along with this pot, I filled another one exactly the same way and then did a similar mix of soils in a smaller planter that I plan to use for a bell pepper plant and basil (fresh from my garden caprese salad, anyone? Ya, I thought so. :)).
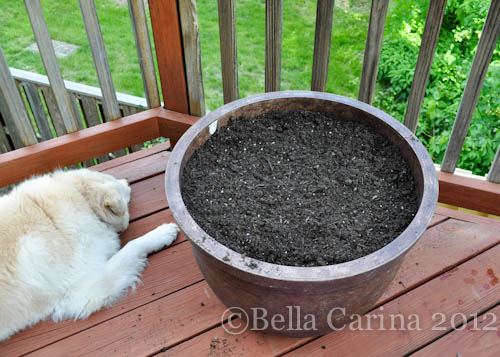
 Roman’s obviously standing by ready to help at a moments notice.
 Last year, we did three different tomato varieties. I can’t remember exactly which ones, but we did a couple medium sized tomato plants and a cherry tomato plant. We ended up not really eating the cherry guys all that often since they only seemed to ripen a couple at a time (we would eat them as they came, but never had a huge crop all at once), so we decided to just do two medium sized plants this year. We aren’t big fans of the huge tomatoes (they tend to not be as sweet). Also, bigger tomatoes equal bigger plants and I didn’t want the patio to turn into a tomato jungle. In case you don’t have super vision, I’ll just tell you what the labels say. We went with a “patio tomato” plant and a “Roma”.
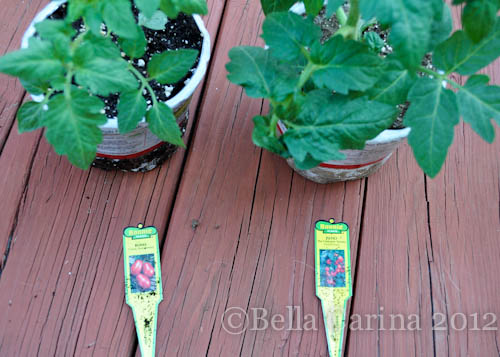 The instructions on the plants say to remove the plastic and soak the plant in water before planting. These pots are the kind that you plant in the soil and they are supposed to biodegrade. I don’t know if they are really any better than the plants in plastic containers, but it’s what Walmart had. I used some of these and some of the regular kind last year and they both did well.
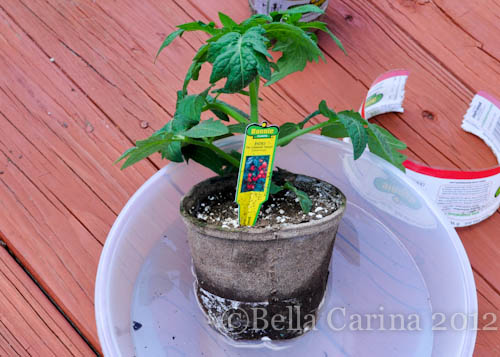 I think I should have watered the soil for a couple days before planting the tomatoes to make sure it was good and ready, but I’m impatient, so I just planted them in the dry soil and watered it after.
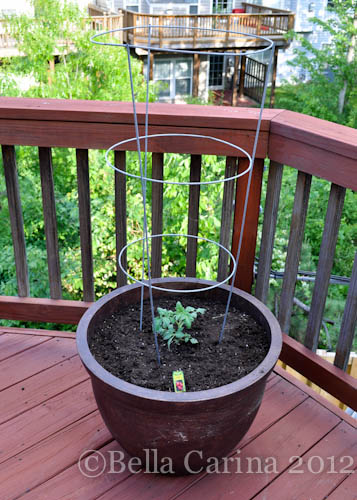 Don’t forget a tomato cage because they look small now, but these plants get pretty big!
Oh, I did plant my one and only red bell pepper plant as well. He looks rather sad and lonely without the basil, don’t ya think?
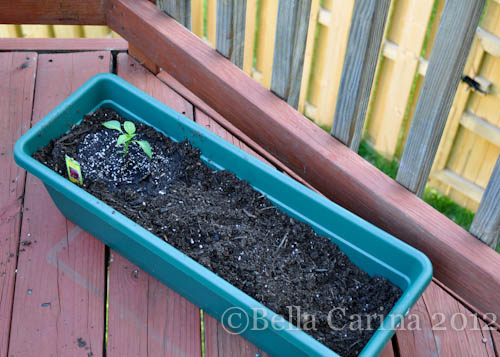 I’m attempting to grow my basil from seeds this year (I bought a grow kit with seeds from the dollar section at Target) so we’ll seed how that goes…get it…I said seed instead of see… 😉
I will probably end up buying a basil plant too just in case. I’ll let you know.
So, that’s it for our patio garden this year. Have you planted your garden yet? Hurry up if you haven’t! We should be getting some of our first tomatoes in June sometime!

We did a potted plant garden here the last two years. It worked pretty well, but I look forward to the day when I can have an actual garden.
Did you have problems with deer and other critters eating your vegetables in Ohio? We ended up having to build a fortress around our raised bed to keep them out!
Pingback: Planter Do-Over | Bella Carina
Pingback: Deck Garden Update | Bella Carina