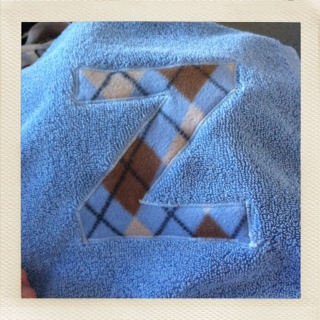
A better title for this post might be “How to Attempt to Do Applique.” I’m going to start off by saying that applique is not easy…in fact, I found it rather frustrating and difficult. I am by no means an expert at this and the fact that I am doing a tutorial may even be laughable to some, but I thought I would throw it out there for you guys, so if nothing else, you can learn from my mistakes.
I think my first problem is that I started out with more difficult fabric…namely a fluffy towel. My next issue is that I started out with some of the more difficult letters to do, namely a P and an O. The curves are the tricky parts. : / Check out how to make your own Hoodie Towel here. This is the towel that I made for my cousin’s son Pierce.
What you’ll need to embark on your own applique adventure is:
- something to applique onto (such as a blanket or t-shirt)
- something that you will applique to the other fabric (like a fabric letter)
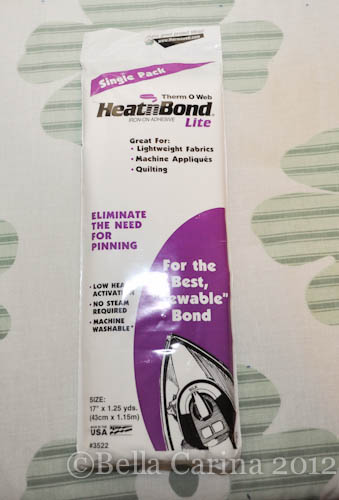
- Heat n Bond Lite (the purple package)
- a sewing machine with coordinating thread

 There’s a couple ways to go about doing this and I think I did it the “harder” way this first time around. I used my “P” template and pinned it to my argyle fabric. Then I cut around it.
 Then I cut out a piece of the heat and bond to about the size of the P, so it was easier to work with.
Be sure that you have a dry iron (no steam) heating to the “silk” setting. My cheapy iron only has number settings so I looked it up online and the recommended number was 3. Next, you’ll notice that the heat n bond has two distinct sides. One of the sides is smooth.
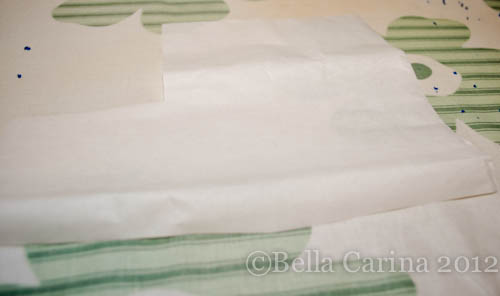 And the other side is textured, which is the side with the glue.
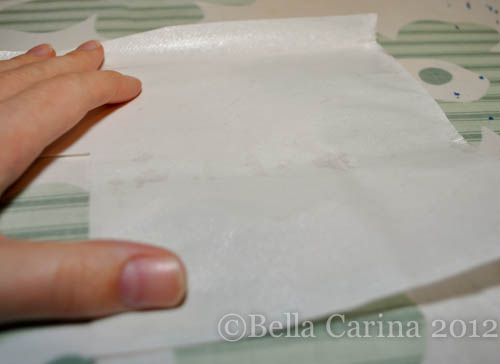 The glue side will be ironed on to the “wrong” side of the fabric letter. I then traced the “P” onto the smooth side of the heat n bond and cut it out. It should be a mirrored image of the what you want it to look like. Then iron the heat n bond onto the fabric letter. It only took a couple seconds of heat to melt the glue and make it stick. Check the edges as you go to ensure that it is sticking well.
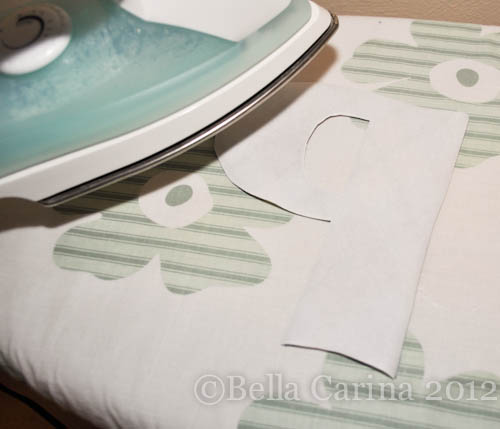 ***The “easier” way to do this (which I tried on subsequent hoodie towels) is to trace out the letter onto the heat n bond as opposed to the fabric. Cut out the traced letter. Then, iron it onto the wrong side of the fabric for your letter. After it’s cool, trim the fabric to the correct shape. Ta da! It’s one of those 6 dozen in one basket and half dozen in the other kinda things, I guess.***
Let it cool. Then, decide where you want it. I liked it angled in the corner of my towel.
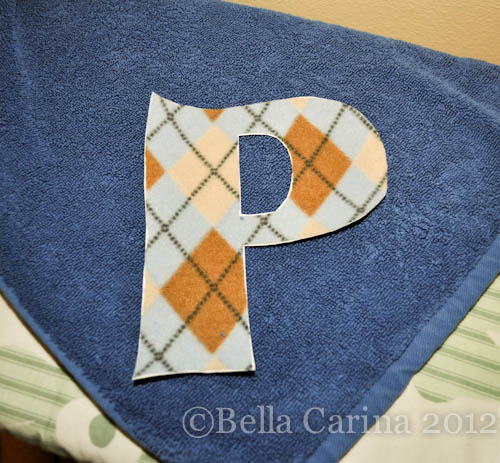 Then, carefully peel back the paper on the heat n bond.
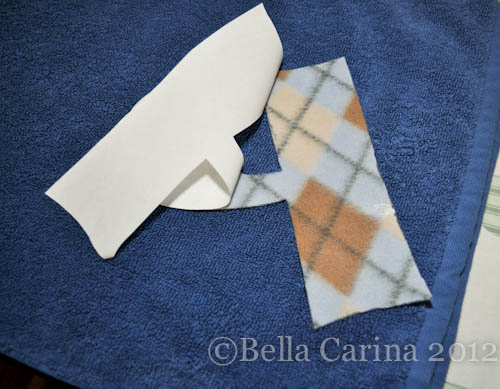 And place it on the fabric where you want it.
 Then, with the iron on the same heat setting, iron over the top of the letter. Be careful to check your fabric type. With fleece, it can melt if the heat is too high. Iron over one section for about 10 seconds and then move onto the next area slightly overlapping the last until it is stuck on the fabric well.
 That was the easy part! For this next sewing part, I would suggest practicing on some scrap fabric to see how your needle lines up. There are many stitches you can use to sew around the edge of your applique. I used a simple zigzag stitch and played around with the length of the stitch on a scrap piece of fabric until I was happy with it. Then, I chose a starting point and began to sew.
 My biggest issue was that I wasn’t patient enough. I was trying to forced the fabric through at times and go quickly, which made my stitches uneven. The curved areas were the most difficult.
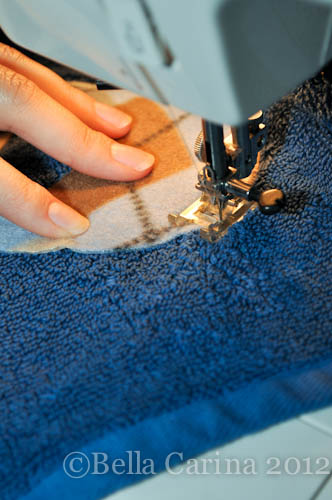 I also think that the length of my stitch was a little too long. But from far away I thought it looked pretty good!
 It was just up close where it got a little crizazy… (Sorry Pierce!)
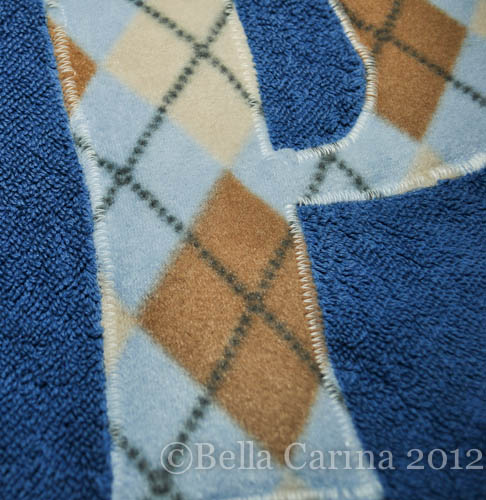 Overall, I think it turned out well for my first time!
 When I was home in California and used my mom’s fancy pants sewing machine to make my nephew Zachary’s towel it went a little better. I used a shorter length zigzag stitch, the letter “Z” doesn’t have any curves (yay!), and I went a lot slower.
So, there’s my trials and tribulations of applique. I think I’ll try my skills on something like a t-shirt next time. Does anyone have any tips for me?

