Amazing Buttercream Frosting

Sometimes when I mess around with a recipe just enough, magic happens.  That’s what happened this past Saturday when I made cupcakes for my friend Crystal’s birthday.  I think I’ve said this before on the blog, but maybe not…I’m horrible at baking cake from scratch.  I think it’s mostly because I don’t do it very often (cake isn’t my most favorite dessert…I’d much rather eat ice cream) and I’ve been told that I’ve tried the more difficult recipes like red velvet.  Anyway, I heart box cake and it always comes out perfect, but when it comes to the frosting, I’m homemade all the way.  It’s really simple to make and you won’t be sorry that you did!

Ingredients:

  • 1 stick of salted butter, softened
  • 1 pound powdered sugar (it usually comes in a box)
  • 1 tablespoon vanilla extract
  • 3-4 tablespoons whole milk

This originated from a generic recipe for buttercream frosting that my mom has used for forever and a day.  The big change is the amount of vanilla.  My mom’s recipe calls for 1 teaspoon…to that I say, Nay!  More vanilla is always better. :)  Also, I usually only have skim milk in the house, so I bought a small container of whole just for this and as Dane would say, “it was the right thing to do.”

I didn’t take any pictures when I was making the frosting, but I’ll talk you through it real quick…it’s an easy one.  First put all the sugar and the stick of butter in a mixing bowl.  Next, add the vanilla and a couple tablespoons of milk.  Use a hand mixer to beat the frosting.  Add more milk as needed until desired consistency is reached.

I bet you’re wondering how I got the awesome colors, huh?  I thought so.  If you want vivid frosting colors, the only way to go is Wiltons.
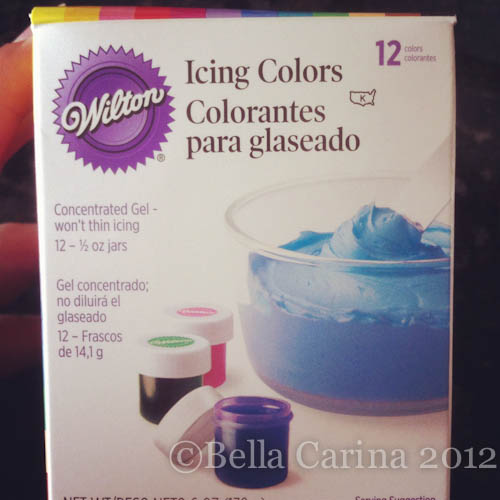
I bought this at Michael’s using a 40% off coupon (on my smart phone, of course!).  I think it was around $14 dollars before the discount, which seems really expensive for food coloring, but I swear this will probably last me for years…I’m talking all of my unborn children’s birthday cakes until their 18…I might have to get a little creative towards the end with colors… 😉  They sell individual colors in larger containers as well, but this had most of the essentials that I wanted.  My plan was to make orange and teal cupcakes (Crystal’s wedding colors).  This pack came with the teal, but no orange.  I referred back to my first grade education and got creative.  Here’s what I used.
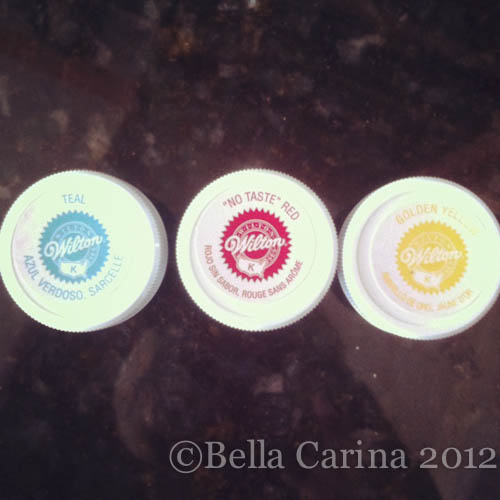
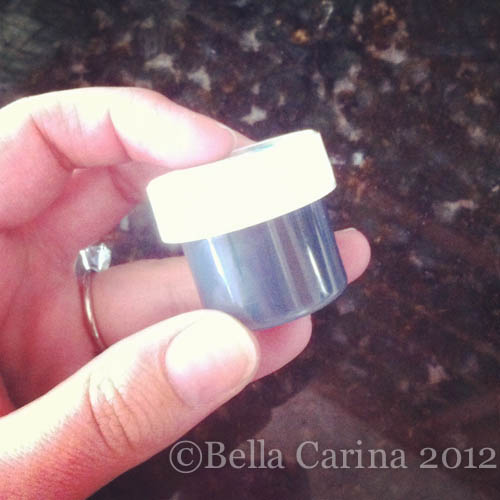
I split the frosting in half into two bowls.  In one, I mixed a little bit of red and a little bit of golden yellow (alternating) until I got the color orange that I wanted.  At one point it was looking dangerously pinky…more yellow fixed it right up.  For the teal, all it took was one toothpick dipped in the color to reach the shade that I wanted…ONE toothpick!  This stuff is potent!  And it’s great that it doesn’t thin the frosting since it’s a gel.  Here’s a side view of the teal to give you an idea of how small these guys are.
Then I used these awesome disposable decorating bags with reusable tips to frost the cupcakes with lots of fun designs.
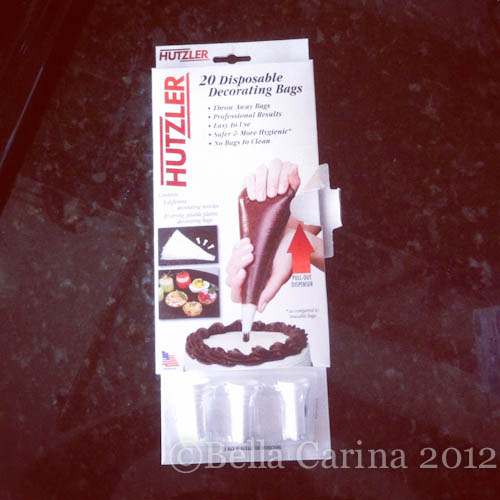
I am by no means an expert cake decorator, but it was fun and easy and I think it gave the cupcakes a little something more than what my butter knife could have done, dontcha think?

It was a little warm on Saturday, so after I was done decorating, I popped the cupcakes in the fridge to let the icing set up a little.  I was quite impressed and so were the fellow party goers.  :)

I was able to frost all the cupcakes (24) with one batch of frosting, but just barely.  So, don’t get too crazy with your designs or you’ll run out.  Or, just make a double batch and have extra…this frosting is delicious on graham crackers.  :)

Enjoy!

Posted in Food | Tagged , , | Leave a comment

Downsizing the Garden: Potted Vegetable Garden

So, I realize that I get a big fat F for the day for being horrible at keeping up with the blog. That’s F for fail in case you weren’t sure. I owe you approximately one million photos of the befores of our house and probably at least half the amount of photos for some rooms that are getting up to speed (although I’m sure the whole house will be “in progress” for quite a while). For all this, I am sorry.

In other exciting news, I had my very first comment left by someone I don’t know in real life the other day! I was probably more excited than I should have been, but in an ocean of spam comments that I get everyday it was exciting to see a real life comment! And don’t get me wrong, I love when people I know comment on the blog, but there’s something exciting about a stranger. 😉

Anyway, on to what you all came here for, my new deck/patio garden! Last year, we went all out and did a full on above ground garden bed and planted all kinds of vegetables like tomatoes, basil, and an assortment of peppers. That was back when we lived on a half acre of land in Ohio. Now that we’re back to being “city folk” and we have a postage stamp of a yard, which is basically a bathroom for our dog, Roman, we decided that a patio garden on our deck would suit us better.

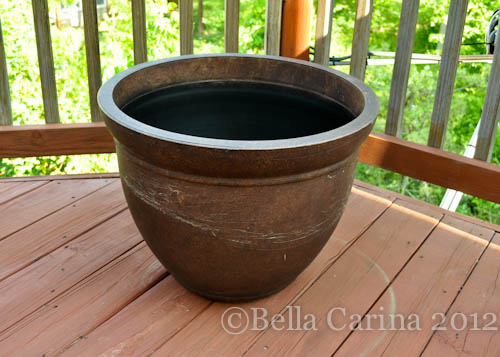
Before researching anything, we bought these large pots from Costco on a whim (Costco does that to us sometimes).  I think they were about $10 each and are made out of some type of plastic, but look a little fancier than your average plastic pot.

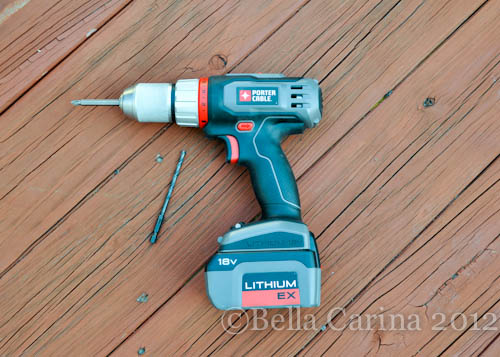
After doing a little research, I was slightly dismayed because there were no drainage holes in this pot and it turns out, poor drainage is a great way to kill your tomato plants.  So, I decided to just go for it and drill some holes in the bottom myself.  I used our regular drill.

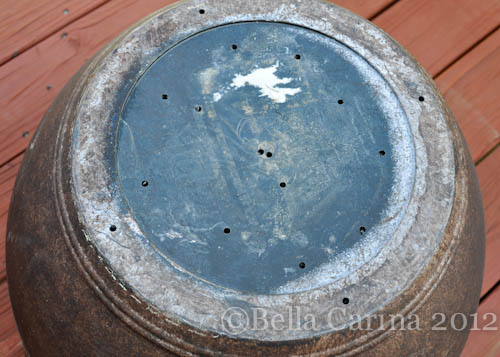
When I flipped the pot over to get down to business, I discovered that it actually told you to “drill here” for drainage holes…duh!  There was no real rhyme or reason for where I put the holes.  Just drill in and then flip the switch to reverse and dill it back out of the hole.  This took less than 5 minutes per pot (we had two).

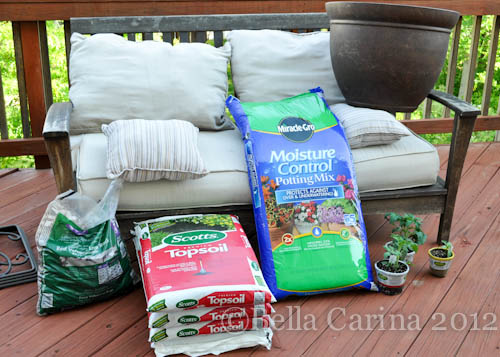
Here’s the supplies that you’ll need to do this project:

  • large pot
  • drill
  • rocks (I used lava rocks because they were the cheapest)
  • cheap top soil
  • fancier soil
  • plant
  • tomato cage (if you are planting tomatoes)

(Please ignore the cushions on the couch…new cushions are on my to-do list!)

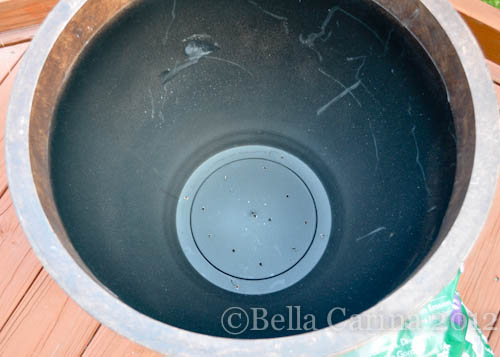
Here’s my empty pot all ready to go with freshly drilled drainage holes.

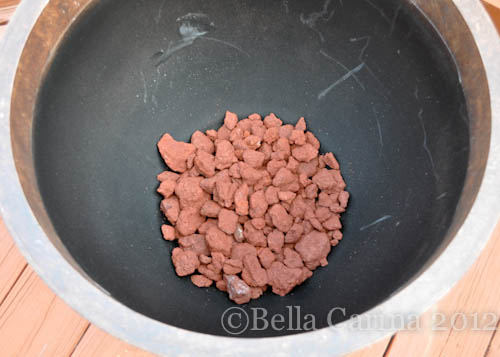
My extensive quick internet research not only taught me that I needed drainage holes in my pot, but it also suggested adding rocks as a bottom layer in the pot for even better drainage.  I bought all my supplies at Walmart and lava rocks happened to be the least expensive rocks that I knew wouldn’t fall through my drainage holes.  I poured some rocks into the bottom of my pot.

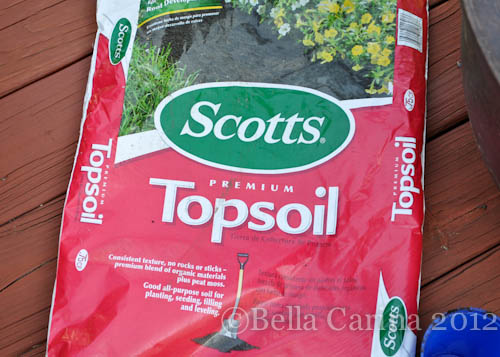
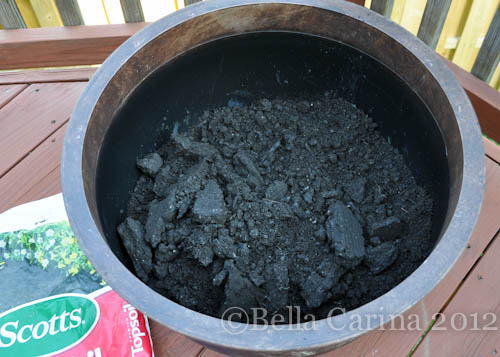
Last year, when we built our above ground garden, we were shocked to find out that the most expensive part about our garden was going to be the soil!  That’s when we decided that mixing inexpensive topsoil with some fancier Miracle Grow (full of nutrients and whatnot) was a good middle ground.  Our plants did very well in the soil mixture and since I was going to need quite a bit of soil to fill these pots, I went with the same method.  So, after the rocks, I filled the pot about 2/3 of the way with regular old topsoil.

I happened to use Scotts brand this time mainly because the bags of the even cheaper off-brand soil were all open and leaking soil…not so good for the trunk of my car, but last year we used the $0.99 bags from Home Depot and they were fine.  Someday I’ll have a truck…if someone’s buying, I’ll take a 4 door Toyota Tacoma (grey with black rims)…just sayin’ 😉

Be sure to break up all the chunks.  I have no idea where my gardening supplies are (is it horrible that we’re still not totally unpacked after 6 weeks??) so, I just barehanded it (don’t worry, Mom, I took my ring off first!…my mom may or may not have misplaced her wedding band in a pot of soil only to be found a couple years later by my grandpa!)

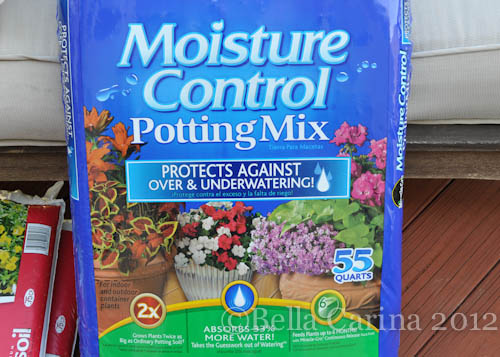
Lastly, I cracked open the bag of Miracle Grow.  They sell this huge bag at Costco for around $10 and it’s the best deal I’ve found.  I like the moisture control because it rains a ton in the summer here on the Right Coast, so I rarely have to water the garden and on days it doesn’t rain, I’m not scared that my plants are thirsty.  I have no idea if it actually works, but it gives me a little peace of mind when we are out of town for a few days.

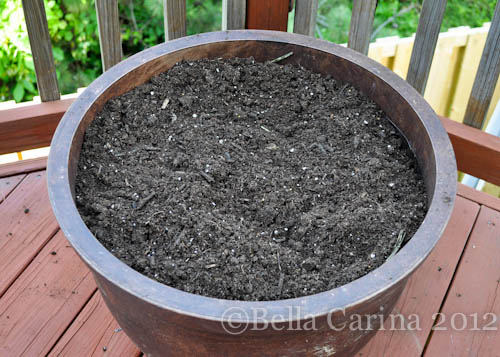
Top off the pot with the fancy stuff and mix it up a little.

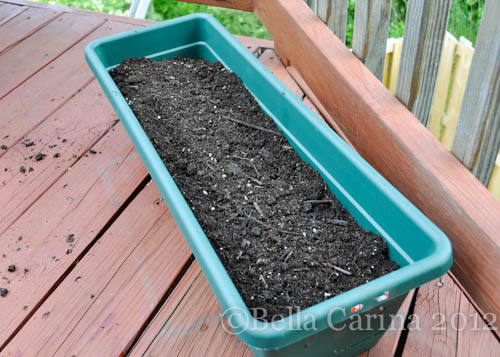
Along with this pot, I filled another one exactly the same way and then did a similar mix of soils in a smaller planter that I plan to use for a bell pepper plant and basil (fresh from my garden caprese salad, anyone?  Ya, I thought so. :)).

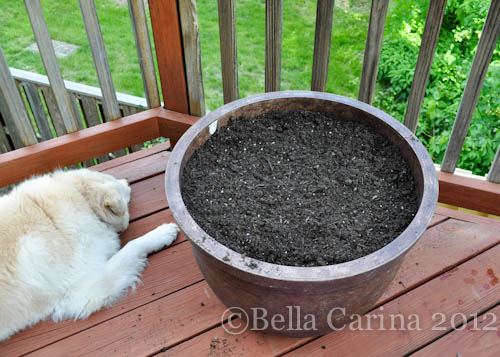
Roman’s obviously standing by ready to help at a moments notice.

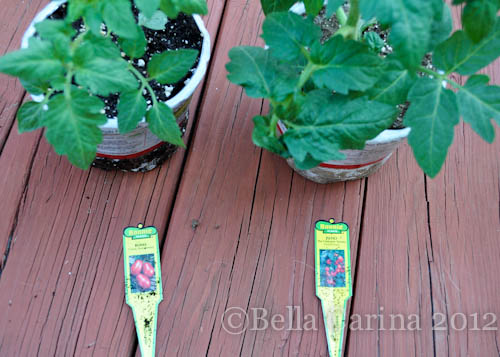
Last year, we did three different tomato varieties.  I can’t remember exactly which ones, but we did a couple medium sized tomato plants and a cherry tomato plant.  We ended up not really eating the cherry guys all that often since they only seemed to ripen a couple at a time (we would eat them as they came, but never had a huge crop all at once), so we decided to just do two medium sized plants this year.  We aren’t big fans of the huge tomatoes (they tend to not be as sweet).  Also, bigger tomatoes equal bigger plants and I didn’t want the patio to turn into a tomato jungle.  In case you don’t have super vision, I’ll just tell you what the labels say.  We went with a “patio tomato” plant and a “Roma”.

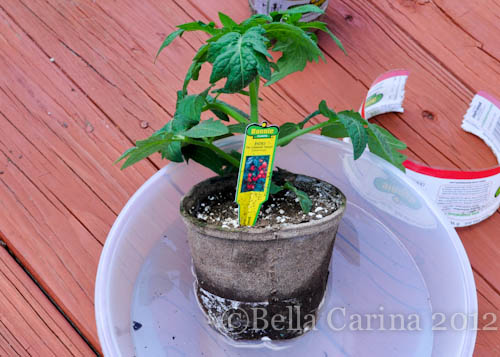
The instructions on the plants say to remove the plastic and soak the plant in water before planting.  These pots are the kind that you plant in the soil and they are supposed to biodegrade.  I don’t know if they are really any better than the plants in plastic containers, but it’s what Walmart had.  I used some of these and some of the regular kind last year and they both did well.

I think I should have watered the soil for a couple days before planting the tomatoes to make sure it was good and ready, but I’m impatient, so I just planted them in the dry soil and watered it after.

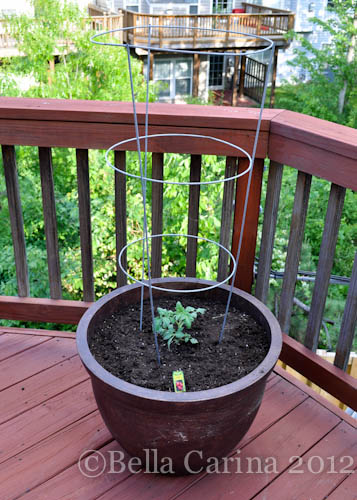
Don’t forget a tomato cage because they look small now, but these plants get pretty big!

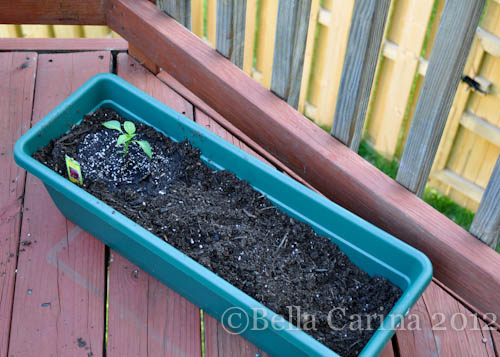
Oh, I did plant my one and only red bell pepper plant as well.  He looks rather sad and lonely without the basil, don’t ya think?

I’m attempting to grow my basil from seeds this year (I bought a grow kit with seeds from the dollar section at Target) so we’ll seed how that goes…get it…I said seed instead of see… 😉

I will probably end up buying a basil plant too just in case.  I’ll let you know.

So, that’s it for our patio garden this year.  Have you planted your garden yet?  Hurry up if you haven’t!  We should be getting some of our first tomatoes in June sometime!

Posted in Home & Garden | Tagged , , | 4 Comments

Wegmans Crab Cakes and Pilaf

The east coast has this fantastic grocery store (it reminds me a lot of Whole Foods, but they also sell regular old groceries like things that have {gasp} refined sugars) called Wegmans.  It also has similar prices to Whole Foods (read: it’s expensive!), but we were told some of their ready-made food is pretty darn tasty…particularly their crab cakes.  Crab cakes are a new thing to me.  I’m thinking it’s our proximity to Baltimore, Maryland (apparently known for crab cakes) or maybe it’s just another “east coast thing” that I need to learn about, but either way, this was my second time eating crab cakes and I think I like them.  Maybe I need to actually go to Baltimore to see what all the fuss is about. 😉

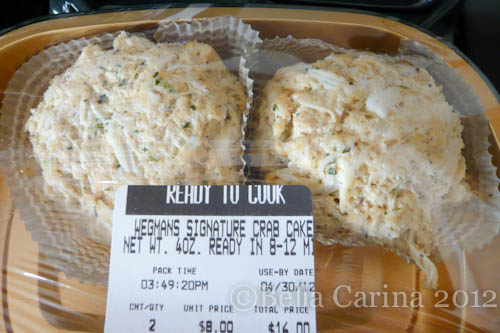
Anyway, Dane and I went to Wegmans on a search for some pre-made crab cakes, but alas, they only had the “ready-to-make” ones.  So, after some convincing by the guy behind the counter that they were easy to bake and came with instructions, we went for it.  The crab cakes were $8 each (ouch!) and came in their own oven safe container to bake them in.  All we had to do was preheat the oven to 400 degrees, dump the crab cakes out of their paper wrapping and bake.  (In retrospect, we should have tried to pan fry them because we both prefer a crispier texture, which baking did not attain.)

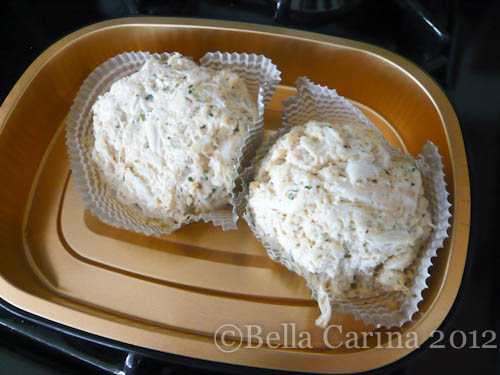
Here’s a picture that shows the oven safe dish they came with a little better.  You’ll need to take the crab cakes out of the paper before they are baked.

We thought some rice pilaf would make a good side dish, so I went with my go-to recipe by Rachel Ray, which I would love to share with you today!  I’ve always loved rice pilaf, especially Near East brand that you buy in a box at the grocery store.  The bummer is that it’s so expensive! (I’ve seen it for upwards of $4 per box.)  This recipe is super inexpensive and delicious…double win!

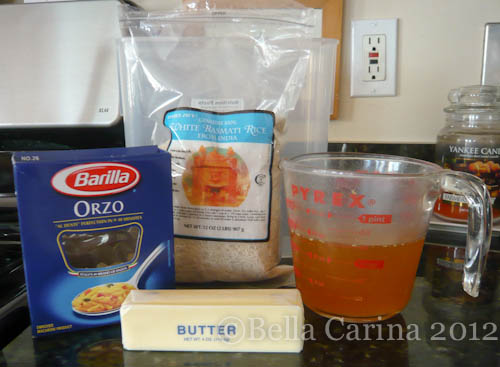
Ingredients:

  • 2 tablespoons butter
  • 1/3 cup orzo pasta
  • 3/4 cup white rice
  • 1 1/2 cups chicken broth (I use chicken bullion cubes dissolved in water)
  • Salt and/or pepper to taste

{modified from this recipe}

This recipe can also be made with brown rice, but the cook time is longer and the measurements are slightly different.  Here’s a link to Rachel Ray’s version here.

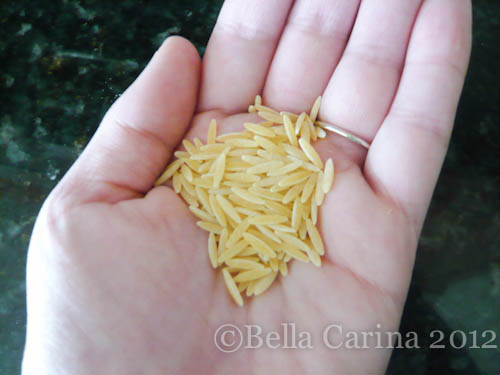
Orzo pasta is what makes plain ol’ rice become pilaf.  Orzo is just mini pasta.  You can substitute the orzo for broken up bits of pasta, but it just won’t look as pretty.  😉

I start by microwaving 1 1/2 cups of water in a pyrex liquid measuring cup to make it easier to dissolve the bullion cubes (note: if you want to make a lower sodium version of this, you can just use water, but it tastes so yummy using chicken stock!).

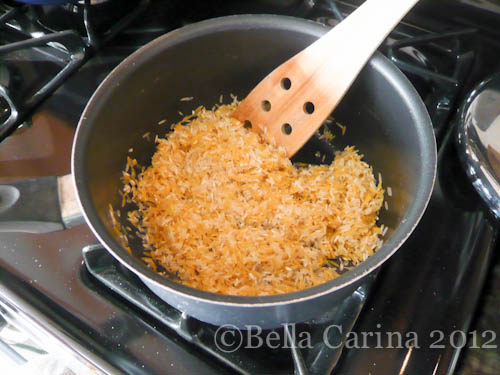
In a medium saucepan, melt the two tablespoons butter (can be substituted with extra virgin olive oil) over medium heat.  Add the orzo pasta and rice and stir constantly for about 3 to 5 minutes being sure that the pasta and rice don’t burn.  I also add a little bit of salt at this point (but not too much since the chicken stock adds plenty of flavor).

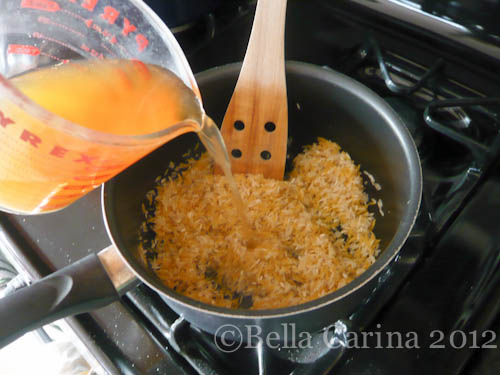
Once the rice is golden brown, add the chicken stock.

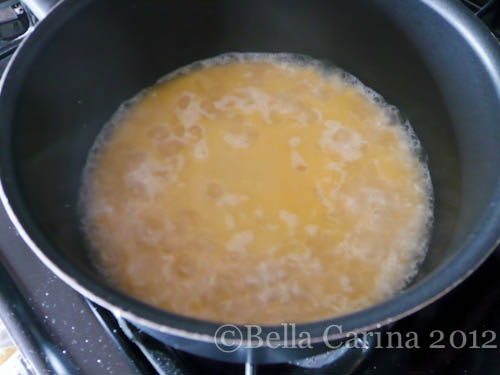
Bring to a boil.  Then cover and turn down to a simmer.

Simmer for 18 minutes and then fluff with a fork and serve.

We baked the crab cakes until they reached an internal temperature of 150 degrees, which took about 12 full minutes.

Here’s the final product!

Like I said above, I think we should have tried pan frying the crab cakes, but they weren’t bad.  I’m not sure if I just don’t really love crab cake, or if I just haven’t had the right one.

Anyone else like crab cakes?  Where should this new-to-the-east-coast girl go for the best crab cakes around?

Posted in Food | Tagged , , , | 3 Comments

Lemon Garlic Chicken with Thyme

I was able to make a quick trip to California last week to get some wedding planning done and to snag a few much needed hugs and kisses from my nephew Zachary. I was also able to sneak in a day with my besties Jenna and Cara. Our day was filled with an awesome hike, some champagne sipping, and a delicious lunch prepared by Chef Jenna, which included this recipe I am sharing with you today. This is truly some of the yummiest grilled chicken I’ve ever had.  I was worried I wouldn’t be able to recreate the juiciness that Jenna achieved, but I did! And I even did the grilling on my own, which was a first…it was a proud moment. Haha :)

The trick is in the marinade for this one and I let it marinate for almost 24 hours. I got the “recipe” from Jenna, which was not very specific, so I’ll just break down what I did.

Marinade Ingredients:

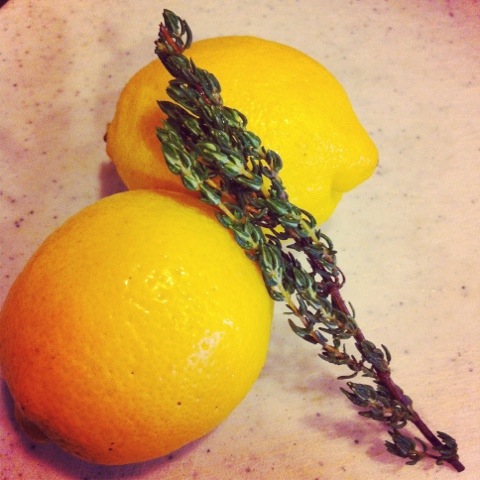
  • the juice of 3 small lemons
  • 1 small lemon, sliced
  • 4 tablespoons extra virgin olive oil
  • 2 cloves garlic (diced or pressed with garlic press)
  • salt
  • lemon pepper
  • 3 sprigs fresh thyme

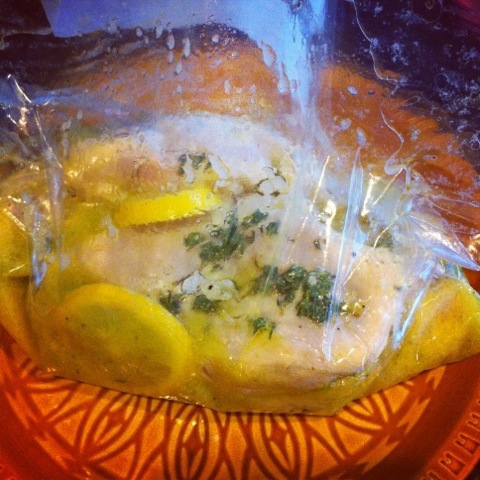
I threw all the ingredients along with three boneless, skinless chicken breasts into a gallon ziplock bag and tossed it in the fridge.

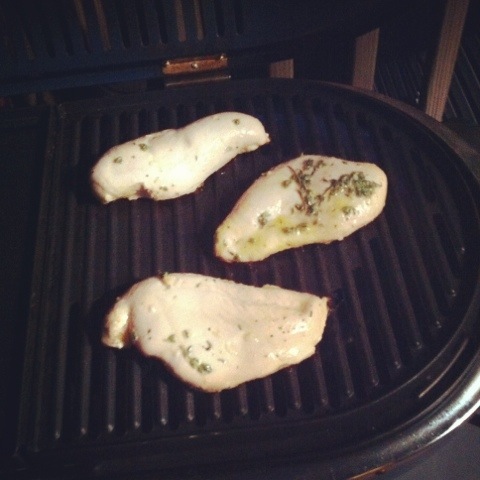
20120424-223028.jpgThe next evening, about 45 minutes before I wanted to grill the chicken, I took it out of the fridge to warm up to room temperature.

Then I grilled the chicken for 7 minutes on each side over medium high heat.  This was the first time grilling here in Virginia and my first time doing everything on my own…it’s a big deal, people. 😉

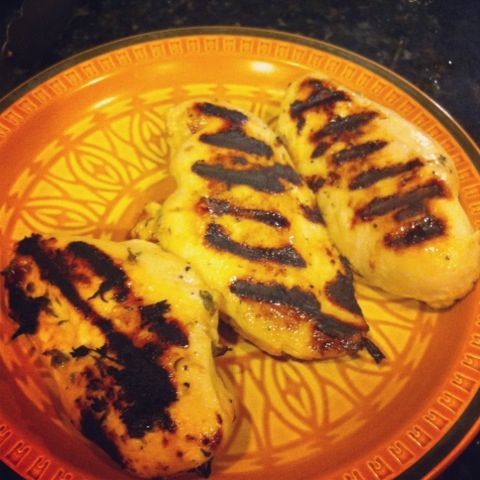
20120424-223705.jpgOnce it was grilled to perfection, I used a thermometer to be sure that the internal temp was at 165 degrees.  I’m a little neurotic like that.

I bought this container of amazingness at Costco the other day after trying it a few weeks ago at our friends’ house.  This chicken can be served all kinds of ways, but since I had this tzatziki just waiting in my fridge for something special, I decided to take this meal onto the Mediterranean side.

Along with some warmed up store bough naan bread, this meal was super delicious.

Oh, and we also had green beans on the side just to add some color, but I forgot to put it on the plate for the photo.  Gotta eat your veggies!  I had also purchased bell peppers and onions at the store and planned on sauteing them to put on top, but I got lazy.  Believe me, there’s plenty of flavor already.  I think this was one of my favorite meals I’ve made in a long time.  Thanks for the recipe, Jenna!

Related Posts Plugin for WordPress, Blogger...
Posted in Food | Tagged , , , | 2 Comments