I love this time of year. In fact, I would say that Autumn is my favorite season. I love the cool, crisp air and all the beautiful colors. I also love Halloween!
Last year, we didn’t get many trick or treaters, so I decided to get a little crafty this year and make a cute sign to put up outside to entice small children to my door 😉 (and hopefully not end up with tons of extra candy that we have to eat). I wanted the sign to be simple and I was ok with it looking homemade and not perfect (for anyone that knows me, this is no easy task since I am usually a complete perfectionist). I also did not want this project to cost a lot.
Supplies you will need to complete this project:
- one 1 x 6 board 8 ft long (I bought mine treated because I knew it would be outdoors)
- one piece of 1 x 2 wood (needs to be at least 18 inches long if you are using 1 x 6 boards)
- circular saw (or hand saw if you want a work out)
- electric sander (or sandpaper)
- safety equipment (safety glasses, ear protection, etc)
- screws (long enough to go through your 1 x 6 and 1 x 2, but not so long that it will stick out the other end…I used 1 1/4 inch wood screws)
- electric drill with screw driver bits
- spray paint primer, black flat paint, and clear enamel
- white craft paint and paint brush
- orange ribbon (I chose orange with white polka dots)
- staple gun
I started by going to Lowe’s to buy a piece of 1 X 6 board. If you’ve ever been to the lumber section of Lowe’s or Home Depot you know that the choices are endless. I went with the cheapest 1 x 6 I could find which ended up being treated lumber (they spray it with something to make it last longer outdoors) for about $3. You could also use white wood, but it is usually a little more expensive. I already had some 1 X 2s at home from another project and we usually have a pretty diverse selection of screws in our garage, so I didn’t need to buy those either.
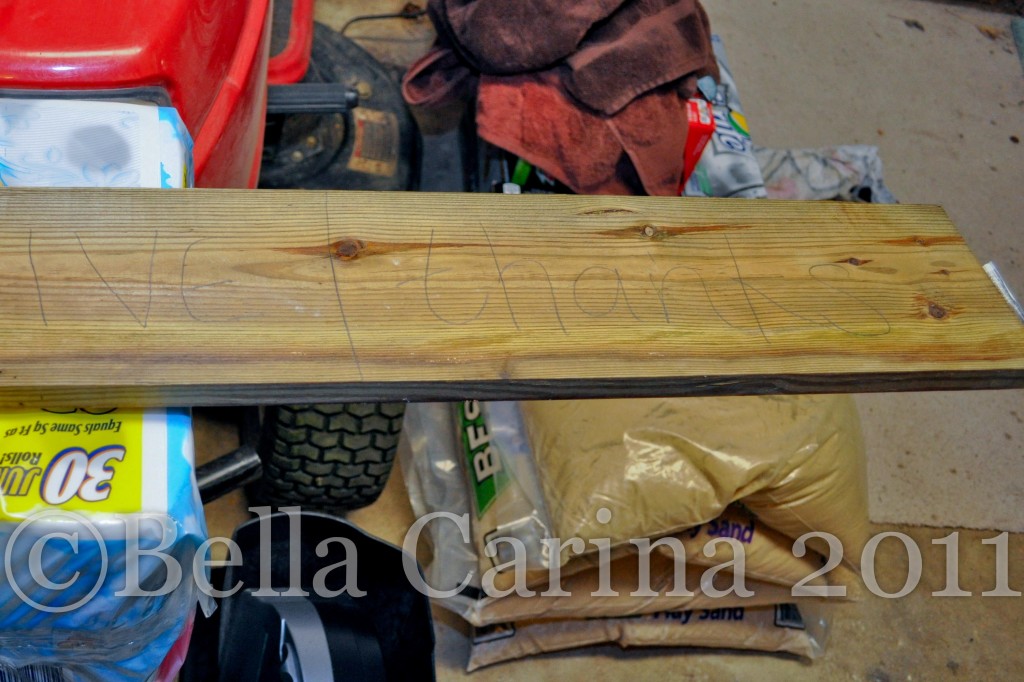
The first thing I did was decide how to cut the wood. I used a very technical method of writing out the words all in pencil to figure out the proper spacing. My original intent was just to write out “trick or treat,” but I had extra wood so I went ahead and wrote out “give thanks” as well. I drew lines in between so we would know where to make the cuts.
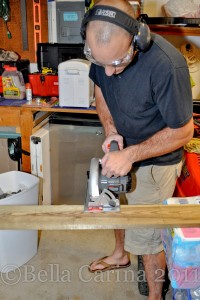
Once I knew where I wanted my cuts to be I called in my wood cutter that I always have on hand (aka my boyfriend, Dane). Note: Do you like the irony of him wearing safety glasses and ear protection along with flip flops? Ya, he should be wearing closed toed shoes. Also, someday hopefully we will not be so cheap and actually purchase real saw horses instead of using stacked up water bottles…awe, someday. This method is not recommended, but we do what we can with what we have.
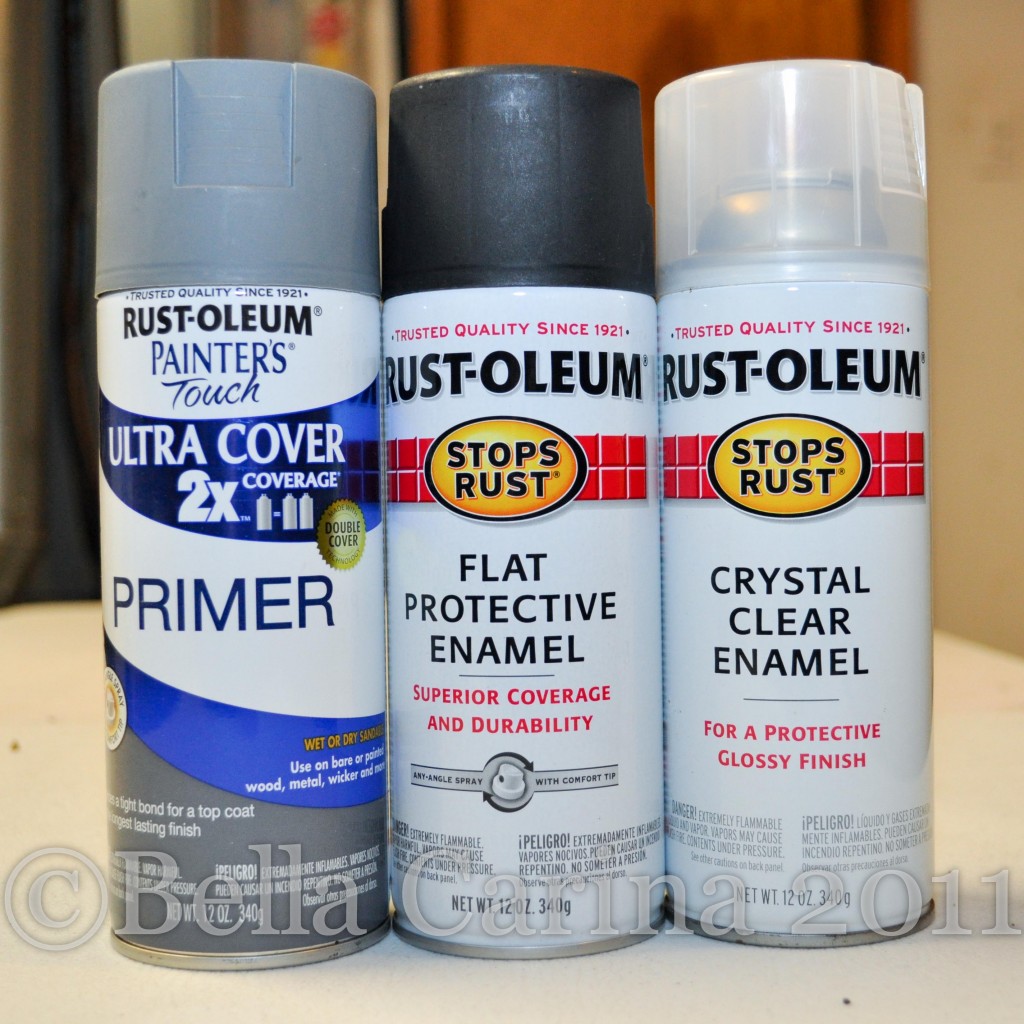
After quickly sanding each piece (I just did a rough sanding, I mean, people aren’t going to be eating off this thing) I sprayed all the pieces of wood with spray primer. I already had the spray primer and clear enamel so I just had to buy the black spray paint which set me back about $3. I am new to the world of spray paint, so I don’t have a preference yet as far as brand. I actually didn’t remember which brand we had at home, but ended up with all Rust-oleum. The spray paint with the trigger spray is apparently easier to use and doesn’t get your finger tip all painty, but also costs a few bucks more a can.
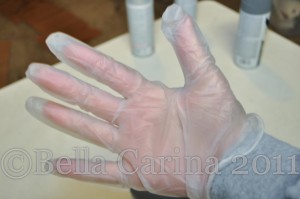
Speaking of “painty” finger tips, I bought a pack of gloves from the dollar store to make sure to avoid this catastrophe. I figured an 8 pack of gloves for $1 is still cheaper than the trigger spray paint. Problem solved. All those years of Girl Scouts really paid off.
I used an old box that I had from my latest trip to Costco to lay the boards across so I could get to all the sides. I didn’t spray the back since no one would be seeing it anyway. I decided to do this project smack in the middle of a crazy rain storm (thank you very much Ohio) so I was in my closed garage…not exactly well ventilated, so I wouldn’t recommend my method, but I got ‘er done.
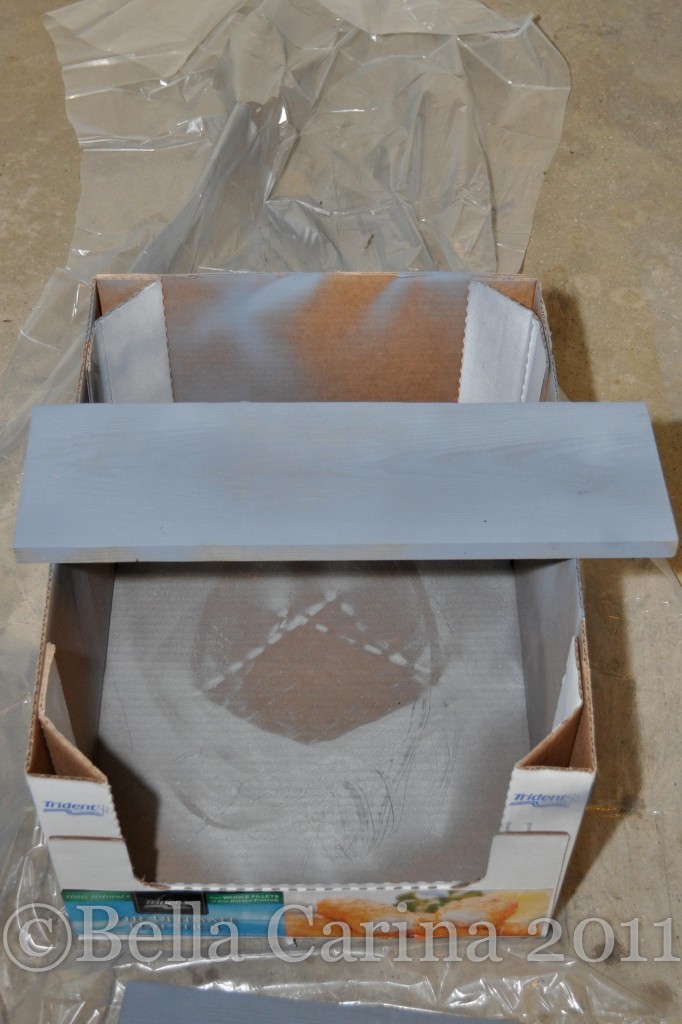
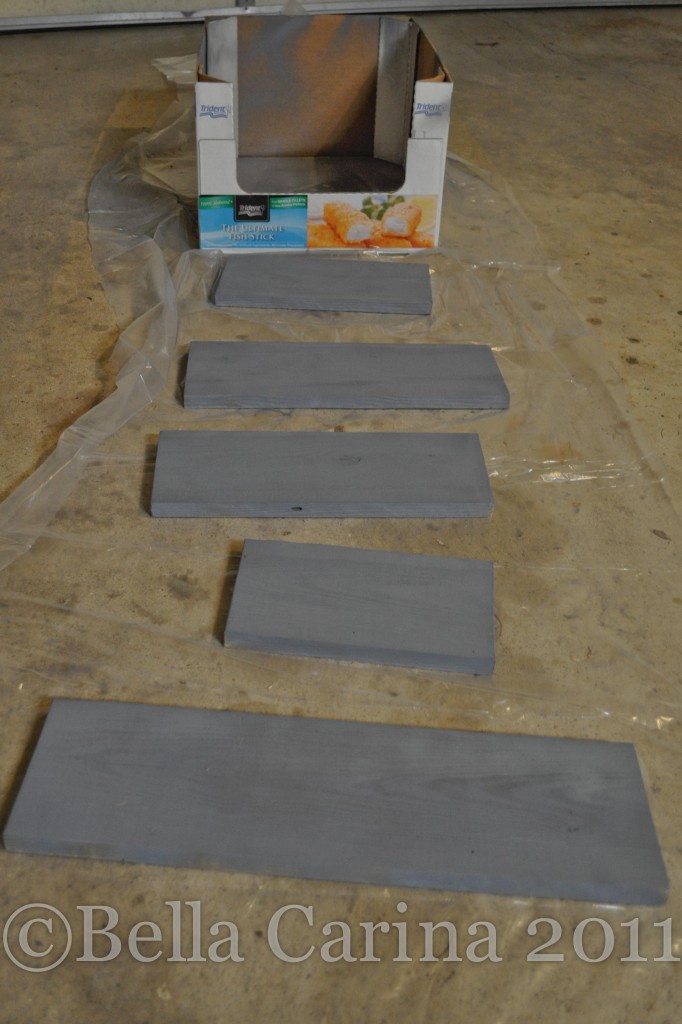
If you are wondering why I spray painted 5 boards when trick or treat is clearly only 3 words, it’s because I went ahead and sprayed the “Give Thanks” signs with the primer since it all needed to be done.
The can says that the paint will be dry to the touch within 20 minutes and you are able to handle fully within 1 hour, but recommends 24 hours until it is fully cured. I ended up waiting until the next day to spray the black paint, but you can apply the black paint after 20 minutes. Here’s the black paint done:
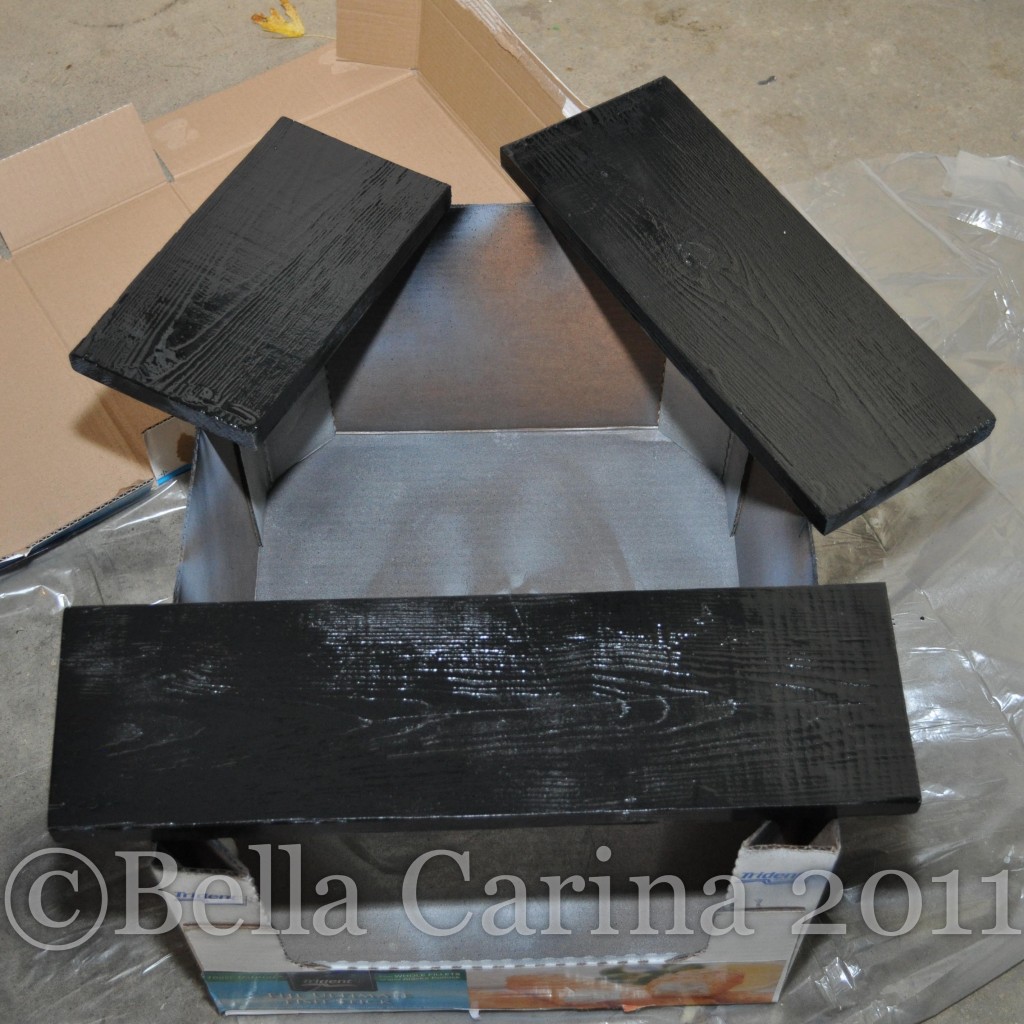
The directions on the black paint says to apply multiple coats a few minutes apart. It also says it will be dry to the touch in 2-4 hours and can be handled in 5-9 hours. I waited a few hours before I carefully brought the signs inside without touching the top surface of the sign to paint the words using my craft paint. I used a pencil to lightly write out the words before using my paint and brush. I don’t think of myself as being all that artistic but I felt confident enough that I could paint a few words by hand without too much trouble. If you are less confident, I have seen ways to iron-on images and words onto wood. I am sure you can find the supplies in a craft store, but I decided against that method since I was going for the less perfect, more homemade look anyway.
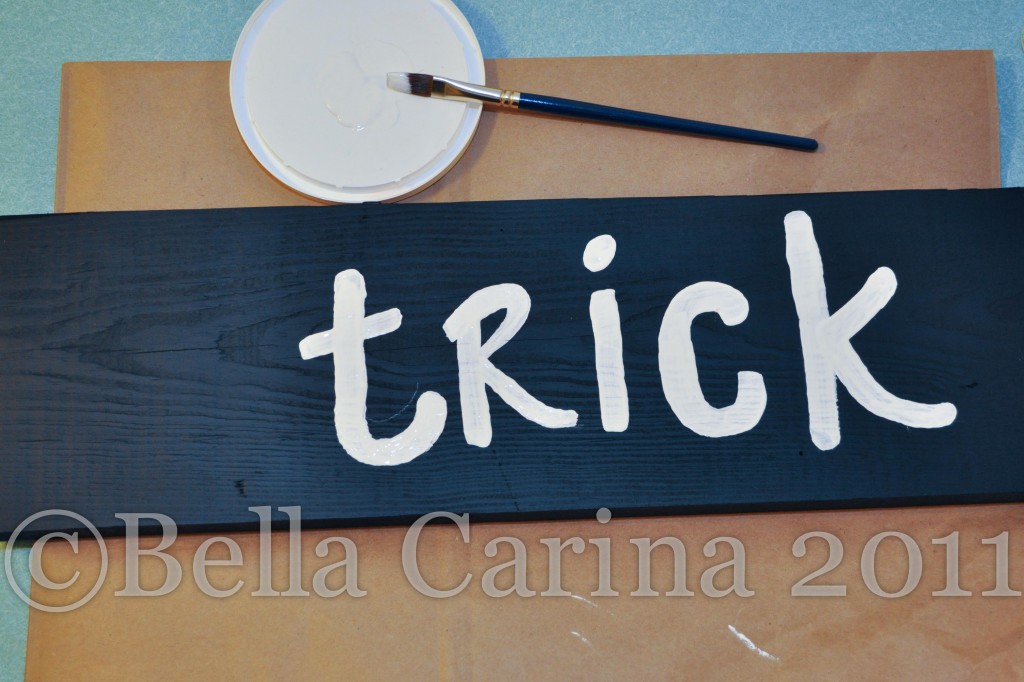
The trick (no pun intended) to painting the letters nicely was a steady hand, light touch, and making sure that there was enough paint on the brush. Instead of trying to get too fancy, I just used a slightly modified version of my own handwriting which I think made it easier. One thing I might have change when I do this again would be to buy some slightly higher quality paint brushes. I had little hairs coming out the whole time which would always (of course) end up on the wood or adding little wisps of white paint at the edges of the letters…annoying! You can kind of see in this photo how I used the pencil as a rough guide, but didn’t paint over all the pencil. Yes, you can still see it on the final project, but since it’s on black paint I didn’t think it was that big of a deal. Also notice that I started the word ‘trick’ slightly off center. This is so that I can embellish the sign with a bow later on.
I let the paint dry overnight and then used the clear enamel to protect my little art project from the elements. Once again, I placed my pieces on the box and wore my gloves. This time, the weather was nice, so I opened up the garage door (hopefully saving more of my brain cells than the previous night).
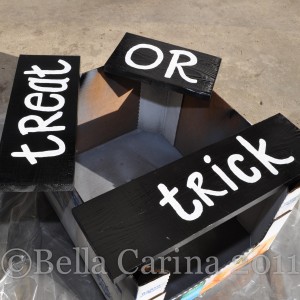
I let this dry for about 30 minutes (as the can instructed) and then called my wood cutter in once again to cut my 1 x 2 to the correct length.
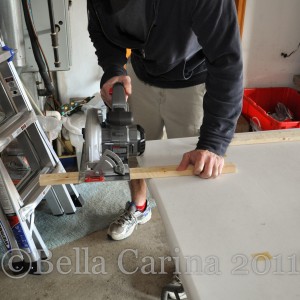
As you can see, we got a little classier this time and used the plastic table as a support. Note: closed toed shoes this time around.
Next, we drilled pilot holes in the 1 x 2. (This is after I attempted to take a short cut and just drill straight into the wood. The 1 x 2 split almost immediately. Luckily, we had some extra wood on hand, so Dane was able to cut me another piece. Trust me, drill the pilot holes.)
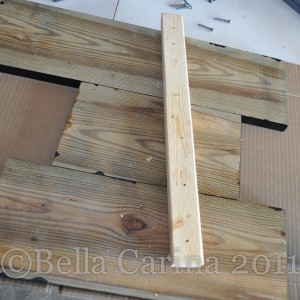
Next, drill two screws into each piece of wood from the back of the sign. I used 1 1/4″ screws so that it would go fully through the 1 x 2 , but only far enough into the actual sign to make it secure. (Even though the wood is called 1 inch thick, it is actually smaller because they run wood through a planer to give it a more finished look). Make sure that you don’t drill through the front (I may or may not have done this on the first screw. Apparently, I don’t know my own screw driver strength. If that does happen, just reverse the screw out slightly until all it right it the world again).
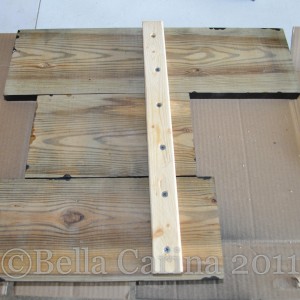
I positioned my pieces slightly off center for that more “not perfect” look that I was going for. I will note here that we considered making this a sign that we could stake into the ground. If you wanted to do this, just make your 1 x 2 longer or buy the pre-cut wood stakes from the hardware store and cut to the proper length.
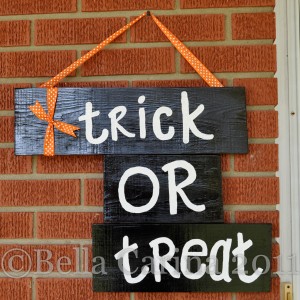
I used my orange ribbon that I bought from the craft store and simply wrapped it around the sign and tied a square knot. I used scissors to cut a “v” shape at the ends of the ribbon to give it a more finished look. Then I used my staple gun to staple ribbon to the back in order to hang it. I probably used about 5 staples per side since the sign does weigh a little bit. I’m hoping that it holds up. We’re 2 days and counting without it dropping. 😉
Here’s a little cost breakdown:
- 1″ x 6″ x 8′ piece of treated lumber ~ $3
- 1 can black spray paint ~ $3
- orange ribbon ~ $2
- white craft paint ~ $1
- spray primer, spray enamel, brushes, tools, etc ~ Free, already owned
- Total cost ~ $9
Here’s the final product!
So, what do you think? Will we get more trick or treaters this year? Has anyone else been crafting to decorate for Halloween?


