Let me start this post by saying I’m not a huge fan of peanut butter. I know, I know…I’ve been chastised for this before. I mean, I like peanut butter and jelly and all, but I have my limits. The thing is, there is a peanut butter monster that lives in my house…his name is Dane. So, you might call this recipe a labor of love.
Does anyone else have several bags of Halloween candy left? We do. In fact, the peanut butter monster bought an entire bag of just Reese’s Peanut Butter Cups along with the peanut butter cups that already came in the assortment bags. When it came time to make a dessert for a party we attended this last Friday, I knew I had to get rid of some of those peanut butter cups. (I also brought the 3 Ingredient Pumpkin Spice Cake along.) I tossed “peanut butter cup desserts” into the google machine and it shot back this recipe (found here) for peanut butter cup brownies. Now, if you have ever baked with me, I feel that most recipes are not open for interpretation, but I modified this one. And, for good measure, I added peanut butter frosting on top…call me crazy.
Here’s what you’ll need to make these delicious (according to Dane) treats.
Ingredients:
For the brownies~
- 12 oz of semi-sweet chocolate chips
- 1 1/2 sticks of butter, cut into tablespoon sized pieces
- 6 tablespoons cocoa powder
- 4 eggs
- 2 cups white sugar
- 3 teaspoons vanilla extract
- 1/2 cup creamy peanut butter
- 1 teaspoon salt
- 1 1/2 cups flour
- 14 full size Reese’s Peanut Butter Cups
- 1 cup powdered sugar
- 1 cup creamy peanut butter
- 5 tablespoons butter, softened
- 1 teaspoon vanilla extract
- 1/4 teaspoon salt
- 1/3 cup milk
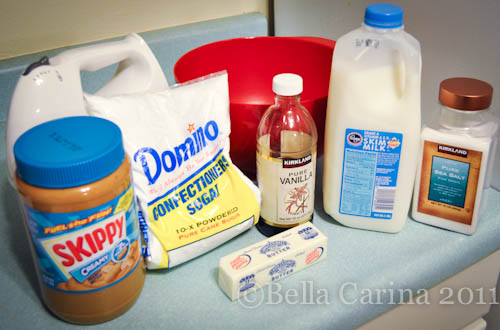 First, preheat your oven to 350 degrees. This recipe will make enough for a 9 x 13 pan. I have one of those snazzy as seen on TV brownie pans (gift from Dane
  ) which is a random size, so I had used that and then a 8 x 6 pan for the extra batter. Whatever pans you use, spray it with non-stick cooking spray and set aside.
Put the chocolate chips and butter into a microwave safe bowl.
 If you have a microwave that is more powerful than the 900 watt wonder at our house (oh, the joy of renting), then you should only have to microwave this for about 45 seconds to melt all the butter and chocolate together. I had to add about 25 seconds to that. Mix it all together.
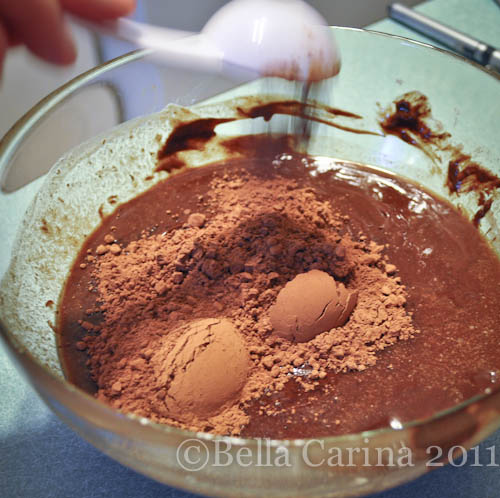
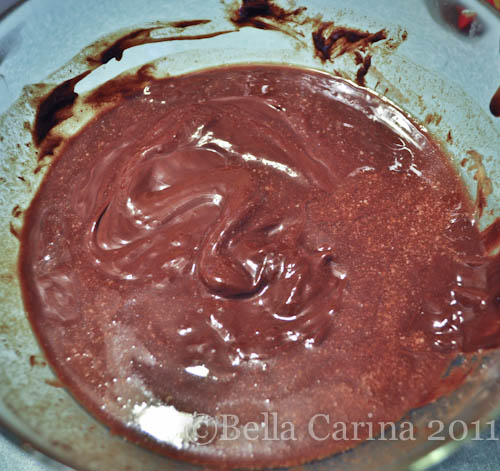 It doesn’t look all that pretty at this point, but I’m sure that melted butter and chocolate can’t taste all that bad, right? Add the cocoa powder and mix until it is fully incorporated. Set aside.
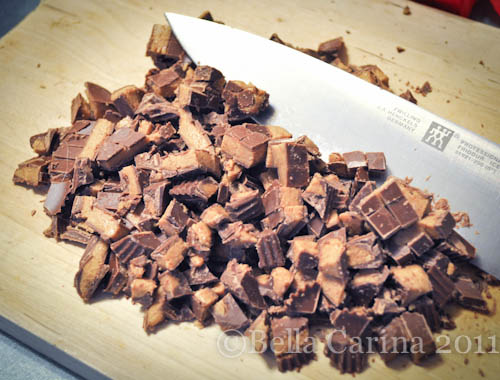
 Have your sous chef (aka Dane) unwrap and roughly chop all the peanut butter cups. Keep an eye on him to make sure he doesn’t sneak too much! Set these aside, you won’t need them until the end.
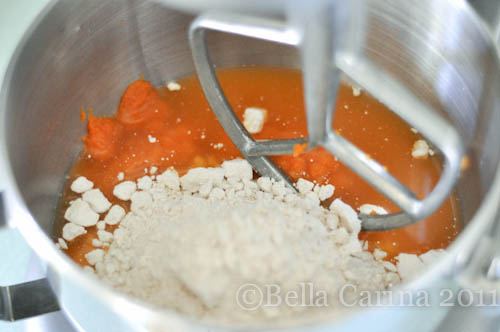
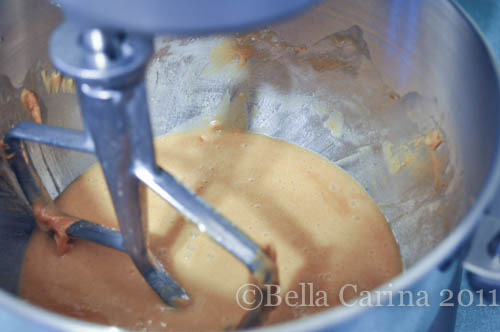
 Meanwhile, combine the eggs, sugar, vanilla, peanut butter, and salt in the mixer. Mix until combined.
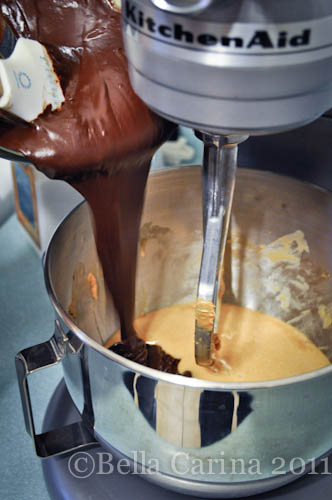
 Next, pour your butter, chocolate, and cocoa butter mixture into the mixer. You don’t want this to be hot, just slightly above room temp is fine, because it could cook the eggs (yuck, you do not want scrambled eggs in your peanut butter brownies).
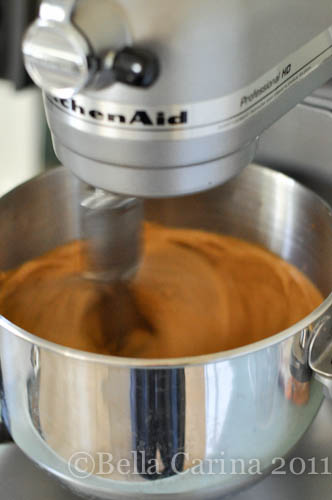
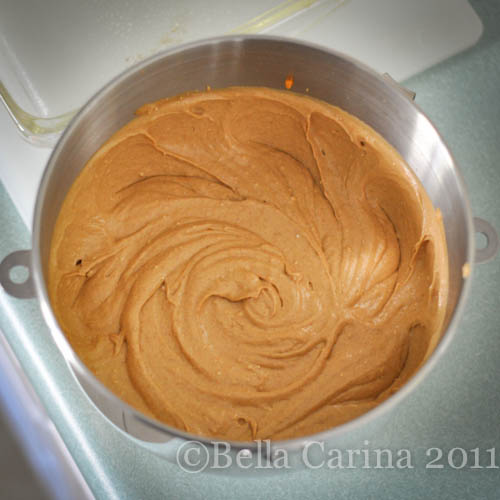
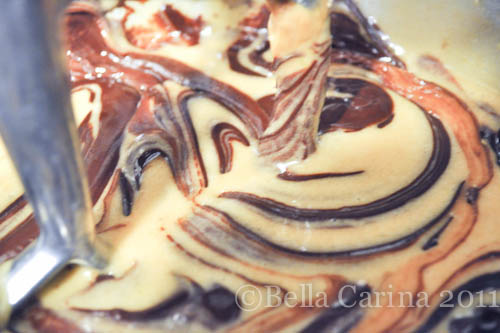 Mix until fully incorporated. Now, add your flour one 1/2 cup at a time, mixing slightly each time. Scrape down the bowl as you go. Mix just enough for the flour to be mixed in. Brownie mix should be a little lumpy.
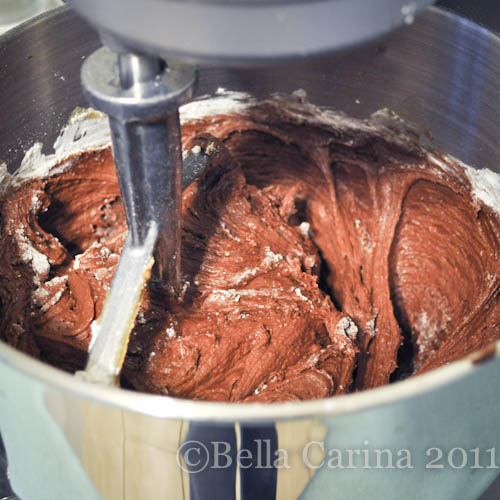 This batter comes out pretty thick, which was different than what I am used to when it comes to brownie batter, but still came out great, so don’t worry if the batter seems thicker than normal.
Now, here’s a step where I think I made a mistake (mistake might be too harsh a word). I added the chunks of peanut butter cups to the batter and mixed them in the mixer. If you want it to have more actual chunks of peanut butter cup throughout, just use a spatula to fold the chunks in as opposed to using the mixer for this last step.
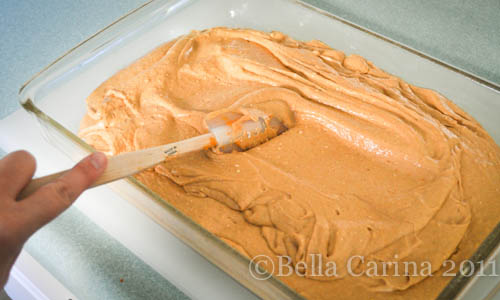
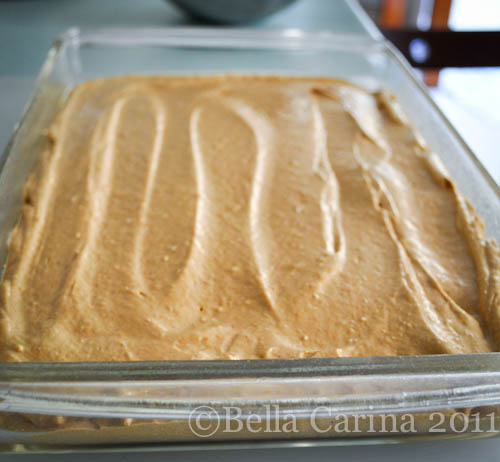
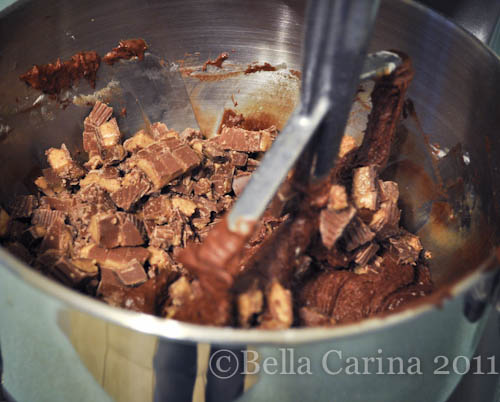 Pour the batter (or scoop with a spatula since it’s pretty thick) into your pan. Smooth out until even.
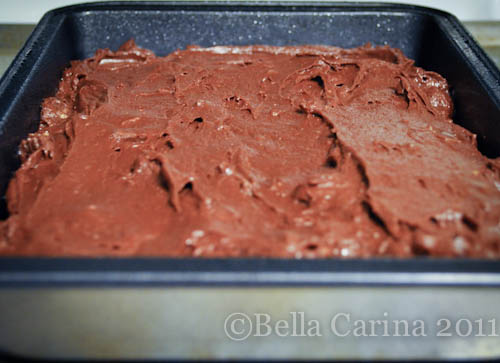 If you are using the fancy as seen on TV brownie pan, make sure the divider is sprayed well with non-stick spray and push it down into the batter.
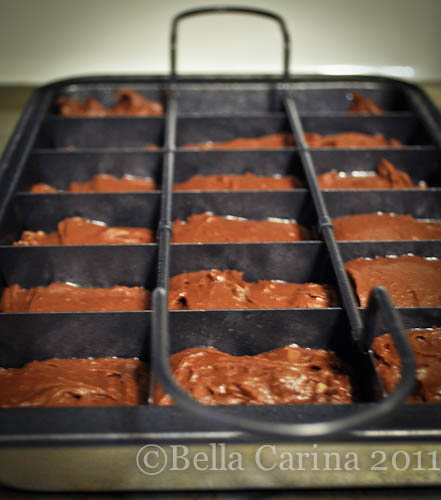 Can I hear an “Oooohhh, ahhhh”? Lovely. 😉 Put it into your preheated oven and bake for 35 to 40 minutes. One thing I noticed is that the pan weighed. a. ton. So, be careful when you pick it up…this thing is packed full of crazy peanut buttery, chocolatey goodness! Bake until you can stick a toothpick in and it comes out clean.
While your brownies bake and make your house smell delish, you can make the frosting. I discovered this recipe about a month ago when I was home in California. My besties, Jenna, Cara, and I were doing a little baking together and we made chocolate cupcakes with peanut butter frosting. Jenna is an Ina Garten fan (as am I) and she suggested this recipe. Dane talked about it for weeks! Basically, it’s a super yummy addition to anything (let your imagination run wild). Find the link to the original recipe here.
If you’ve ever made a butter cream frosting before, then you already knew how to make this, you just didn’t know it yet. I like to use a hand mixer when I make frosting, but this can just as easily be made in a stand up mixer.
Put the powdered sugar, peanut butter, softened butter, and salt into a large mixing bowl. Now here’s a tip, you want your butter to be room temperature, not melted! Letting it sit out on the kitchen counter for a few hours is the best way to do it, but I’ve forgotten to do this in the past (like almost every time I get a craving for chocolate chip cookie dough). To get soft, but not melted butter, only microwave it on defrost (50% power) in 10 second intervals until it’s soft.
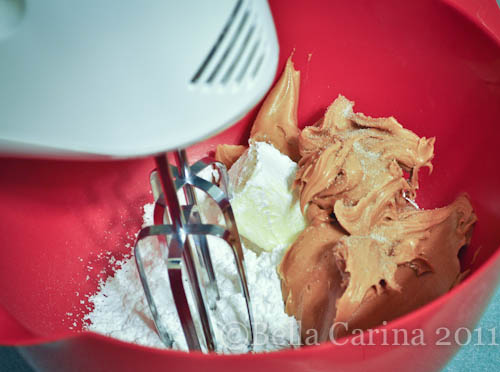 Now, add the milk a little bit at a time while you mix everything together on the lowest setting. Once all the milk is added, you can give it a good mix on high until is looks smooth. I used skim milk because it’s what I had in the fridge. The original recipe says to use heavy cream, which just makes it come out, well…creamier.
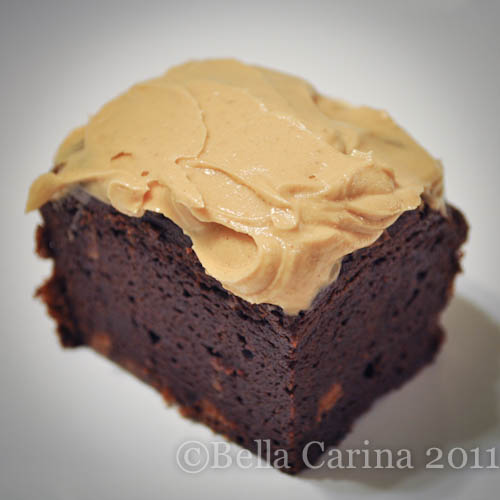
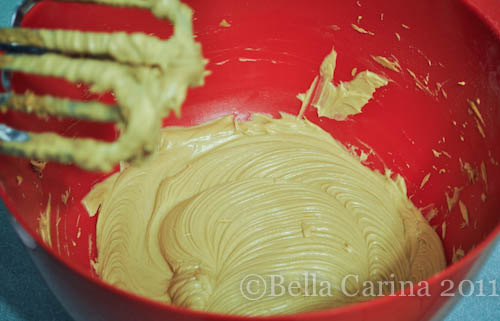 Once, your brownies are baked, take them out of the oven and let them cool. You can cut them into squares first and then frost them like you would a cupcake, or just frost the whole thing in the pan.
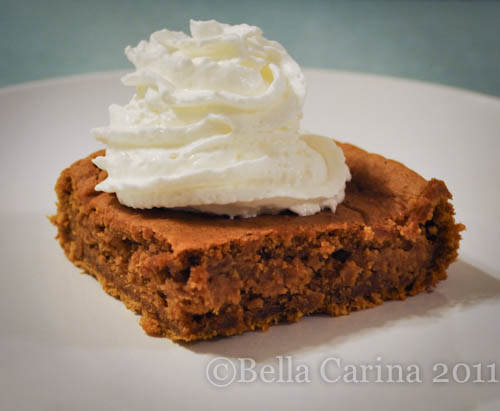
Here’s the final result…
These little guys were a pretty big hit at the party and Dane said they were amazing. For all you peanut butter and chocolate fans out there, you’ll have to try it! Or, if you are feeling a little less “ready to make stuff from scratch,” I’m sure that if you just added chopped up peanut butter cups to a box of brownie mix, that would do the trick. 😉 Ahh, the things we do for love…
Happy baking!


