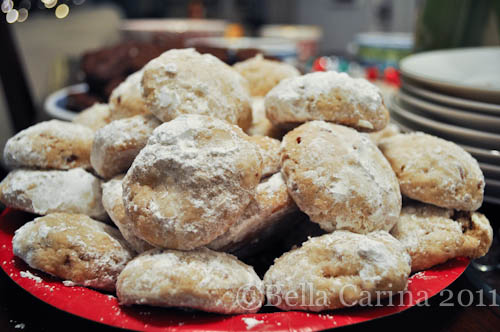
 This next batch of cookies was also made at the Cookie Party we had with my friends while I was visiting California (just like the Peanut Butter Blossoms and Snowballs). This is one of those recipes where news travels like wild fire. Last year, our friend Megan brought these cookies to Cara’s housewarming party. Cara thought they were nothing short of awesome and decided that we had to make them this year at the Cookie Party. And boy, these cookies did not disappoint! I love me some oreos!
Megan (who sadly couldn’t make the party :() got the idea via Cupcakes and Cashmere who got the recipe from here. And that is the same recipe we used to make these cute little cookies.
If you are looking for a healthy holiday cookie…this is not the cookie for you! Butter AND shortening and a LOT of sugar. But as Cara said, more is more when it comes to sugar. 😉
Ingredients:
For the chocolate cookies:
- 1 1/4 cups flour
- 1/2 cup cocoa powder
- 1 teaspoon baking soda
- 1/4 teaspoon baking powder
- 1/4 teaspoon salt
- 1 1/2 cups sugar
- 1 1/4 sticks unsalted butter, softened
- 1 large egg
For the cream filling:
- 1/2 stick unsalted butter, softened
- 1/4 cup shortening (we used butter flavored Crisco sticks)
- 2 cups sifted powdered sugar
- 2 teaspoons vanilla extract
 Preheat your oven to 375 degrees.
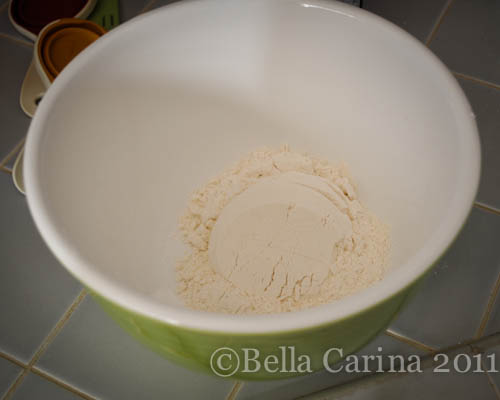
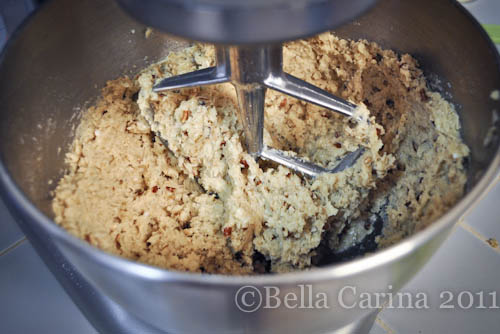
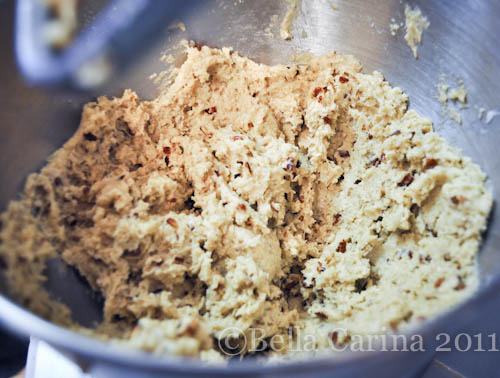
In a stand up mixer, put in the flour, cocoa powder, baking soda, baking powder, salt, and sugar. Mix the dry ingredients on low. Here’s an action shot.
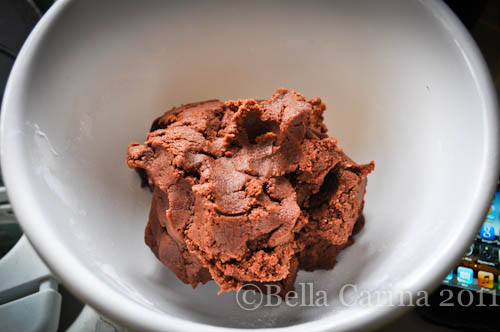
 Next, add the butter (if you forget to soften it on the counter, you can defrost it in the microwave on 50% power, but only do 5 second intervals until soft…don’t melt it!) and the egg and mix on low until it forms a large ball of dough. Transfer to a bowl. Note the iPhone in the background…this supplied the Christmas music via Pandora.
 Clean your mixing bowl so you can make the cream filling. Sift the powdered sugar into the mixing bowl. Just a side note, I bought a hand sifter for myself recently…you know the kind where you squeeze the handle over and over? But, honestly, just using a mesh colander like the one we used here is much easier and faster…but, it won’t give you the killer right forearm that my sifter gives me. 😉
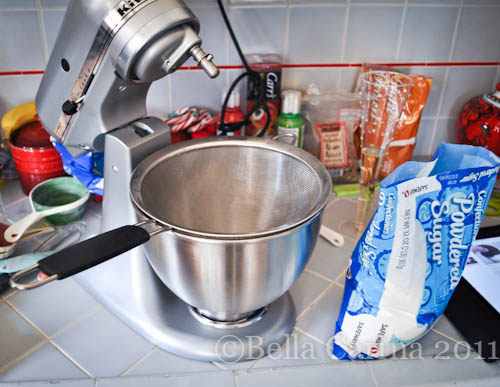 You can tell we had a lot going on at this point in the cookie party since we were three batches of cookies in…and probably a few glasses of champagne in, too!
Pour the sugar into the sifter and tap the edge until it all sifts through. (We put the butter and shortening in first to let them get cozy 😉 .)
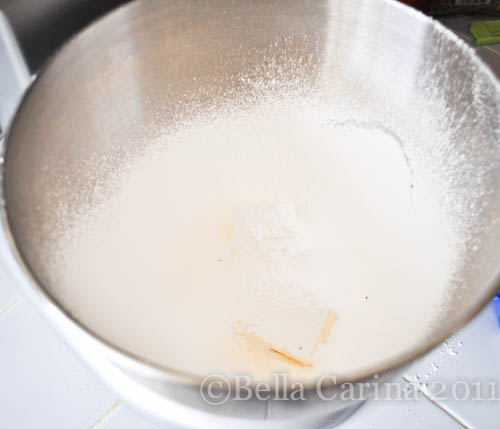 If you haven’t already, add the butter, shortening, and vanilla. Now, beat until fluffy.
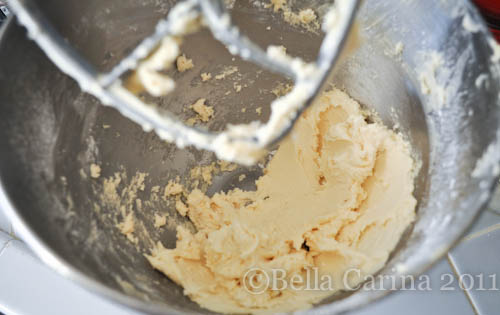 If you are fancy enough to have a piping bag, you can spatula the filling into one of those. We aren’t that fancy, so we just used a ziplock bag and then twisted it to squeeze the filling into one of the bottom corners of the bag, like so. (How do you like my grey nail polish, btw? I figured I wanted to try something new.
  )
)
 When you are ready to assemble the cookies, you just simply snip the tip and pipe it out. Easy peasy.
At this point, Cara and I took a little break to take pictures of each other taking pictures with our Nikon sisters…like I said, a few glasses of champagne in. 😉
 Isn’t her apron so cute? I made it for her.
  And I love her watch…she’s so stylish. I’ll have to remember to get the picture of me that she took someday.
Ok…enough of this break, time to get back to work. And I actually did get put to work here instead of just playing photog. Measure out a teaspoon of the chocolate dough.
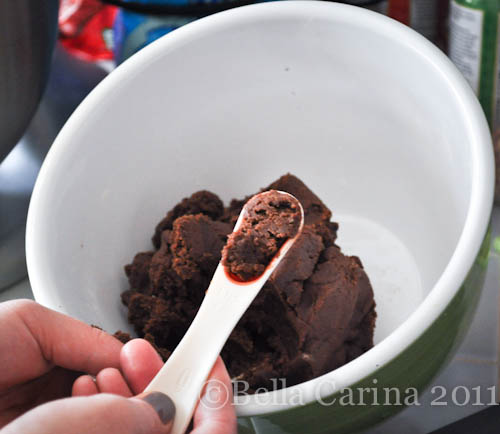 Then roll into a ball. (Be sure to wash your hands before you do this 😉 )
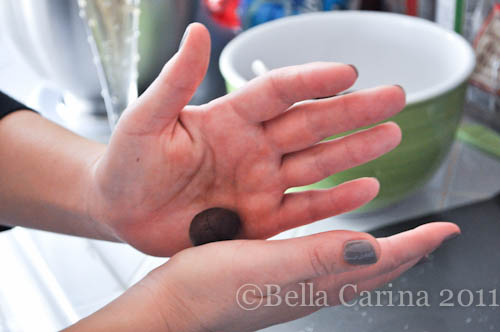 See…proof that I was doing some of the work. 😉
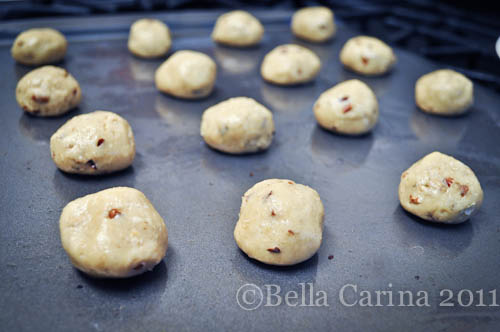
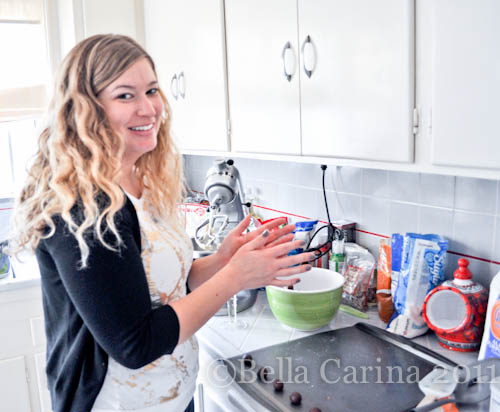 Place the dough balls onto a baking sheet about an inch apart.
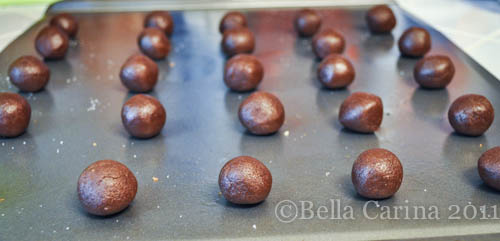
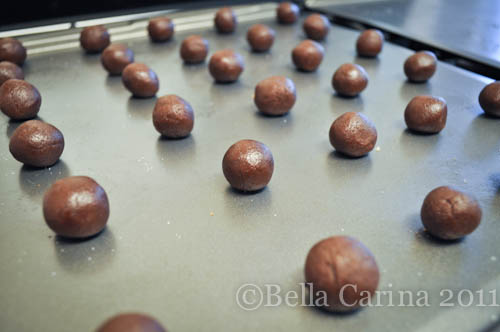 We filled two cookie sheets with these bad boys. The recipe instructs you to use parchment paper, but these non-stick baking sheets worked just fine.
Time for the oven, little guys…Does anyone else think they look like little soldiers all standing at attention? I know, I’m weird.
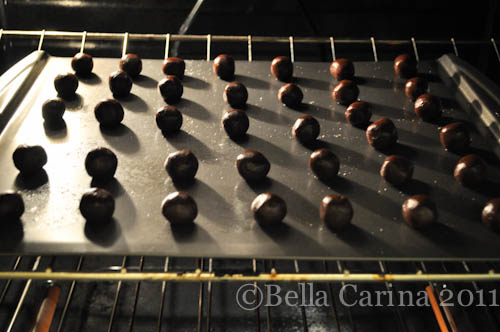 Bake for 9 minutes, and rotate the pan halfway through for even baking. I had never heard of this before, but we did it and they baked evenly, so I guess it was a good thing.
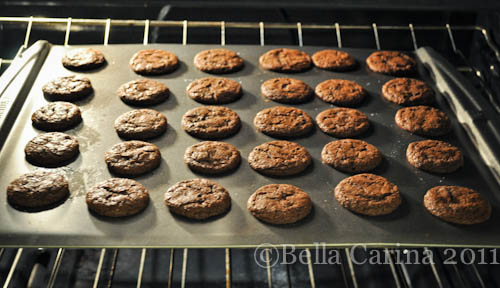 Let the cookies cool on a rack. I thought these cookies looked pretty delicious even without the filling. As a side note, I’m sure these would be really good for making ice cream sandwiches. Just make the cookies a little bigger and some yummy mint chocolate chip ice cream…sorry, I just drooled a little bit.
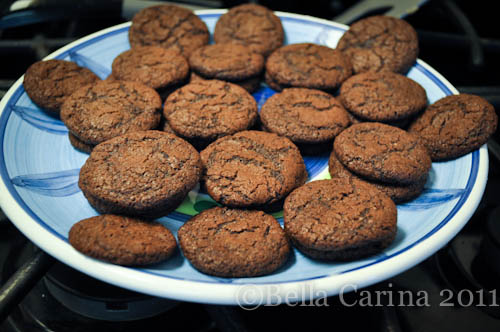 When the cookies are cool, it’s time to get the assembly line going. And by “assembly line” I mean Cara and Emily.
After you snip the tip of the bag, pipe a little bit of filling onto one cookie.
 Then smoosh another cookie on top until the filling squeezes out just a little bit. And yes, it will likely take two people and three fingers to properly smoosh the cookie. 😉
 These cookies are not soft, they have a bit of a crunch just like a real oreo (only totally better!) so they would be great to dip in a cool glass of milk.
 I thought they were great all on their own too.
The filling tastes almost just like a real oreo only softer and less formed looking. When I was little, my sister didn’t like chocolate so she would eat all the filling out of the middle of oreos and then throw the cookie part away (crazy, I know)…she would probably love to just eat the filling from this recipe!
Happy Baking and let me know what you think!




 Here they are in all their Cookie Party glory…