 Today is the day! I explained what the Pinterest Challenge is back in this post in case you missed it. But basically, it’s the brain child of a couple super cool bloggers: Katie from Bower Power and Sherry from Young House Love. They decided to challenge anyone and everyone to stop pinning and start creating. This edition, they also have a couple guest hosts to add to the list: Erin from The Great Indoors and Cassie from Hi Sugarplum. Today, there is a link party going on at each and every one of their blogs. Basically just a way for everyone to share their projects…fun, huh? I thought so, which is why I decided to participate.
I wasn’t sure exactly what I wanted to do, but I knew that I wanted it to be monogram related. Ever since I got engaged to the love of my life this past December, I’ve been oh so excited about getting a new last initial. 😉
Here’s some of my inspiration photos from Pinterest.
 {images from (starting top left and going clockwise) here, here, here, and here.}
I explained my dilemma in my original post about this challenge that since we are moving to Virginia (via Ohio) in just a few short weeks, making a new piece of art to hang on my wall just doesn’t really make sense right now. Although, I plan to make some sort of monogram type art to hang somewhere once we get to decorating the new digs.
That left me with the pillow option. What to do…what to do… That’s when I remembered that my friend, Amber, recently gave me some printable iron-on transfer paper! I considered stenciling fabric, but I figured I give the transfer paper a shot first. And, since I already had some white muslin in my fabric stash, this little project was also turning out to be pretty close to F-R-E-E, which is always a bonus in my world. 
I have recently been working on our Save the Dates (check out this post and this post for more on that), which means that I’ve had to learn a whole lot about photoshop recently. (bt-dub, the save the dates have been ordered! Can’t wait to share what we came up with with you all!) So, with my newly gleaned photoshop skills, I set out to design us a monogram pillow. Here’s what I came up with.
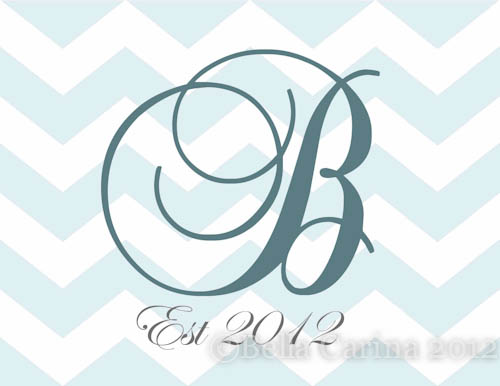 I’ve been super into chevrons as of late, so incorporated some of those into the background for kicks.
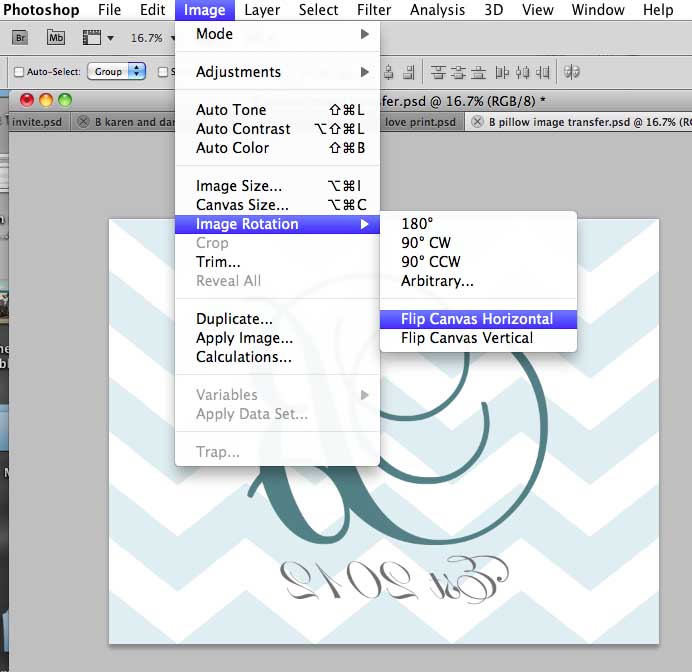
The only problem is that when you use transfer paper, the image needs to be a mirror image. Have no fear, this is not all that difficult in photoshop. I have CS5, so I’m not sure if it’s different in other versions, but all I did was go to Image->Image Rotation->Flip Canvas Horizontal and it instantly made it into the mirror image that I needed.
 So, armed with my design, transfer paper, and fabric I was ready to get the party started.
 I was impressed with the thoroughness of the directions for the transfer paper.
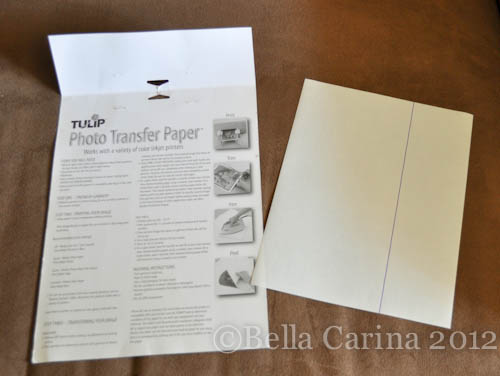 It’s important to print your design on the side of the paper without the stripe. On my hp printer, this meant putting the stripe side up in the paper feed tray. If you can’t figure out which way to put your paper in based on the diagrams, an easy way to figure it out it to put a mark on one side of a piece of paper and print something. Just don’t forget which side you put the mark on. 😉
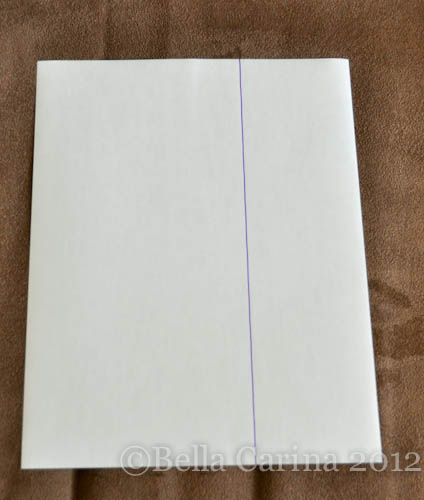 Viola! Printed out mirror image.
 I was actually quite impressed that I got it right the first time. The package only comes with 3 transfer papers, so there’s not exactly a lot of room for error. Oh, be sure to trim the edges so that just your design is on the page.
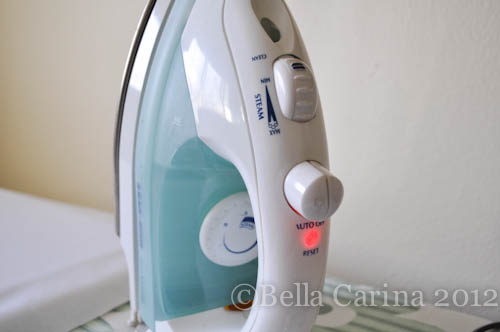
Next, I turned on my iron to the hottest setting and turned off the steam.
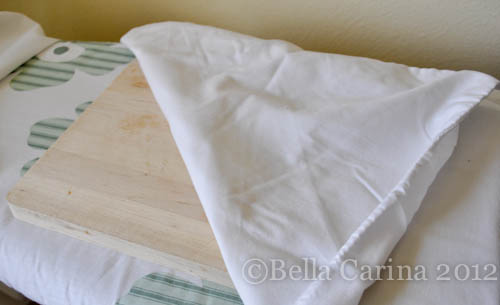
 Then, following instructions, I placed a wood cutting board down and then put a pillow case over it. It specifically said not to use an ironing board and to use a hard surface.
 I ironed out my fabric to get rid of wrinkles.
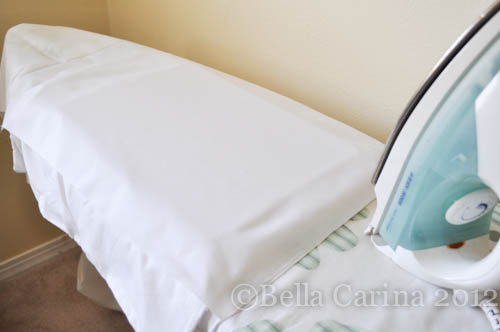 Then, I placed the design where I wanted it.
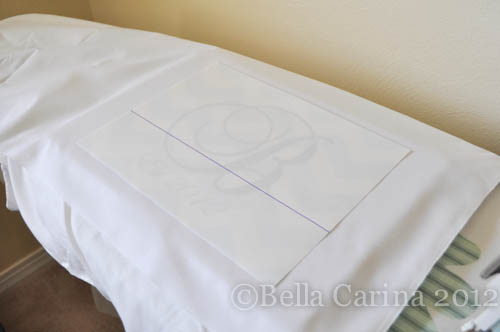 As the instructions suggested, I firmly placed the iron on the back of the transfer paper and pushed down with two hands for 20 seconds. I continued this until the whole image was done.
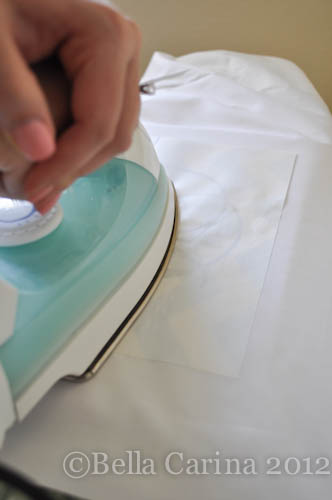 Then, I carefully pulled back the paper from the image. It said to wait 2 minutes for a glossy finish or only 5 seconds for matte. I chose the latter.
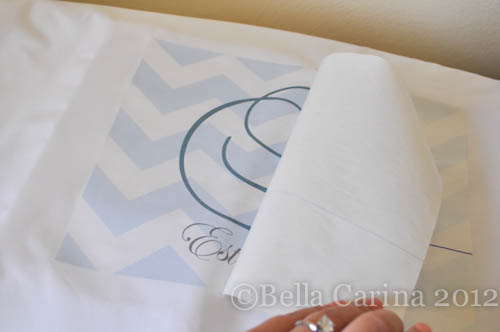 There she is. The chevrons are looking a little purple-ish in this photo, but it’s actually the same color as the B, just at 25% opacity.
 Next, I folded the fabric in half and cut the fabric out to the size I wanted it (I left 2 inches of white fabric on the top and bottom and 3 on the sides). This way, I had the front and back to my pillow. Then I pinned the edges (with my design image facing inward, aka right sides together).
 Using my sewing machine, I sewed 3 sides plus halfway on the fourth side so there would be room to turn the pillow right side out and to stuff it. (Be sure to slightly turn the corner near the open edge (maybe an inch), so that you can stuff that corner too!)
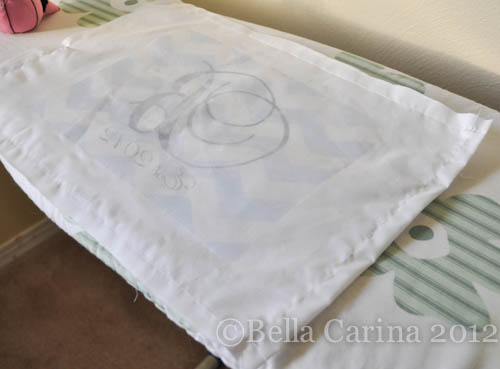 I clipped my corners to de-bulk it a little.
 Then, turn your pillow right-side-out to stuff it.
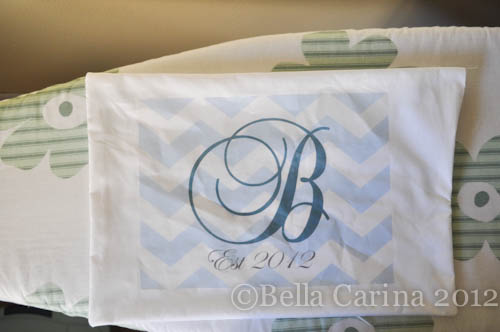 I was worried that it was looking a little wrinkly, but it was fine after I stuffed it.
I found poly-fil at the local Meijer for just about $4 (in case you’re keeping track…that makes this project a grand total of $4 so far since I already had the other supplies…whoo hoo!). You can probably find poly-fil at a craft store for cheaper, especially with a coupon, but I was finishing this project after hours (hello, my name is Karen and I am a procrastinator). 😉
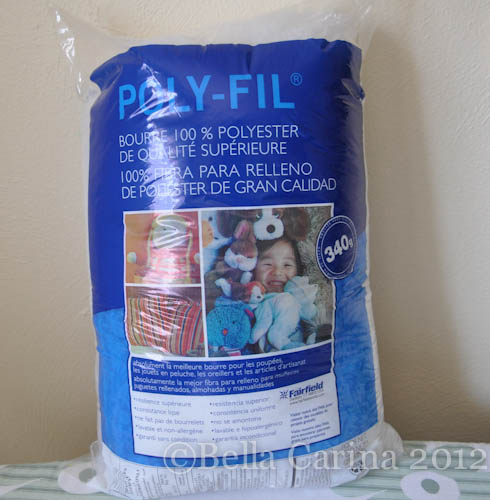 I would say that I used about half of this package for my pillow, which was roughly 16 x 12 inches.
Once the pillow was stuffed, I hand sewed the opening. Holding the opening closed with one hand while sewing with the other actually started to hurt my thumb joint pretty bad…is it possible to have arthritis at 29?! Oh gawd…please tell me it isn’t so!
 And here’s the final product all snug on our bed!
 I’m happy with how it turned out especially considering that I was using supplies I already had on hand, but I was limited by those supplies with what I could do. First, the transfer paper was only 8.5 x 11 inches, so my design’s size had to be finite. Also, while muslin is cheap, it is also rather thin. I probably should have made this a pillow case and then sewn a separate pillow to place inside it. Alas…I didn’t think of that until it was too late (and my thumb joints were in pain). But, overall, I like it! Once we figure out what colors we are doing in the new house I’m thinking that I change the colors and print it out and frame it, too. Or maybe I’ll switch it up and make something a little more modern…hmmm…
What do you think? Do you like the design? I’m thinking I’ll try a stencil and fabric paint for my next attempt…I’m a little worried that our house is going to be covered in monograms…oh well. 😉
Check out what other bloggers did for the challenge using the links below!

Love it! I think it looks great and it’ll be fun to look at and be reminded of your est. 2012 😉 neat!
Thanks!
What a great idea! I’ve seen so many monogrammed pillows or ones with words on them and now I know how I can make one of my own! Thanks!
Ooh! I love this project, especially the color you chose. Great job, and thanks for linking up with the Winter Pinterest Project!
Erin