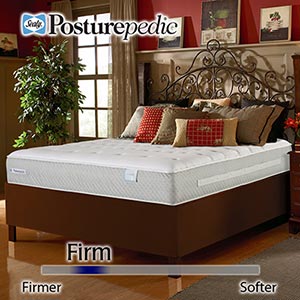
A couple weeks after Dane and I moved to Virginia, we made a bold move and bought a new King sized mattress. I say it was bold because we decided not to buy a box spring at the time (a $200 savings) with the intention of building a bed from these plans by Ana White on ana-white.com. (Her site is pretty great and full of free plans for people of all levels of ability.) I also say it was bold, because as I suspected would happen, we’ve been sleeping on our new huge mattress on the floor since it arrived (procrastinators much?). Part of the problem is that it’s actually rather comfortable on the floor. Apparently, most mattresses these days are made to be comfortable on platform style beds (ie. no box spring needed) and most box springs aren’t even made with springs anymore. Box springs are now just a wood framed box or a riser. (Here’s a link to the mattress we went with and we actually got $100 off from the deal that was going on at the time…it was almost too good to pass up!)
 So, here we are, a couple months later and we are finally starting to building the bed! No, the bed is not yet built (I figured I take you through it quasi-real time), but I wanted to share what I had.
So, how did we come to the decision to build a bed? Well, we decided that we wanted a real wood bed (something that will last as long as we want it to and could even be passed on) and we liked the Hemnes line at Ikea.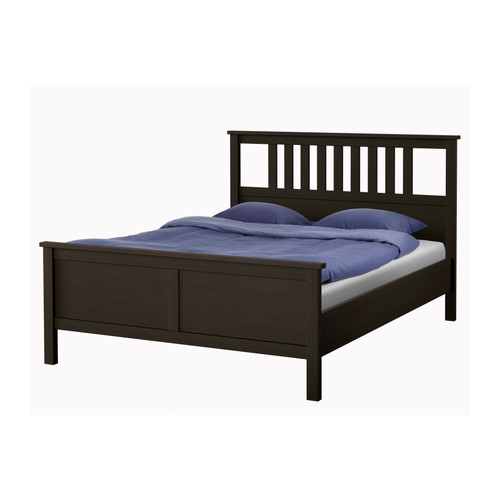
{image found here}
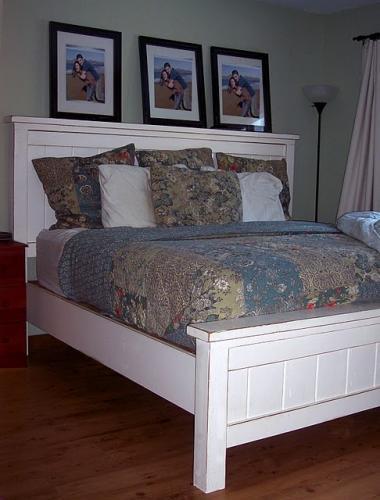
We even purchased two of their 2-drawer cabinets for bedside tables. But, we weren’t sold on the quality or the design of the bed frame and at $249 for the frame plus at least $80 for the cheapest slatted bed base (they have a few different kinds, the most expensive would have been $200 for the king!) it wasn’t exactly a deal either. That’s when I came across the plans for the farmhouse bed. Dane and I both liked the simple design and the fact that we could customize it as well. And since, most people on Ana’s site who built the bed were boasting that it came in at right around $200 for the lumber, it was actually going to be cheaper, too! Bonus!
 {image found here}
So, we modified the plans to work for us (we wanted to be able to take the bed apart easily for moving and had to adjust some measurements to fit our bed) and we went off to buy some wood. After pricing out our local Home Depot and Lowe’s (and finding they had literally the exact same prices on lumber) I did some research on local lumber yards. We took a trip down to one that was about 20 minutes away. The owner was very helpful, but it was difficult to price compare since they didn’t have the same type of wood (we planned on using the cheapest “whitewood” or pine that we could find and he only had yellow poplar for an inexpensive choice). Also, they only carried rough lumber (as in we would need a planer and a table saw to cut it to the widths we needed. Check out this link for more info on rough lumber.). He even showed us a few places in the local area that have a full hobby shops we could use to build our projects (for a nominal fee), but for this project we were looking for the more quick and dirty route, and less beautifully-crafted-furniture-route, so off to Home Depot we went! Unfortunately, Home Depot didn’t have any 4 x4 untreated lumber…road block numero dos. (Just a tip: I guess that most big box stores don’t carry untreated 4x4s, so if you want to build this, plan ahead and special order it or check out mom and pop stores in your area.) We bought what we could and decided to go to the Lowe’s later (which we knew would have 4x4s in fir since we had gone there to price out the wood initially). Home Depot not having all the wood we needed was actually a blessing in disguise…my poor Volvo was beyond packed with just the wood we had! Here’s a shot from the back.
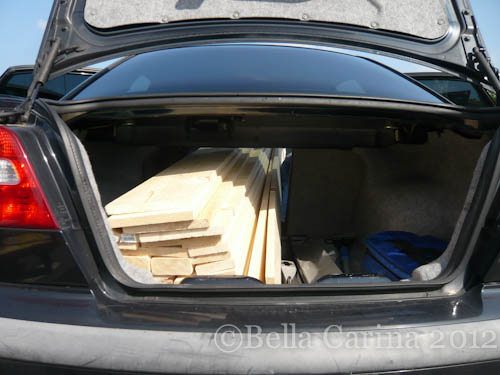 Still accepting donations towards my truck btw! 😉 And here’s from the front. I ended up sitting in the front seat completely reclined…good times…and I’m sure the absolute safest way to drive…errr, maybe not.
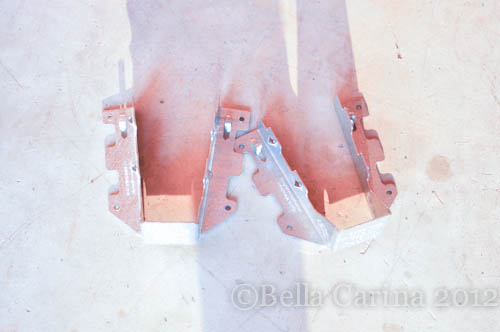
 Along with the lumber, we bought these 2×6 hangers which we plan to use in the making of the slatted portion of the bed…more on that to come in future posts.
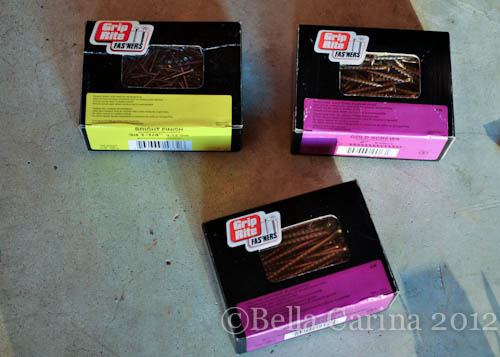
 We also bought a whole slew of screws, nails, and wood glue. We might not actually need this many, but I’m sure any unused screws will be used in future projects (we already have other plans in the works, so I’m not concerned).
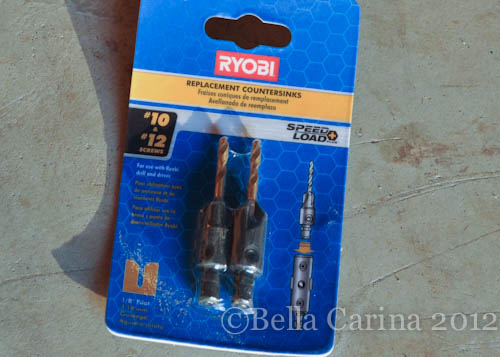
 A nice gentleman at Lowe’s suggested we purchase this handy pilot hole/counter sink in one doo-hicky (technical term). We plan on counter sinking the screws and filling them with wood filler for a more finished look. I’ll let you know how it works once we test it out.
 Once we got home, the first task at hand was to make all of our cuts. Since we don’t own a table saw, we thought about having Home Depot do the cuts for us, but after reading lots of reviews, it’s kind of a crap shoot as far as the skill of the worker (they recommend NOT having them do precision cuts) and some will charge up to a $1 per cut over 2 cuts…umm, no thanks. We figured out a good system to ensure that we got straight cuts using our circular saw (and when I say “we” I mean, my wood cutter and handsome fiance, Dane). First, Dane measured the correct length (twice…measure twice cut once!).
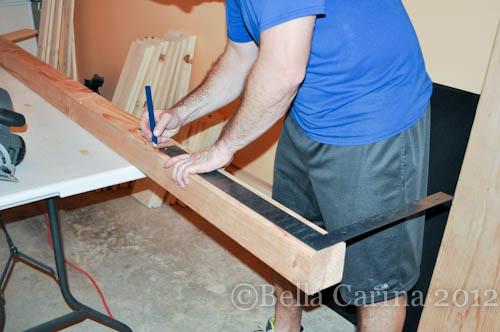 Then he drew a second line parallel to the first, which was the exact distance between the saw guide and the blade. He clamped a small piece of wood along that guide line so that the saw could run along it and stay straight. (I hope this makes sense.)
 He used this method for the 4x4s as well, but it took three whole cuts…he’s persistent! Clamped…
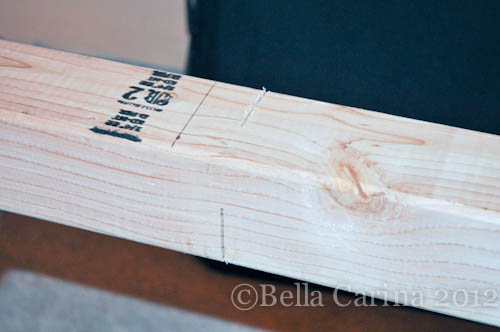 And then he finished it off…of course I don’t have a picture of that…haha. I’ll be honest, it wasn’t a perfectly smooth cut, but nothing a little sanding can’t fix. Maybe I’ll ask for a table saw for Christmas…haha. All this wood will eventually be a bed…kinda crazy. Oh, and don’t mind our peach walls in the garage…we are renters after all ;).
 While Dane cut, I sanded. We wanted the corners to be a little rounded so I gave everything a rough sand and sanded down the edges. For the panels, we decided that we wanted even more shaved off…more on that later when we actually do it.
 Luckily, before we started assembling everything, I did a little more research on putting it all together and came across a blog that mentioned the measurements were off for them. Apparently, not all 1x8s are created equal. This all goes back to the whole rough wood vs. dimensional lumber thing. Some companies shave off a little more than others when transitioning from rough wood to S4 (all 4 edges finished). Some 1x8s come out to 7.5 inches wide (and 3/4 inches deep), while others are only 7.25 inches. The plans assume the 1x8s used are 7.5 inches…therefore, we assumed ours were 7.5 inches…WRONG! Our boards were the 7.25 inch variety! We were so glad I saw that before it was all glued and nailed and we realized our brand new bed that we put all kinds of blood, sweat, and tears into wasn’t wide enough for our mattress! We laid the headboard out and realized we needed an extra 5 1/2 inches, so we bought a 1×6 (which is actually .75 x 5.5, are you thoroughly confused yet?) and called it a day. My OCD told me that it wasn’t right, but we plan on putting it in the center and having 5 panels on either side (see the pic below). Since it was even, my OCD mind was able to rest easy (my sister will understand 😉 ). Here’s the headboard all laid out (with the extra board not yet cut), so we could see if we liked it.
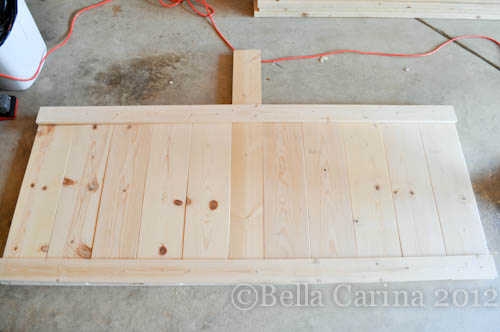 So, as of now, we have a whole bunch of cut and sanded wood…and still no bed, but I’ll let you know how it goes as we move along. That’s all you get for now. 😉


