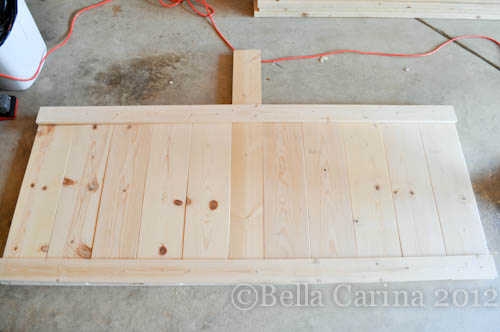
Dane and I live in one those planned communities. Ya know the one with a classy name, nice landscaping and several levels of housing available (single-family homes, townhomes, condos…). We live in a townhome and we actually are really loving it. We rarely hear our neighbors and our house is nice and spacious, not to mention we are getting some killer calf muscles from all the stairs. 😉 Along with the nice landscaping and ambiance comes rules about your yard. In our case, we didn’t know there were rules until our landlord very politely told us that we needed to weed and mulch our front planter after she had received an email from the HOA…oops…I’ve been meaning to get to that for a couple weeks now. I wish I had taken a before picture of this that showed the full extent of how awful the weeds were, but you’ll have to use your imagination. Here’s what we were working with. Imagine tall shoots of grass coming out of all the bushes and please note the crazy grass growing in and around the base of the tree…it just looks kinda sad, doesn’t it?
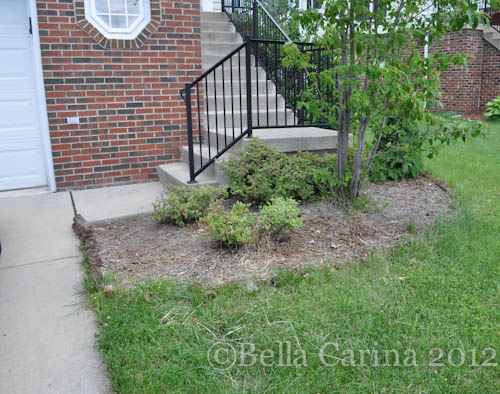 This planter wraps around to the side of our house as well. Notice the overgrown bush in the back and overall ugliness.
 When we went out to take a closer look at things to see what work needed to be done, we realized the wood edger had seen much better days.
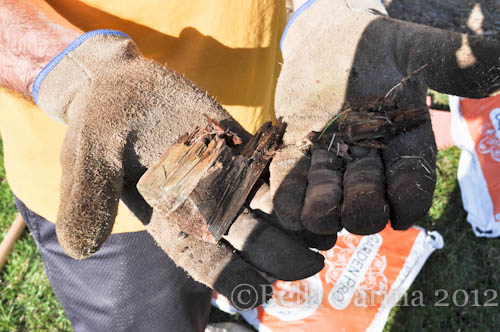
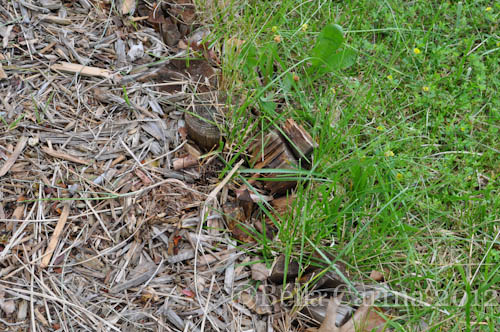 The grass had basically grown in, around, through, and over the edger…pretty much it was no longer edging anything. So, we decided that if we were going to do it, we should do it right. After a trip to Home Depot for supplies (red scalloped edger at $1.32 a foot and 7 bags of mulch at $3 ish dollars a bag) we began the demo and weeding portion of our project. (Sadly, this day was originally intended to be a bed building day, but duty called.) Some of the edger was so decayed that it simply broke apart when you went to pull it out of the ground. And if you were really lucky, you might find a bunch of slugs or other nastiness that had made a home inside of the wood…gag. (I didn’t take any pictures of that…those pieces with the creepy crawlies got tossed in the trash as fast as possible which was followed by me doing a dance trying to get the yuckiness off of me…I’m a wuss when it comes to bugs.)
 Sections of the smaller pieces of wood were connected by a plastic strip with rusty nails. See it in the trash there?
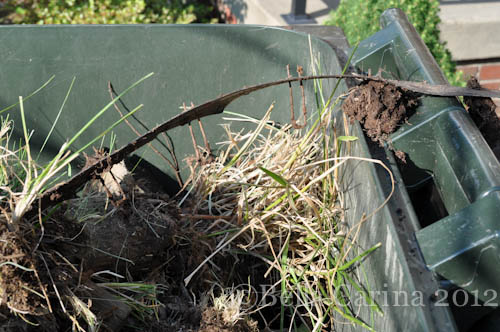 And if you were lucky, it would come out as all one piece.
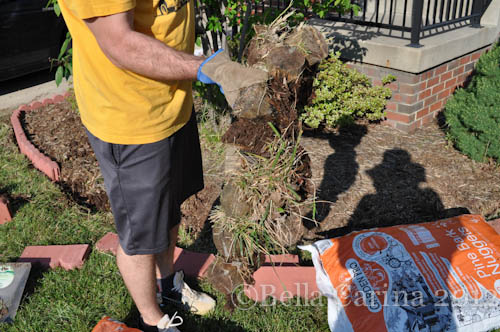 Sometimes just a trowel did the job, but in areas where the grass was really embedded, we busted out the big gun.
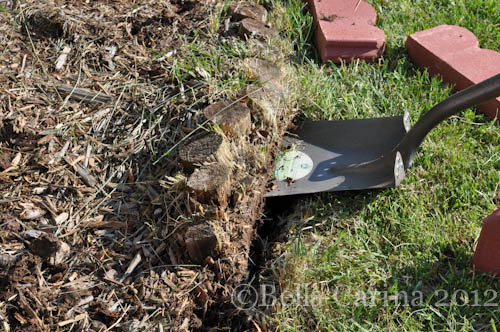 While Dane began to lay the new edging, I did a whole bunch of weeding. I despise weeding. But, it had to be done. There were several times where I was convinced I had pulled some poison ivy or something since my arms got pretty red and blotchy and quite itchy. I think I’m just allergic to grass or something. My lifelong dream of becoming a professional gardener was shattered in one afternoon. 😉
This shot shows how we laid out the edging to make sure we had enough. We actually had a little too much, which I’ll get to in a minute.
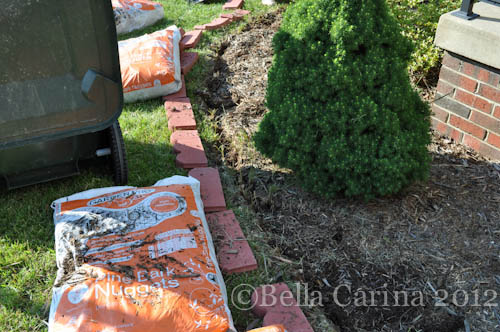 The magic of the internet makes it look like this went pretty quickly…that’s a lie…it was hot and the work was hard and tedious and it made me wonder why gardeners aren’t paid more. Furthermore, if you are someone who pays another person to do your weeding and mulching…give them a good tip…they deserve it…especially if they are working in the midst of the swamp called Washington DC.
We started on the edge nearest the driveway and worked our way around. We weren’t sure if we wanted to square off the corner or round it, but after some configuring we decided this looked best.
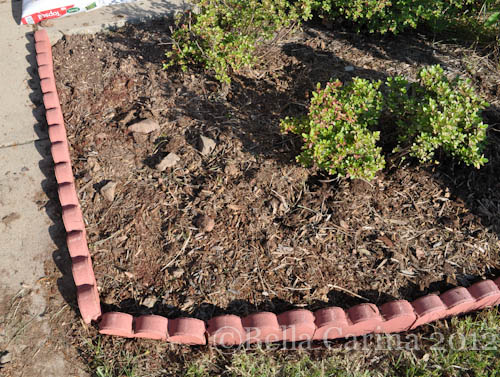 I’ll be honest, I was not a fan of the red scalloped edge. It seems a little retro to me, but not in a good way. I wanted something more natural rock looking and in the grey department. But, there’s a reason why everyone in the neighborhood has this style…it’s inexpensive and does the job well. The fancier edgers at Home Depot were at least double the cost and we needed 40 feet, so that was going to make a pretty big difference in the overall price of this little project. And considering we’re renters, we wanted it to look nice, but going above and beyond wasn’t really needed for this project. So, red scalloped it is. Now that it’s all said and done, I actually like it. To install the edger, Dane used a small hand held rake to dig a channel where the pieces would be placed.
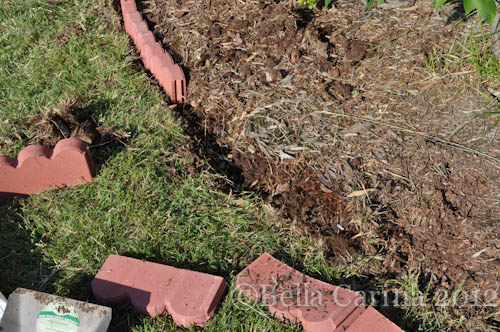 Then, we went back and filled in with some extra top soil we had from when we planted out deck garden. (Please ignore my pasty white leg…I’m an East Coaster now…{tear}. The sun was intense, so that hat was actually pretty awesome. Seems contradictory now that I think about it…intense sun, pasty white leg…oh the irony!) We stamped down the soil with out foot to make sure it was nice and secure on both sides of the edger.
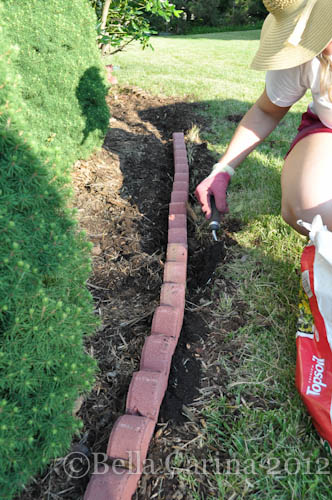 We went with Pine Bark Nugget Mulch from Home Depot. We didn’t even look at it before we bought it, but we looked at the mulch that was slightly cheaper, which resembled a bunch of twigs and hay and decided that the Nuggets had to be better.
 It’s funny because we were both a little surprised at how big the pieces were, but they were aptly named, so you had to give ’em that. We like the look and it was a lot easier to spread around than other mulch we’ve used. I’m pretty sure we didn’t need as much either since we ended up with an extra bag or so.
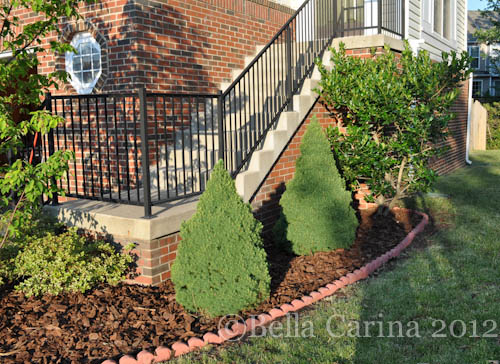
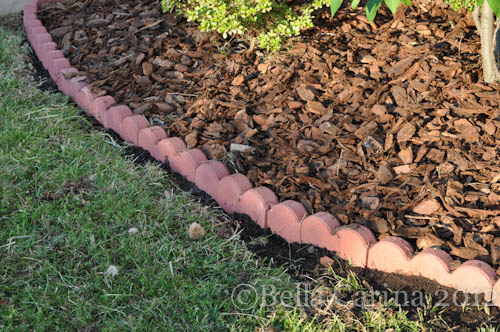 And here’s the after…ta da!
 I’ll save you the trouble of scrolling all the way back up…here’s the before again.
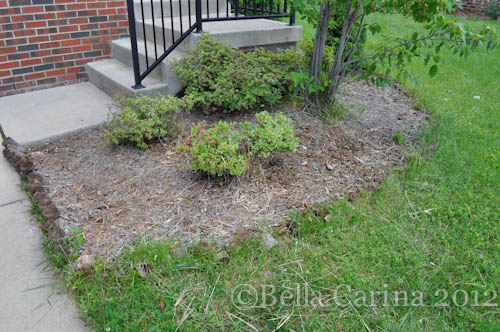 Doesn’t it look so much better? Dane also trimmed up that crazy bush in the back. He did a great job, no? I’m not sure how I feel about the mini Christmas trees, but I think I’ve had my fill of gardening for a while, so if it’s not dead, it’s not moving.
 Back to the extra edger and mulch…didn’t think I’d forget, did ya? There’s a small strip of dirt/planter that runs along our driveway and our neighbors walkway and we weren’t exactly sure who it belonged to (townhome lines can be tricky like that). We happened to see our neighbor and asked him and he wasn’t sure either, but wasn’t opposed to us sprucing it up a bit either. Here’s the sad looking before.
 We had almost the exact amount of edger needed (with only one foot to spare) and just enough mulch…it’s like it was meant to be. It also worked out well that our neighbors already were using the red scalloped edger for their planter…hurray!
 Now, here’s hoping that the mulch does its job and stops any weeds from growing. I’ll be ok with weeding once a year…I guess… ;).
By the way, does anyone know what kind of tree we have in the front? It’s got these cool looking spiky berries…like a pretty tree that won’t be messed with.
 So, that’s what we did all. day. on Sunday…don’t worry mom, we went to church Saturday evening. 🙂
Has anyone else been a weekend warrior and got their garden on recently? Any notices from your HOA telling you to get with the program?
 My awesome brother in law was able to reserve his family’s beach house in Cayucos where we had an awesome family filled weekend. Seriously, is there anything better than good times with your loved ones? Dane and I were there a day early and spent some time walking on the beach and enjoying the town.
 If you ever find yourself taking a trip up highway 1 and stop in Cayucos do not miss trying these cookies from the Brown Butter Cookie Co. They are brown sugar and sea salt cookies and they are amazing!
 I’m on a quest to figure out this recipe because I was in love. 🙂
 A turn of events caused our reservation at BOA Steakhouse to be canceled (a pipe burst at the restaurant!), which led to an awesome dinner at The Misfit Restaurant & Bar right off of the Third Street Promenade also in Santa Monica. I am still raving about their Basil Gimlet and Brussels Sprouts! I highly recommend!
 Isn’t my smaller than me big sister beautiful?
