I’ve been in a crafty mood lately as seen in my other post about making a Trick-Or-Treat sign for the front of our house. I felt like our fireplace needed a little sprucing up for the holidays and I had been seeing all kinds of cute bunting ideas on Pinterest some of which you can find here and here. Since my mom gave me a sewing machine this last Spring (that Dane so graciously smuggled home for me in a suitcase all the way from California) I have been wanting to get some use out of it, so I decided to sew my bunting. Now, knowing this was not going to be a quick and easy project (with my novice sewing skillz), I figured I would get my use out of this bunting and decided to make it reversible; one side Halloween and the other a more generic Fall/Thanksgiving theme. Although my bunting it very holiday specific, this tutorial can be used to make any bunting…birthday banners, Christmas, baby’s room…the options are endless!
Supplies you will need for this project:
- various fabric of your choosing
- coordinating thread
- ribbon or bias tape (this will be the string part of the bunting so make sure you have a piece long enough for wherever you will be hanging it)
- scissors
- pins
- sewing machine
- iron and board
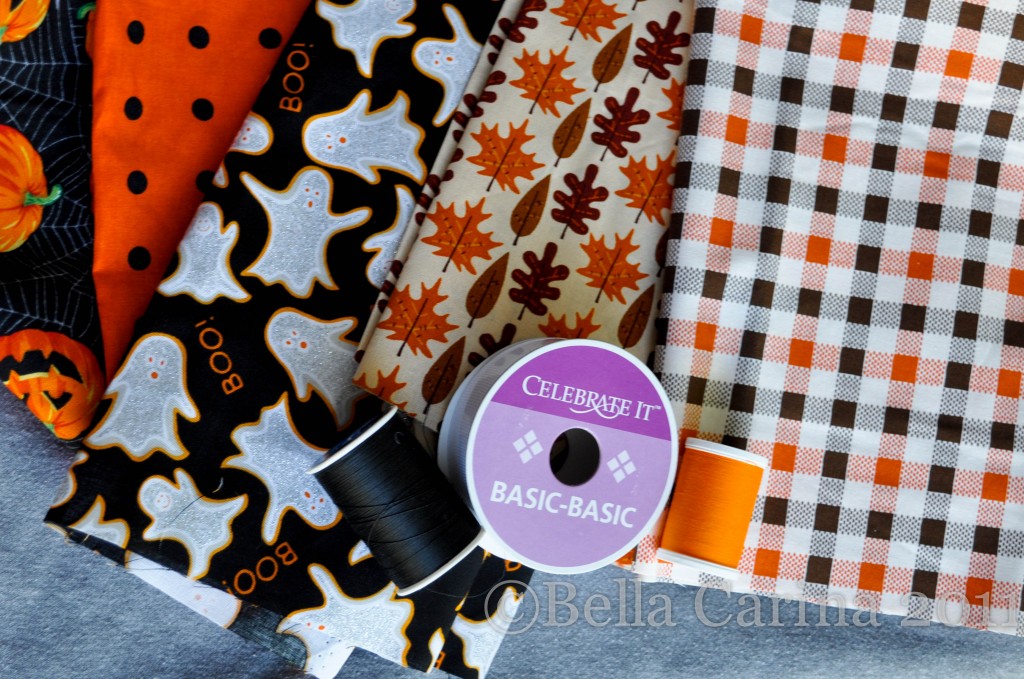
Before heading out to Jo-Ann’s to get the fabric for this project, I first tried to figure out how much I would need. I already had some white ribbon on hand, so I strung it across the mantel to get a feel for how long my bunting needed to be. Then I cut out a triangle using a piece of printer paper to get an idea of what size I wanted each of the flags to be. To give you an idea, my mantel is 6 feet long and I bought a total of a yard and a quarter of fabric. I ended up buying 5 different patterns of fabric (3 for Halloween and 2 for Thanksgiving) and bought a quarter yard of each. This was plenty of fabric and I’m sure I could have gotten away with only using 4 different patterns. I got lucky and the holiday cotton prints were 40% off plus I had a 20% off coupon…score! All my fabric came in at just under 5 smackaroos. I already had my white ribbon that I scored on sale at Michael’s during the summertime for about a buck. You can also find ribbon at the dollar store, so there’s no need to spend a ton of moola. (Note: If you are making yours reversible, make sure you choose a ribbon color that goes with both holidays!)
Here’s the fabrics that I chose:
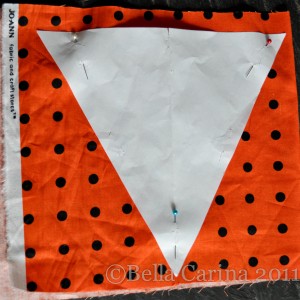
 The next thing I did was to start cutting. I figured out how many flags I would need of each and was able to cut two at a time for most of the fabric. I used a few pins to attach my template to the fabric and cut around all the edges. My template wasn’t exactly equilateral, so I cut a small notch at the top of the triangle, so it was easy to line up later.
 The cutting is a little monotonous. Let’s just say I was glad it was over.
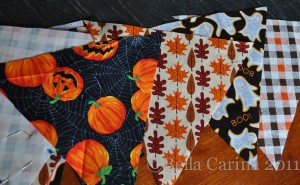 Once I had all my triangles cut out, I laid them on my couch to decide the sequencing of the patterns for each side. Next I made sure that each Halloween triangle was matched up with its corresponding Thanksgiving buddy. (Note: I made this waaay harder for myself by using three prints on one side and two on the other…especially when the order got messed up later on…oops.)
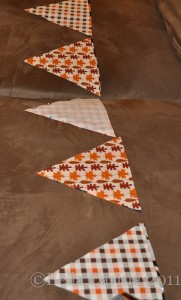 Next, pin right sides together on all of your triangles. Make sure your notches match up (I just cut a very small slit in the center at the top). I like to pin everything while watching TV and then carry it all in to my sewing machine to get all the sewing done at once. I may have gotten a little overzealous on the pins with this one…a few on each of the sides you’ll be sewing is fine. You probably wouldn’t want me as your acupuncturist. 😉
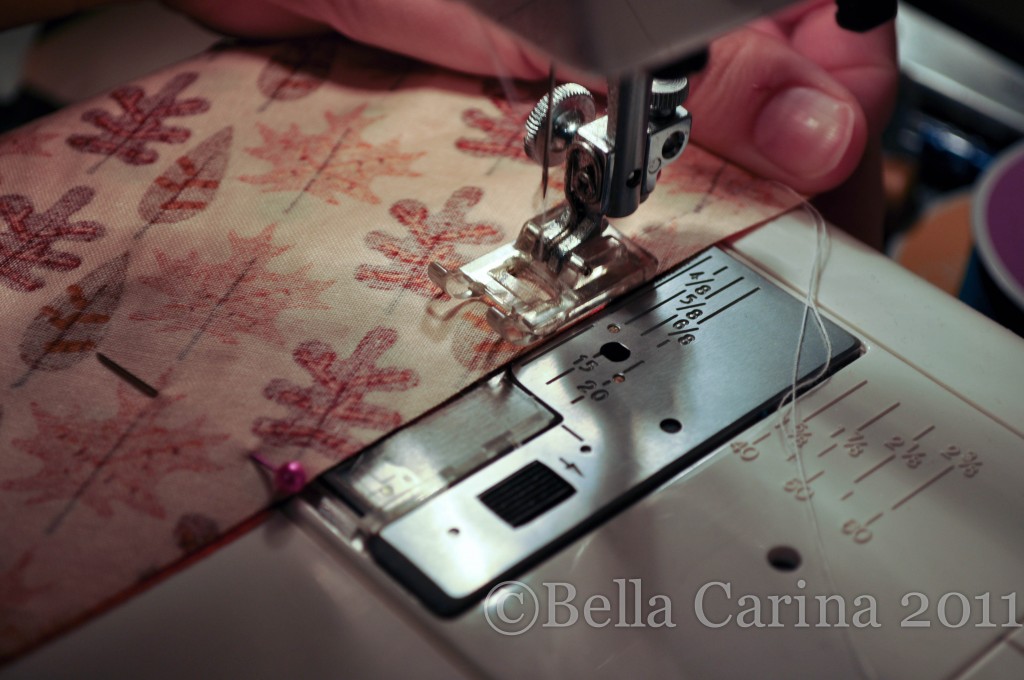
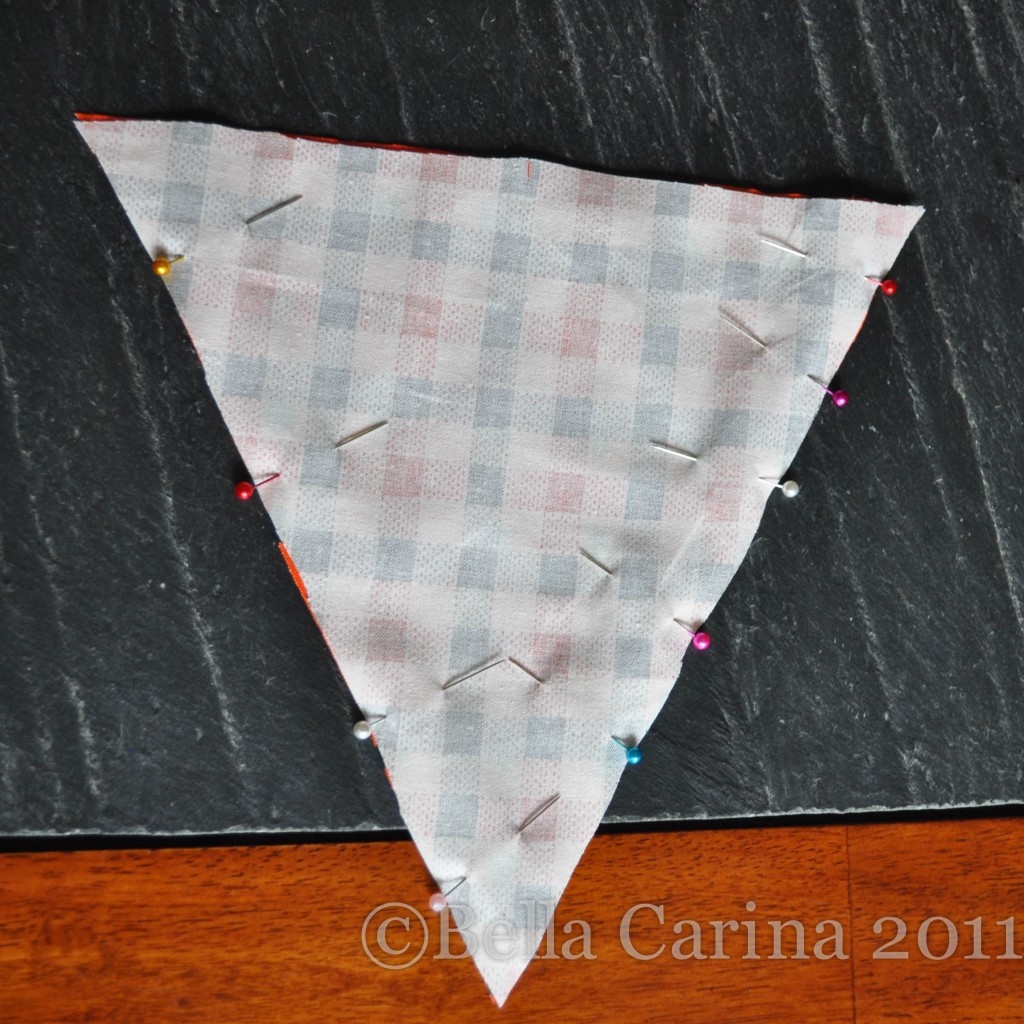 Next, sew the two sides of each triangle. Don’t sew the top because you need it open to flip them right-side-out. I happened to have white thread already in my machine, so that’s what I used. You won’t see this thread anyway, so the color is irrelevant. You really want the seam allowance to be as small as possible to reduce bulkiness when you turn your flags right-side-out, so I just used the edge of my presser foot as a guide to keep my lines straight. Be sure to back stitch as the start and end of each triangle. When I got to the point of each triangle, I made sure my needle was in the down position, lifted my presser foot, and rotated the triangle until it was lined up going the other direction. Then I put my presser foot down and started sewing again.
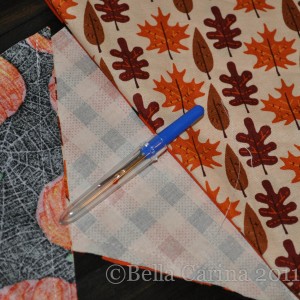
 Once the triangles were stitched, I turned them inside out. I used my seam ripper with the cap on to try and push out the points as much as possible. Another good tool to try would be a chopstick, but be careful because I’ve torn a hole before by pushing too hard using one of those. If you think that your points aren’t sharp enough, you can try de-bulking the tip by snipping some of the seam allowance away. I didn’t do this because I was fine with slightly dull tips. It’s a personal choice…I won’t judge you either way. 😉
 Next, you will want to iron your triangles. This is a little tricky if you are making your bunting reversible like I did since you can slightly see the fabric from the other side. I first just used my fingers to slightly press the seams. Just rub the fabric between your fingers and the friction and heat of your hands will slightly press it.
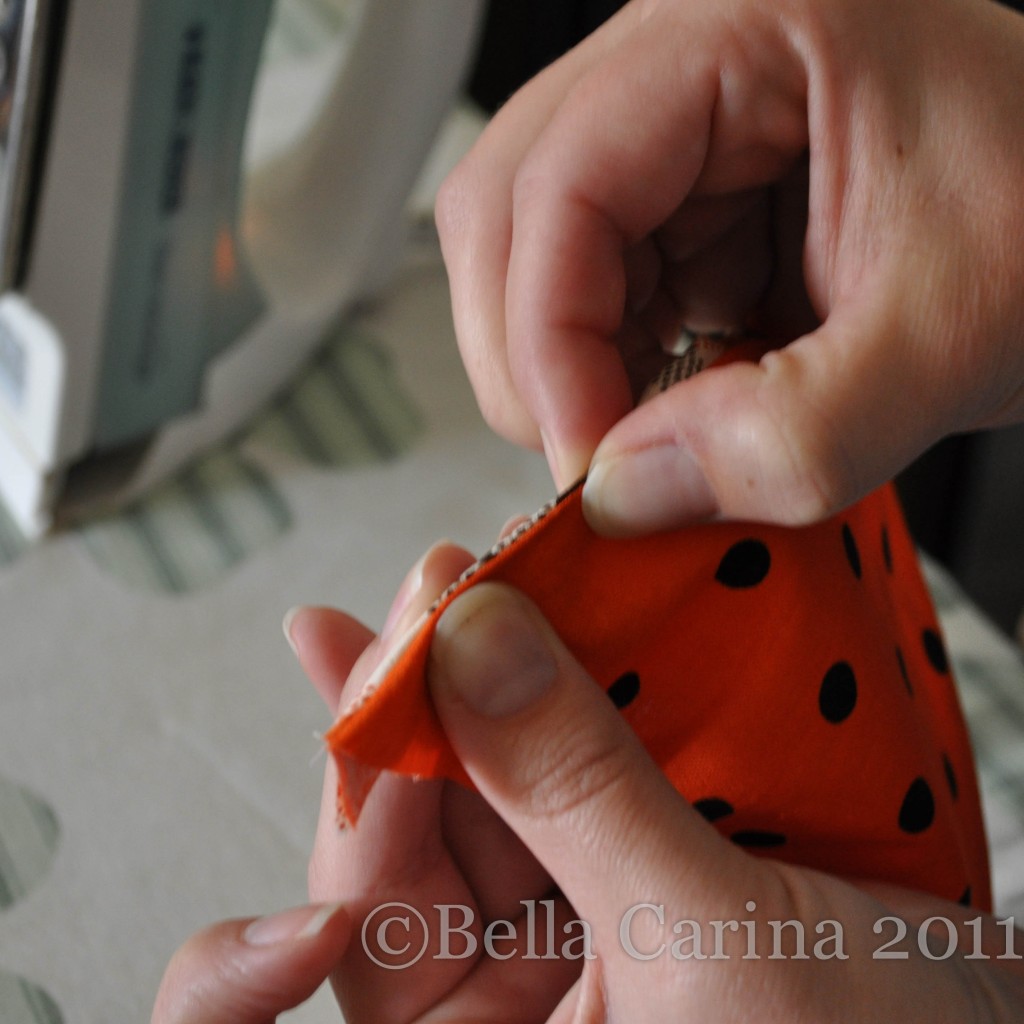 Next, I used the tip of a hot iron and moved slowly along the edge.
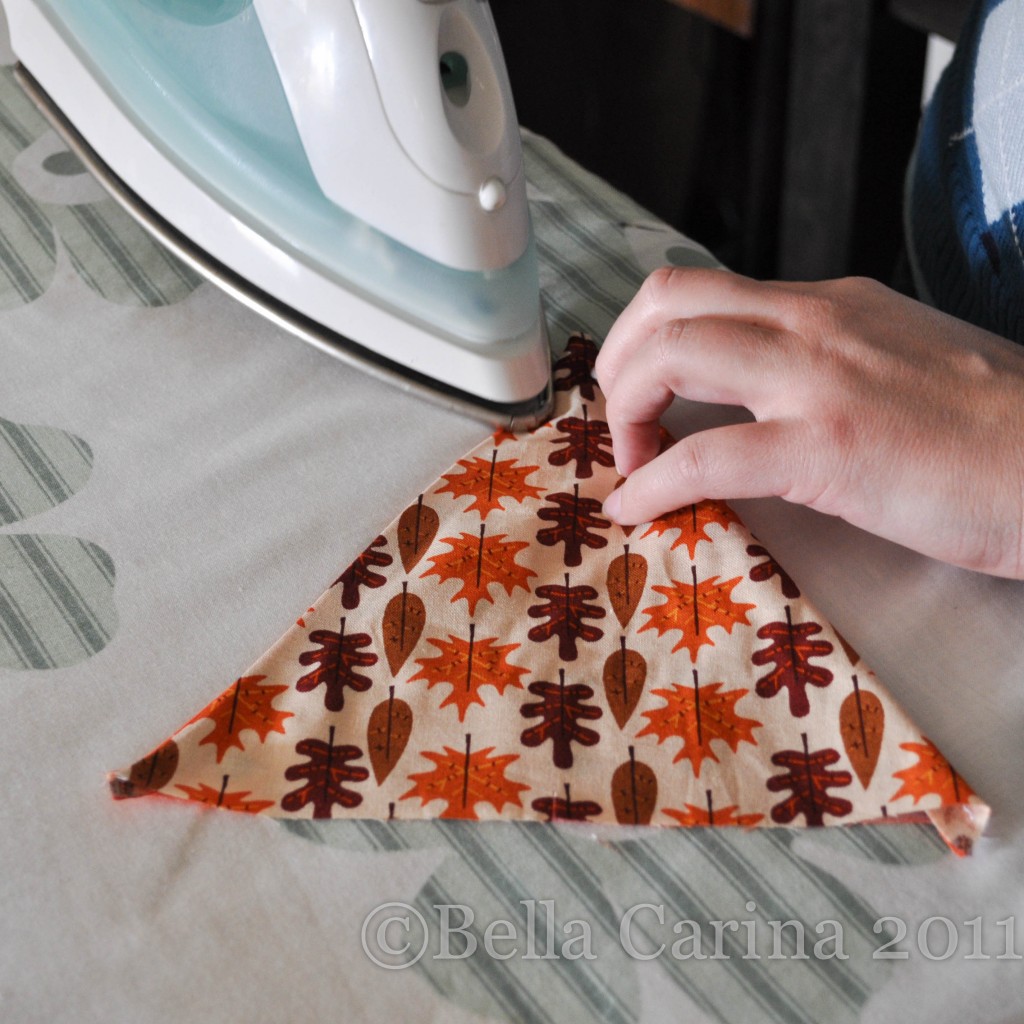 I also tried this method with a chopstick. This allowed for less inadvertent steam burns (ouch!). Let’s be honest, I’m no ironing expert…I tried a lil’ of this and a lil’ of that until I was happy with the result.
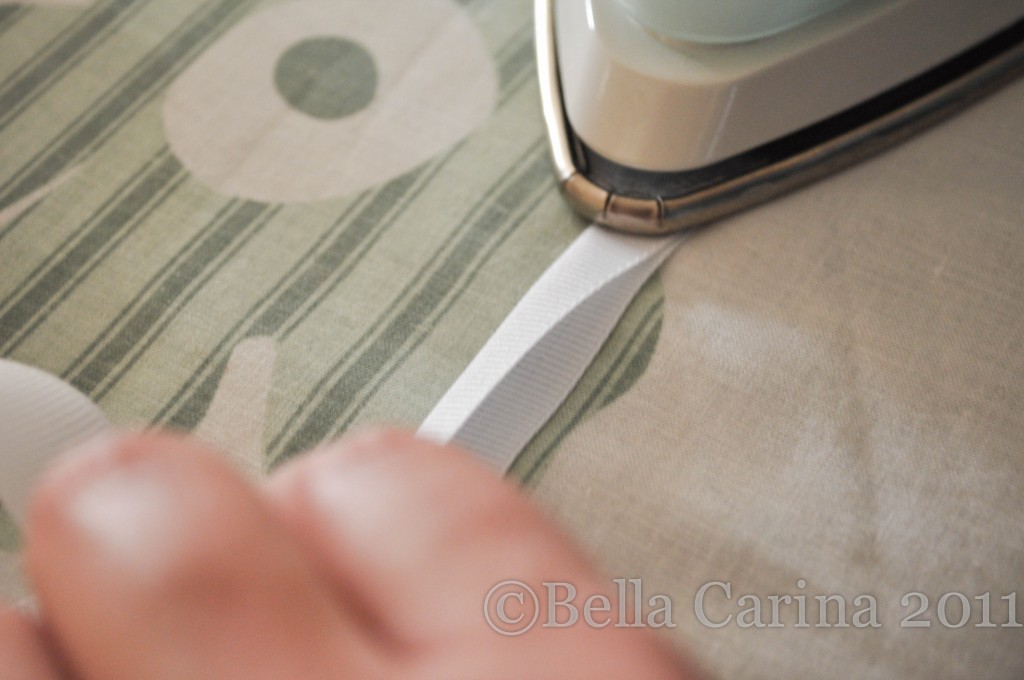
 I then ironed my ribbon in half to make it easier to pin. IMPORTANT: Check to see that the material of your ribbon is allowed to be ironed. My ribbon was 100% polyester, so I was good to go.
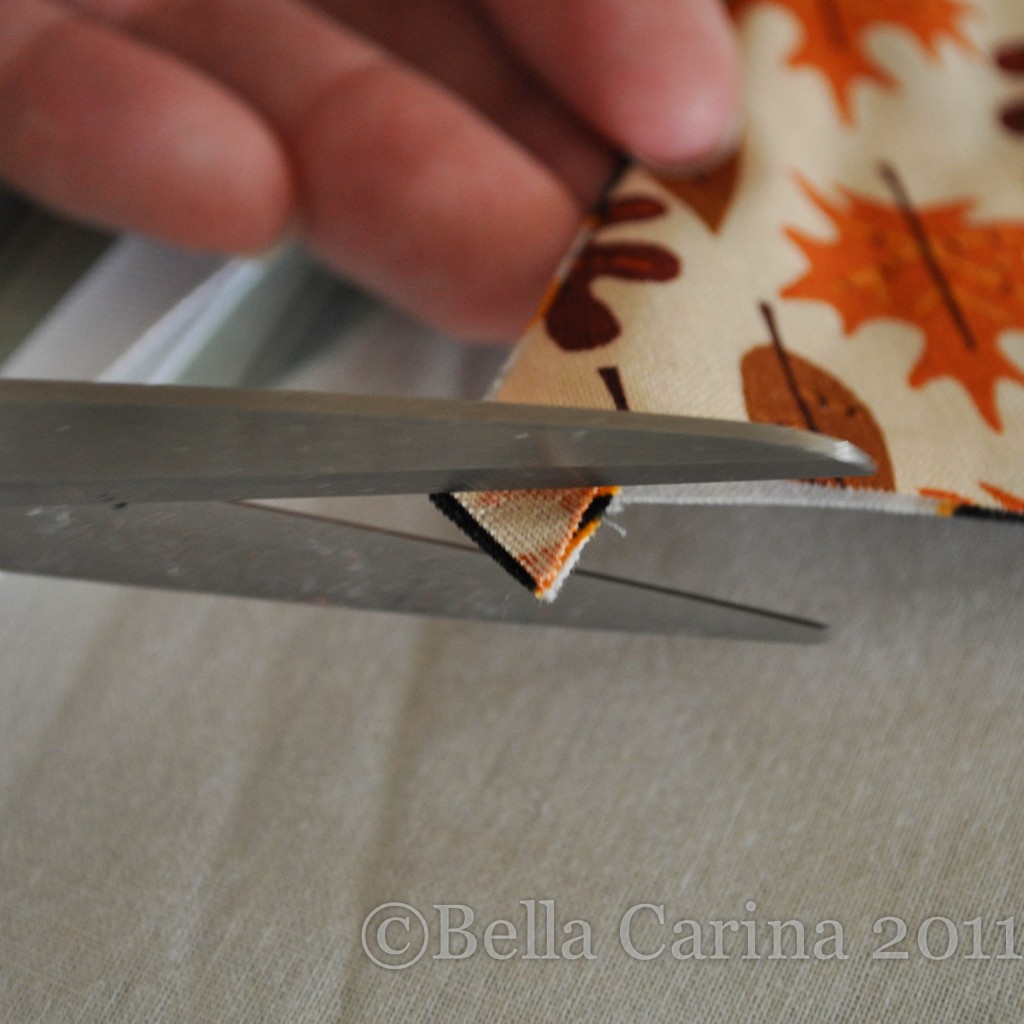
 Before pinning your triangles, snip any extra fabric that might make it bulky.
 I left about a foot of excess ribbon at the beginning so I would be able to tie it to something and then I began pinning my triangles. I found that three pins per triangle was sufficient. If you pin them the way I did (perpendicular to the edge) it will make it easier to remove them as you sew later on.
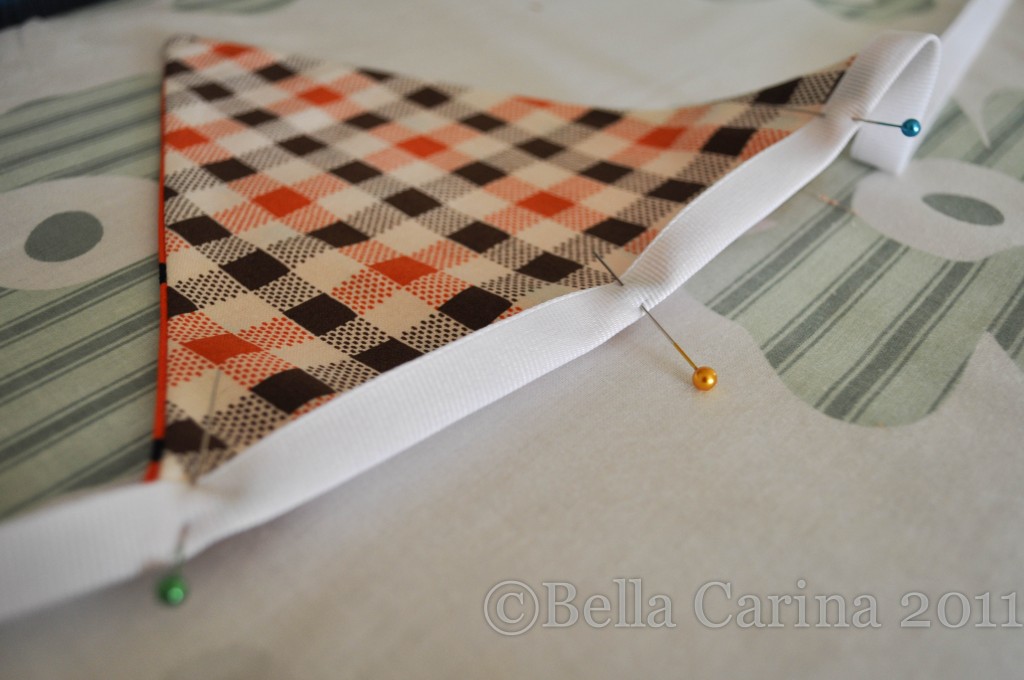 I left about 2 inches between each flag. I wasn’t measuring, I just eyeballed it. Once I got to the end, I left another foot or so of slack and cut the ribbon. Then I took my bunting to the sewing machine. We’re at the home stretch!
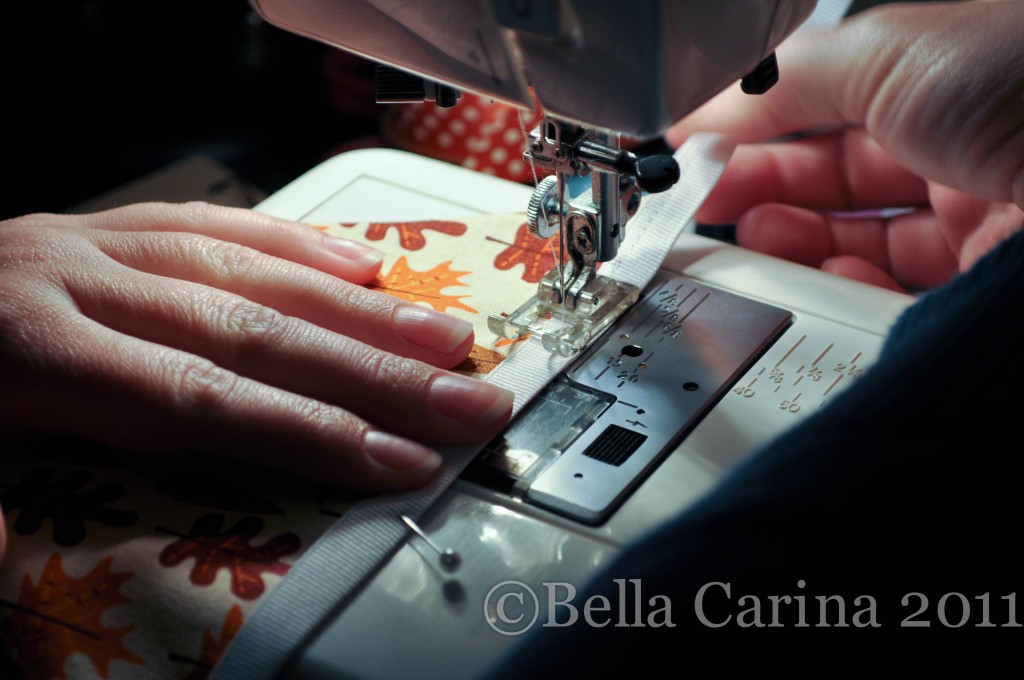 I used white thread to match my ribbon, but it would also be cute to use a contrasting color as well. I am not the best at sewing quite yet, so I’m sure my contrasting thread would come out looking a little wonky. You know your own skill, go with your gut. 😉 I wanted to make sure that my stitching on the other side stayed on the white ribbon, so I chose to sew about 3/4 of the way from the fold; not too close to the bottom of the ribbon where my stitching could have gone astray. Remember to back stitch at the beginning and end as well! (Tip: If you’re the risky type, you can sew over the pins and you will probably be fine, but you can also break your needle! I took the pins out as I went mainly because I have yet to change a needle and don’t know how to do it 😉 ).
And that’s it! Time to hang it and admire your work. I’m excited about my bunting and very glad I made it reversible since I am just now finishing this the night before Halloween!
Here’s the final product. (Excuse the terrible lighting…this is what happens when I finish a product after dark).
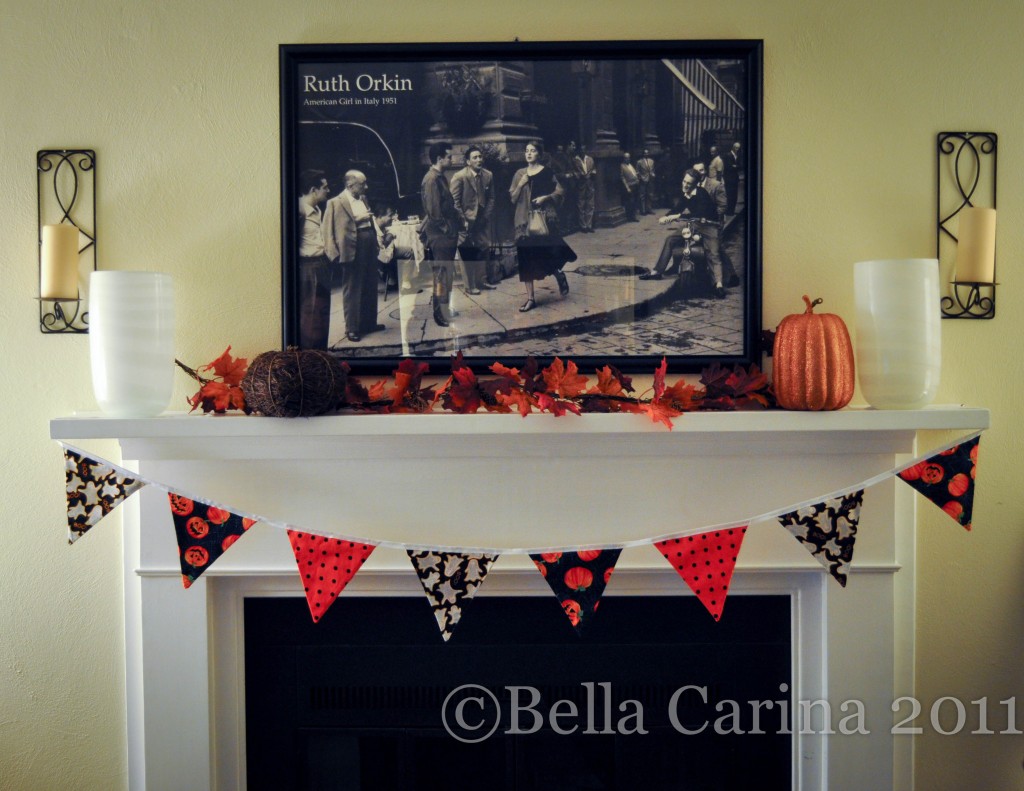 In case you’re wondering, the grape vine pumpkin and sparkly orange pumpkin were both in the
 dollar two fifty section at Target. I bought the fake vine of leaves at Michael’s when it was on sale a couple weeks ago and used a coupon (got it for under 5 buckaroos!).
Roman did not seem very impressed by my bunting. : / Maybe if I made him wear his jack-o-lantern costume he would have been more into the holiday spirit. 😉
 I thought it came out looking pretty darn cute! And Here’s a close up.
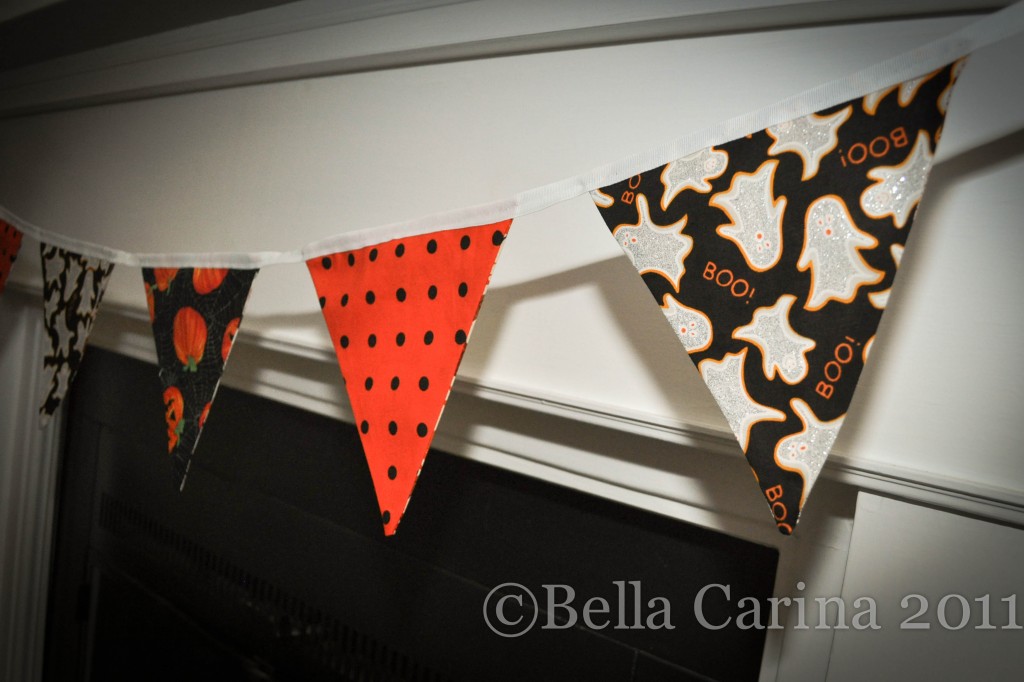 I love that it has some polka dots mixed in with some more traditional Halloween prints. And, I’m excited to flip it around after Halloween and enjoy it for at least another month before the Christmas decorating begins!
Whatcha think of my bunting? Has anyone else been doing a little sewing to decorate for Halloween? Maybe created bunting with craft paper and bypassed all the silly sewing, turning, and ironing?
Oh, and Happy Halloween! Looks like we’re lucking out here in Ohio and it’s going to be nice and dry (albeit cold!) for trick-or-treaters this year. I’ll be dressing up and handing out candy. What are your plans? Did you know that Ohio usually does their “beggars’ night” on the weekend before Halloween? That’s very strange to me since Halloween was always just on Halloween in California! I’m happy it’s actually going to be on Halloween this year here!
 Here’s the loot.
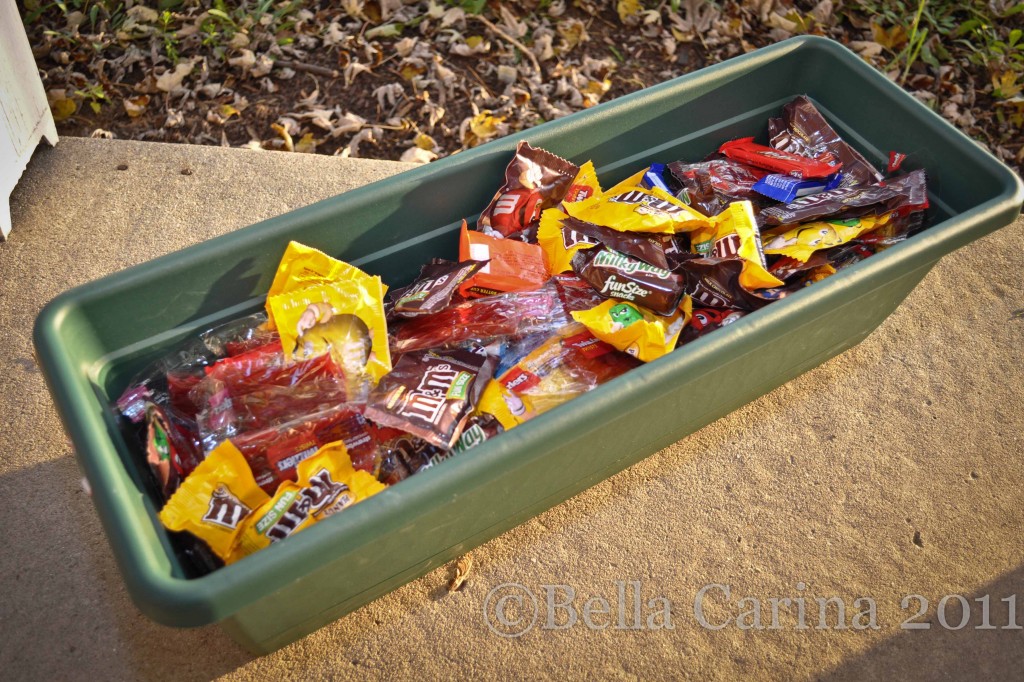 We had this plastic planter box in the garage that we had meant to turn into an herb garden. That didn’t quite happen this year, so it became our candy bin.
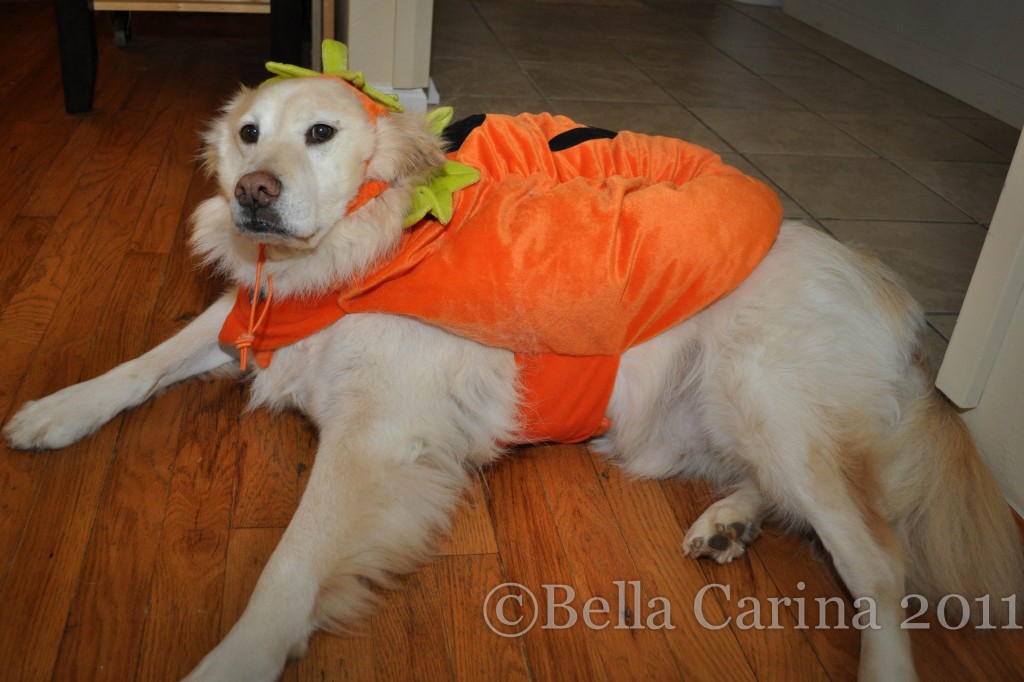 Can’t you see the excitement in his eyes? lol
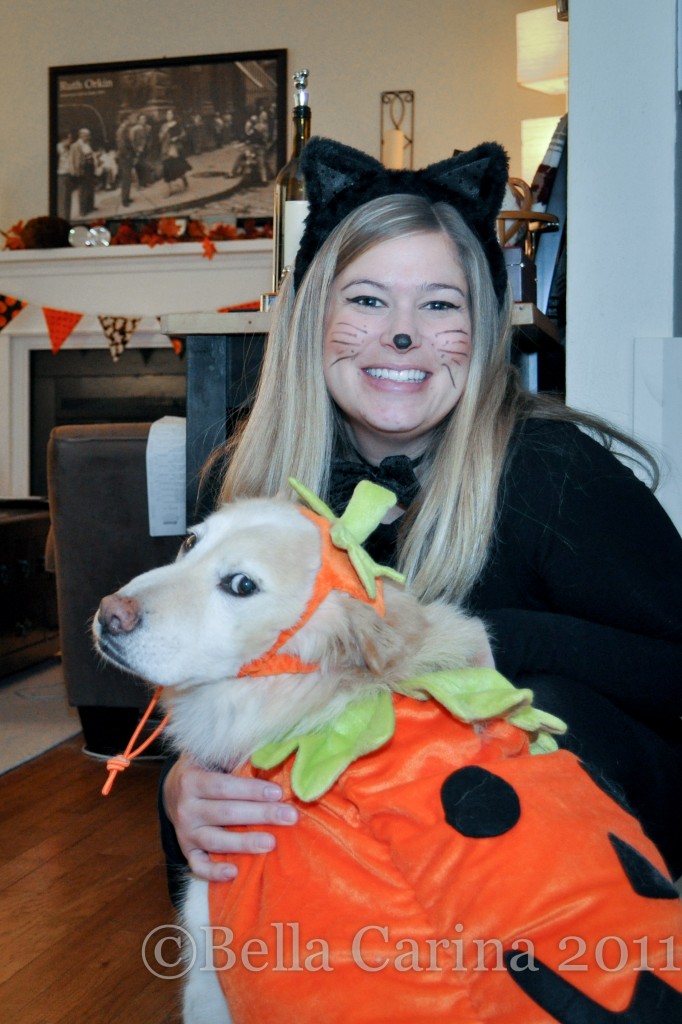 So proud of him for actually looking at the camera and not melting down into a pile of fur on the floor like he usually does.
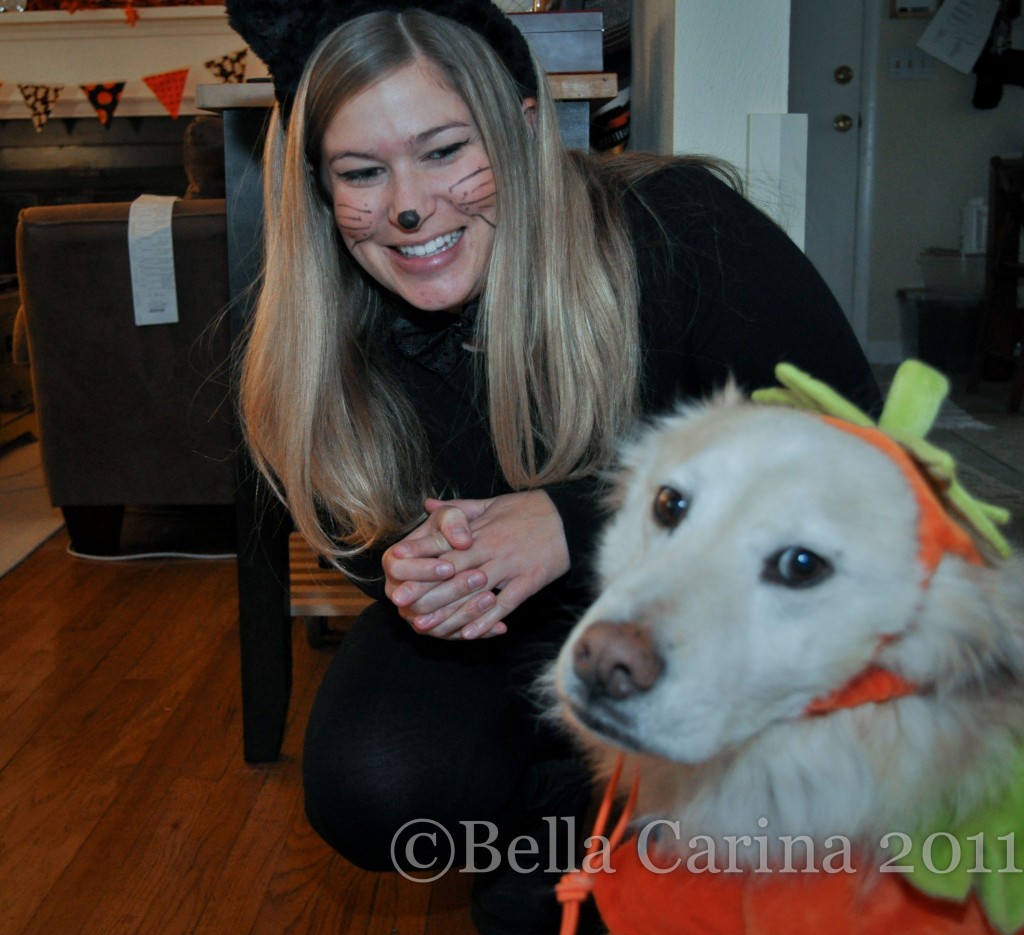 Here’s a picture of Dane trying to get a “two dogs hallowing” pic…Roman wasn’t really cooperating.
 I had to get a pic of me and my trick-or-treat sign. You can see the tutorial on how to make your own here.
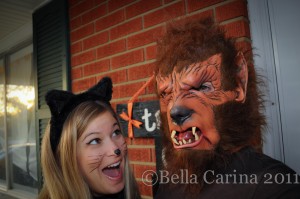
 And here I am looking very frightened by the mean and scary werewolf.

