~ How to plant a vegetable garden ~

So, now that your raised garden bed is all done and filled with soil, it’s time to plant!  (If you missed the post on building the raised bed, you can check it out here.)  Since Dane and I are not exactly expert gardeners, we wanted to plant things that are known to get good yields without too much expertise.  I talked to my parents who used to have a pretty extensive vegetable garden in our backyard when I was growing up and they told me tomatoes, peppers, and basil are all pretty good starter plants.  Which works out wonderfully for us since we like to eat all of those!  If you go to your local Lowe’s or Home Depot, they usually carry plants that are appropriate to grow in whatever region you happen to be living in.  That helps make it a little easier as well.

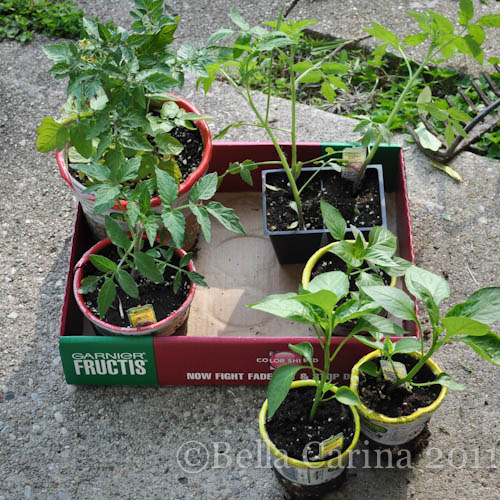
Now, if you are feeling adventurous, you might want to try growing your plants from seeds.  I figured since this was our first garden attempt, I wanted to make it as fool-proof as possible.  I mean, the plants’ likelihood of survival was already pretty slim with the two of us brown thumbs involved.  😉  This meant, using plants as opposed to seeds.  I went to my local Home Depot and just picked the plants that I thought looked the healthiest.  I didn’t choose any specific brand names or sizes, just picked plants that seemed healthy and thriving.  Here’s a picture of some of the plants.  See?  Healthy and thriving, right?
When it comes to buying tomatoes, I’m not going to pretend that I’m an expert, but I can give you some tips from my hours of internet research.  If a plant is called an ‘heirloom’ then it means that it is a variety that has proven time and time again to be a good plant with high yields.  Heirloom is good.  Sometimes, a company will call a tomato their “best tomato.”  This is also good and is similar to an heirloom in that it has been proven to be a good plant with high yields.  Another term that is good to look for is “hybrid.”  That means that some botanist people, much smarter than I am, grafted different kinds of tomatoes to create one that is good at stopping bugs and will produce a high yield, among other things.  In case you aren’t sure, “high yield” just means that you’ll get lots of tomatoes…which is a good thing. 😉  From there, just choose the size of tomato that you like to eat.  I went with a cherry tomato plant, a medium sized “best tomato” plant, and then another one that was medium to large.  I wanted tomatoes that we could use for caprese and possibly pasta sauce.  I’m not a fan of the huge “beefsteak” type tomatoes, but if you are into tomatoes on your burgers and whatnot, that might be a choice for you.  Oh, and then be sure to buy a tomato cage for each tomato plant you purchase.
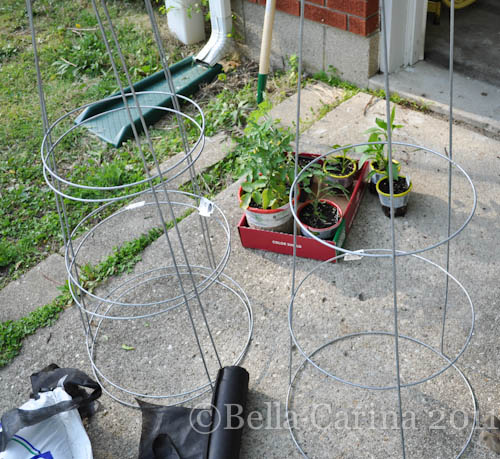
Along with the tomato plants, I bought a sweet basil plant, and six different pepper plants (some hot and some sweet).  When it comes to spacing and placement, you need to consider how big the plants will become.  I knew that my tomato plants were going to get pretty large and I didn’t want them casting a shadow on my peppers, so I planted them at the northern end of my planter box.  (Monitor the sun for a day to see where your tall plants should be planted to avoid casting a shadow on the little guys.)  The tags for each plant should also tell you how much space they need.  I laid all my plants out before I started planting just to get an idea of where everyone should end up.
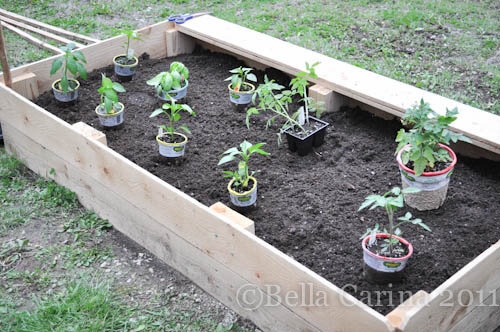
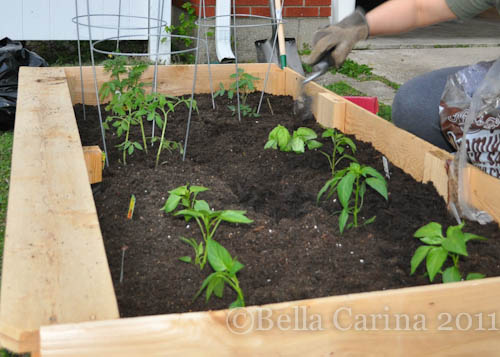
Here’s my three tomato plants and the basil.  (I can tell you that the poor basil plant actually ended up being shaded a good portion of the time, and although it did ok, I probably should have planted it somewhere else.)  The tomato plants should have at least 12-18 inches between plants.  I’ve read that this is a little close, but we obviously had a limited amount of space and they seemed to do fine.
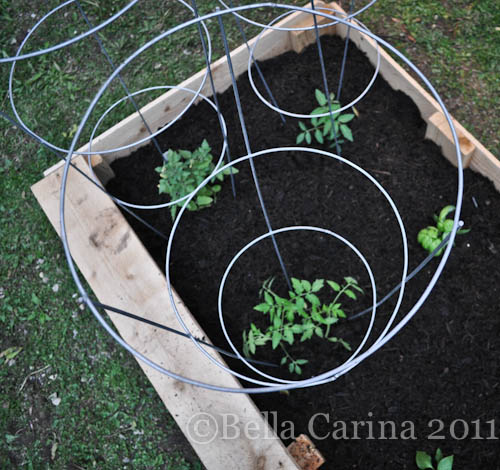
And here’s my peppers planted in the southern end of the bed.  They don’t need to be spaced out quite as much.
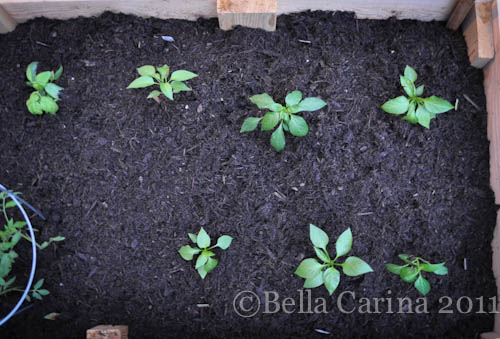
I forgot to tell you in the last post about purchasing soil, that you also need to buy mulch.  Mulch is a great tool to use in your garden because it insulates the soil (as in, helps regulate the temperature) and also helps stop weeds from growing (yay, for less weeding!).  The bags of mulch should tell you how much area it will cover by square foot.  For reference, I bought two bags of black mulch (about $3 each) and only ended up using one bag for this bed.  There are all kinds of different mulch you can buy from rubber to pine needles and all different colors.  Of all the research I did on mulch, I never really got a definitive answer on whether or not one kind is better than the other, so I just went with the least expensive black organic one I could find.  I think it’s more of a personal preference thing.

Once all your plants are planted, water the soil and then use a spade to apply the mulch on top of the soil.  (In the photos above, I had already put the mulch down in case you were wondering.)
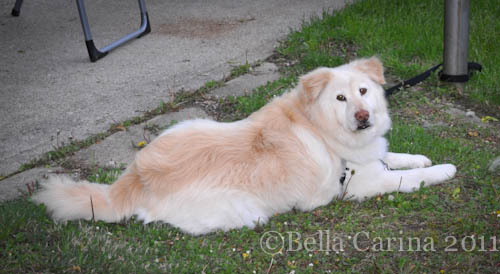
Roman was there to supervise the process.  😉
Here she is, all done.  Isn’t it so pretty?Don’t forget to label all your plants.  If you’re like me, then you are going to forget who’s who in the zoo. 😉
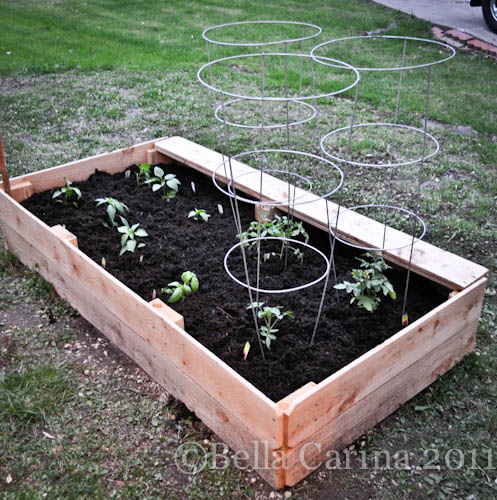
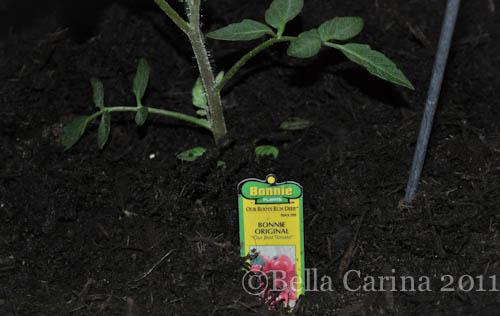
I wanted to make some of those cute plant markers using chalkboard paint and sticks, but never got around to it…maybe next year?

In Ohio, it rains…a lot, so I wasn’t sure how to go about watering my garden.  Tomatoes like heat and water…but not too much water.  Depending on where you live and how hot and dry it is, will change how much you’ll need to water your garden.  My research suggested that it’s better to do one deep saturation watering a week as opposed to lightly watering your garden every day.  Since it rains so often here, I would just let my plants tell me when it was time to water.  If it hadn’t rained in a couple days and the leaves looked like they were a little wilted, I would do a deep saturation watering and they usually perked back up by the next day.  That method seemed to work for me.  I also think that the Moisture Control soil that we added in helped.  It has little pellets mixed into it that retain and release water as needed.  Now, if you live in a region that gets little rainfall if any in the summer, then you may need to water everyday.

I’ll be back soon with some pictures of how our garden fared and how we ended up modifying our garden bed when our fruit started turning up partially eaten all over the yard (!).

Anyone have any better tips on choosing tomato plants or when to water a garden?  As I said, I’m pretty much a novice at all this.  :)

Posted in Home & Garden, Tutorials | Tagged , , , , , | 4 Comments

~ How to build a raised garden bed ~

Dane and I actually did this project last Spring.  For those of you out there that live in a place where it actually snows in the winter, you will probably want to wait until Spring comes around again to do this project.  For the lucky ones (I’m talking to you, friends and family in California) who live where it’s nice and sunny most of the year, you might consider planting a winter herb garden or pretty much anything else you want since, as I said, you are the lucky ones.  :)

Dane and I made the decision to grow a garden for a few reasons.  1) We love caprese and the idea of walking outside and picking tomatoes and basil off our own plants sounded a-maze-ing,  B) We thought it would save us some moolah on the grocery bill, 3) We wanted to be able to eat organic veggies that we knew had never been sprayed with pesticides, and lastly, we thought it would be a fun hobby we could do together.  I think we accomplished all, but one of those goals which I will elaborate more on later.

Raised garden beds have many advantages over planting your garden in-ground.  Some of them are better weed control, pest control, better soil, and a longer growing season.  (And, it just looks prettier!)  With a raised bed, you know exactly what soil you are planting your vegetables in which allows you to be sure it is nutrient rich soil (and sans bad things like lead and other nasty stuff from run off and the like).  As far as pests and weeds, when you put the landscaping fabric down underneath your soil, it stops weeds and ground rodents from coming up through the dirt.  In areas like Ohio where frozen ground is a problem having a raised bed will allow the soil warm up faster than the actual ground, so it’s less likely to stay frozen for long periods of time (you warm climate peeps need not be worried about this).

To get started, Dane and I went on a little trip to Home Depot to scout out the cheapest price for cedar.  Cedar naturally resists decay and infestation of all the little buggies out there.  Cedar does not usually come cheap, but we came across a deal we couldn’t resist.  We found 6 foot dog eared fence pickets on sale for less than $2 a pop!  (Here’s a link to the one’s at Home Depot.)  The fence pickets are 5/8 inch thick and 6 inches wide.  We decided to go with a bed that was 12 inches high, 6 feet long and 3 feet wide just to keep it simple.  We bought 8 fence posts because I also wanted to make a seat for each of the long sides.  I wanted the seats because I had envisioned lots of me sitting and tending the garden…let’s just say I don’t think I needed the seat. 😉

Next, we searched for a 4 x 4 piece of cedar lumber that we could use to brace the “walls” of the garden bed.  Apparently, we would have had to special order this specific size.  That was not gonna happen…especially because I wanted to keep the cost of the project around $20.  We put our two brainstorming heads together and decided to buy a piece of 2 x 6 pine.  It was about $3 for an 8 foot piece.  Pine isn’t as decay and bug resistant as cedar, but we made sure to buy the kind that isn’t treated with any chemicals.  The most important thing when building a garden bed where you are going to be eating the plants that you sow, is to use wood that is not treated with extra chemicals that can leach into the soil (and eventually into the fruit off your plants).  We had the nice associate at Home Depot cut the piece of lumber into 11 inch sections for us (yay for less cutting at home!).

We didn’t take any photos of the building portion (we originally planned on making two boxes, but ended up just sticking to the one).  Here’s a photo to give you an idea of all the components.

Materials needed for this project:

  • 8 – 6 foot cedar fence pickets (you only need 6 if you are going sans bench seat)
  • 1 – 8 foot 6 x 2 piece of lumber (we used pine, cedar is preferred)
  • outdoor screws (approximately 2 inch)
  • circular saw (or hand saw)
  • power drill
  • landscape fabric
  • heavy duty stapler
  • shovel

Once we got everything home, Dane used a circular saw to cut two of the fence pickets in half.  While he was cutting, I used a shovel to dig up the grass in the area where we wanted the garden.  You only need to remove about an inch off the top…we aren’t digging a hole to China here, people.  To choose a spot for our garden, we monitored the sunlight for a couple days to see what spot in our yard would get the most sunlight.  This spot happens to be in the front of our house and we think it used to be all gravel, but has since been overgrown by weeds.

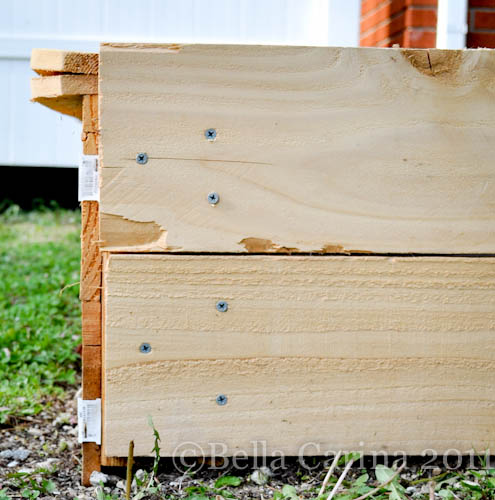
Once the grass weeds were dug up, Dane brought all the pieces out and built it right in that spot.  We didn’t use a level or anything, we just eyeballed it all.  We used 2 inch outdoor screws to attach everything.  In each 2 x 6 block, Dane put 3 screws like so:

On the long side, we used 2 screws in each fence picket.  You can also see that the bed isn’t perfectly level in this shot.  You really can’t tell from further away.

We had purchased the two extra fence pickets because I was thinking that I wanted a bench on either side of the bed.  Once we got it home, we decided that the bed was not so wide that we would need two benches.  Also, since the pickets are only 5/8 inch thick, we figured it wouldn’t hurt to double them up to ensure they supported our weight.  Since we had an extra 11 inch piece, Dane doubled up the support on that side as well.  Here’s that photo again so you can see how positioned the 2 x 6s.

Once the bed was all assembled, we cut the landscape fabric to the proper size (slightly larger than the bed).  We wanted to keep this garden as weed-free as possible, and even though we dug up the grass, we thought the landscape fabric was a good idea.  We laid the fabric inside (we actually used two pieces and overlapped them since the fabric was less than 3 feet wide) and then stapled it to the walls with a heavy duty stapler.  This was also so the soil wouldn’t come out from the bottom of our bed.

Here’s a price breakdown of the raised bed:

  • 8 cedar fence pickets ($2 each on sale, $16.  If you go sans bench you only need 6)
  • 8 foot 2 x 6 ($3)
  • 2 inch outdoor screws (already had)
  • landscape fabric ($4, with plenty left over for next season)
  • Total so far: $23

If you’ve ever looked into buying a raised garden bed yourself, then you know that this price is a deal and a steal.  Most ready-made raised garden beds about this size will set you back anywhere from $50 to $200…no joke (here’s a link to one if you don’t believe me).  And that’s not including the landscape fabric!

Now, here’s where this whole “grow your own garden” thing gets expensive and where we my have not met that second goal of saving money.  It’s the last thing that you would think would be expensive…the dirt.  But, we all know, you can’t just fill your garden with plain ol’ dirt, right?  And on top of that you need A LOT of dirt.

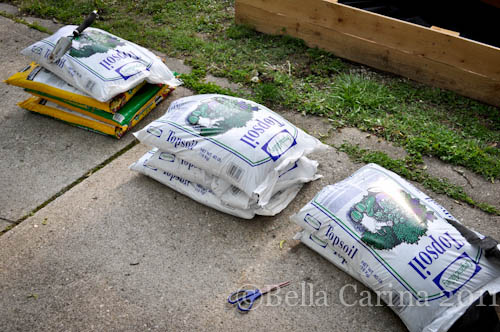
And it weighs a ton.  My poor volvo was low ridin’ like a gangsta the whole way home, not to mention my biceps were bulging after loading them from the shelf to the cart, and then the cart to the trunk.  The thing about soil is that there is a large breadth of varieties and the pricing goes just as wide.  We didn’t want to just get the cheapest soil we could find because we knew that it was important to have some good nutrients in the soil, but we also didn’t want to spend hundreds of dollars on soil.  That’s where the compromise came into play.  We decided to buy a few bags of the expensive, nutrient filled soil, and then mix it up with the cheap 99 cents a bag stuff as filler.  Generally, soil is sold by the cubic foot.  If we wanted to fill our garden box to the brim that would be 18 cubic feet of soil!  (To figure out how much soil you’ll need for yours multiply the length of your bed by the width.  Then multiply that number by the depth of your bed.  For example ours is 6 ft x 3 ft x 1 ft = 18 cu. ft.)  The soil you see in the photo above wasn’t even all of it!  To that, we added a bag of Miracle Grow Moisture Control that we found at Costco for about $9 (I think it was 2.5 cu. ft.).  Each 40 pound bag of top soil (which comes out to a little less than 1 cubic foot) was $1.30, so by mixing in some expensive soil (Miracle Grow Garden Mix is about $5 a cubic foot) with the cheaper stuff we were able to keep our costs down.  We just started dumping in the bags and made sure to mix it all up well with a metal rake.

After all your soil is in the bed it’s time to start planting!  Since this post is already ridiculously long, I’m going to save the planting portion for another post.  Keep your eyes peeled for part 2: How to plant a vegetable garden.  :)

Have you tried to be a green thumb?  Are you just as shocked at the price of pre-built raised garden beds as I was?

**UPDATE**After you finished building your raised bed, check out this other post on how to plant your vegetable garden!

Posted in Home & Garden, Tutorials | Tagged , , , , | 1 Comment

~ Saturday Night Fever ~

Alternate titles for this post might be “Goodwill Booty” or “Things We Do For Fun”. Let me tell you how wild and crazy a Saturday night with Dane and Karen can be… (if you haven’t already noticed that I can be a bit sarcastic, I hope this post clears it all up for ya).

This last Saturday night on the way home from using our store credit at Kitchen Collection (9 dollars and change in case you were wondering), we made a decision on a whim to stop by our local Goodwill. We’re super spontaneous like that. 😉 In the past, I’ve thought of Goodwill as a place where you go to buy Halloween costumes. But, friends, let me tell you, one man’s give away is another woman’s treasure…particularly this woman.

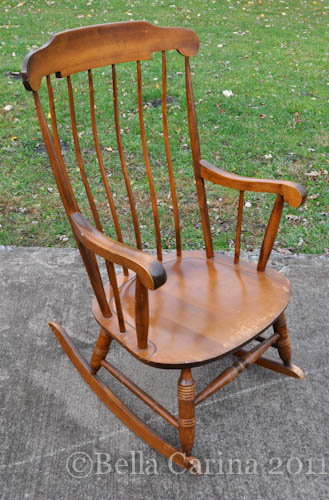
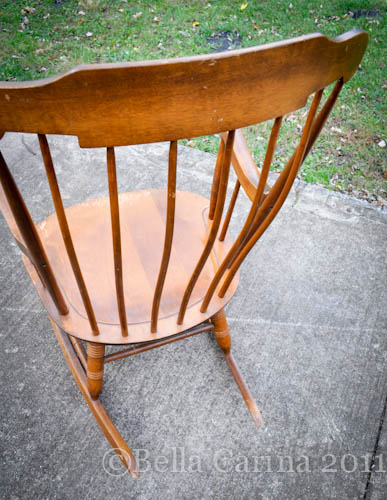
We walked into the doors and the first thing that caught my eye was an awesome all wood rocking chair. I saw it from afar and figured that it already had a “sold” sign on it because that always seems to be my luck when I find a cool piece of furniture. I quickly walked back to it and saw that it was still for sale! I immediately sat in the chair and looked up at Dane with my best “can we keep it?” eyes and of course he said “yes!” I was probably more excited about it than a normal person should be, but like I said, I never find cool stuff like this! Here she is in all of her glory

Yay! $12.99 later, we got to take her home. I love all of the lines…slightly curved, but not too fancy or sophisticated. There’s a little bit of detail, but it’s not too showy.

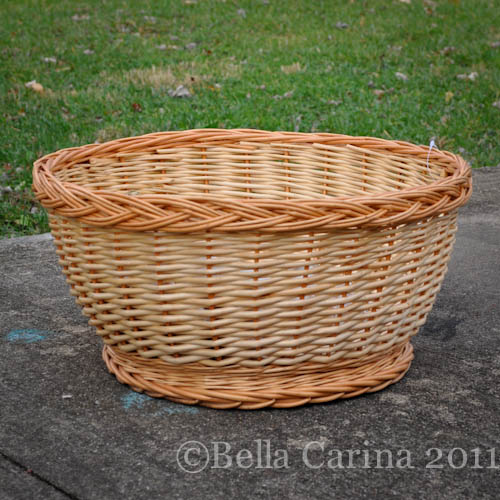
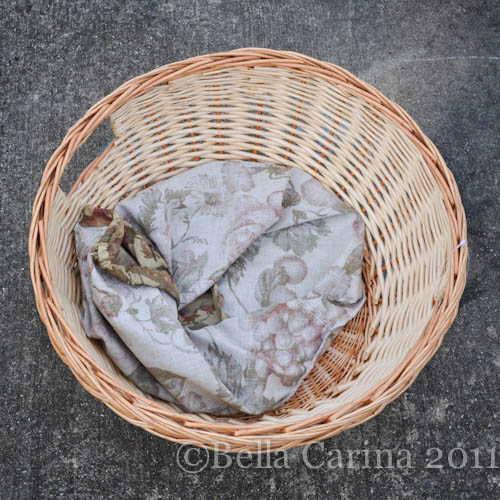
Before we left, another little treasure caught my eye. I’ve been wanting to get a big basket without a handle that I could use for my newborn shoots. That’s why I was stoked when I found this

This was $6.99, which I thought was a little expensive, but considering the ones I’ve seen at Target have been closer to $40 (like this one), it’s a pretty good deal. I’m thinking that a little brown or black spray paint will make this photo shoot ready.

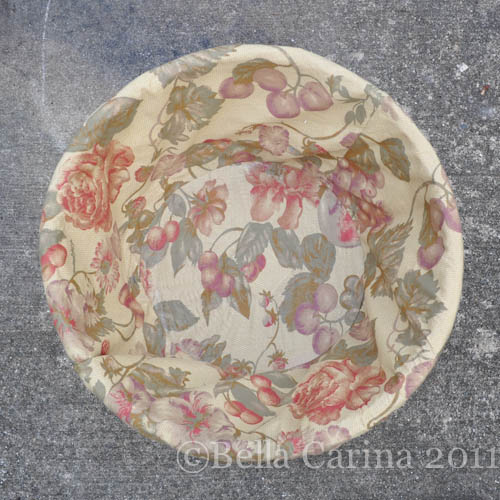
It also came with this awesome fabric insert

which happens to be sewn into the basket on the bottom.

Nothing some scissors can’t handle. Can’t you imagine a little cutie baby on top of blankets? It’s going to be awesome.

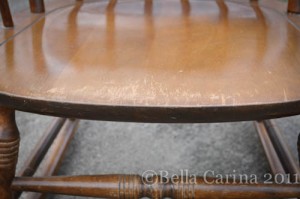
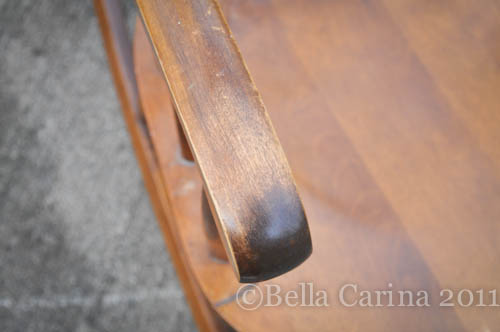
Back to the rocking chair (which was not easy to get home in my little volvo, btw). This guy could use a little TLC.

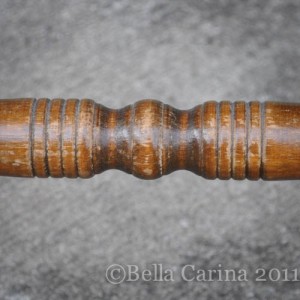
And, I’m not gonna lie…I’m not excited about hand sanding all of the detail work and spindles.

I have all kinds of fun ideas spinning through my head for this little gem. Even if it does need a little extra love and elbow grease.I have no clue where this chair is going to end up. That also makes it a little difficult to decide how to refinish it. A lot of our furniture is dark wood, so I’m sure a coat of dark brown stain and some poly would make it look amazing, but I’m thinking I might get a little more funky with this one. I’ll let you know and come back with a tutorial on how I did it all soon (ish). :)

Anyone have any awesome Goodwill finds recently? Do you have exciting Saturday evenings with the love of your life like we do? Speaking of Good Will, did you know that they are a pretty awesome non-profit organization that provides jobs and training programs for people in need such as veterans and handicapped individuals? If you didn’t, now you can feel even happier when you find your next piece of furniture. :)

Posted in Arts n' Crafts, Decor, Life | Tagged , , , , , | Leave a comment

~ Fall Colors in Ohio ~

There are quite a few things that I complain about when it comes to life in Ohio.  Just ask Dane…he’s a saint for listening.  But, one of the perks of living in a region that gets all four of the year’s seasons is the beauty of autumn leaves.  Photographs don’t seem to capture the complexity of all the colors, but I still love to take them.  All of these photos were taken in my very own backyard.  :)

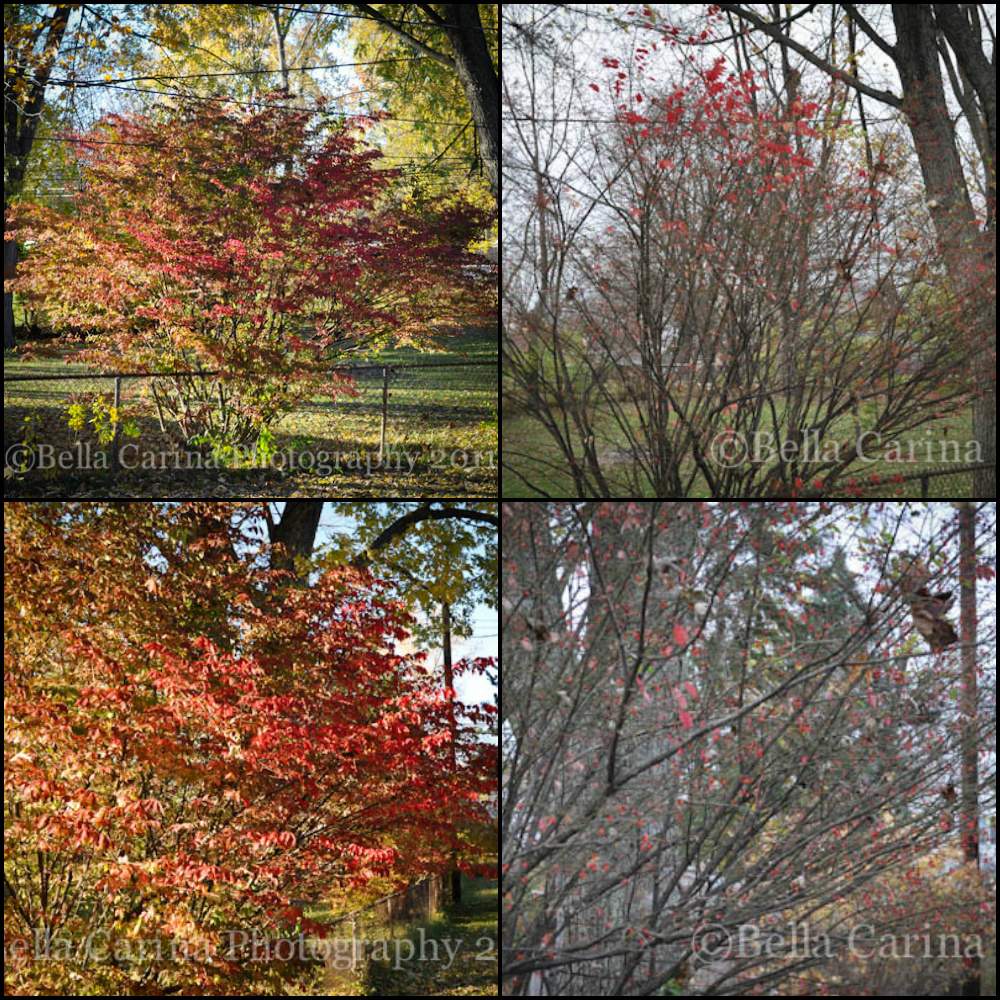
I’m not sure if this plant is a tree or a bush.  Hey, I never said I was a botanist!  Either way, I love it.  I noticed it last year when it turned this vibrant red color and even during the winter it has some awesome red berries.  It’s actually planted in our neighbors’ yard and hangs over our fence.  For once, I’m not complaining.  😉

Here’s some close ups of its leaves.

If you look closely, you can see the berries already on the branches.

We also have some HUGE trees in our yard that have leaves that turn an awesome shade of yellow.

I love the contrast with the blue sky.  Blue skies are a rarity in this part.  Dayton is grey from about December to April, so I welcome the sunlight with open arms!

This is another of our neighbors’ trees and I loved how the light was shining through the branches.

Roman was my assistant…isn’t he just so distinguished?

Unfortunately, just one huge wind storm changed our yard dramatically.  It’s crazy how fast the beauty can disappear.  My favorite red leafed bush is now almost bare.

And the enormous tree with the yellow leaves is also bare except for some birds’ nests that are holding on for dear life.

It appears that for most of our yard, fall has become ‘fell’ …so sad.

But, I loved all the colors while they lasted!  I’m hoping we can hold on to the warmer temperatures for a little while longer.

Do you still have fall colors where you live?  Or do you live in lovely southern Californ-I-A where you are forced to look at palm trees all year round?  😉


Related Posts Plugin for WordPress, Blogger...
Posted in Life, Photography | Tagged , , , , | Leave a comment