~ Say goodbye to ring around the drain ~

I love Pinterest.  I just love it so so much.  Pinterest is awesome for finding inspiration for all sorts of things like art projects, baking, fashion and other great ideas up to and including the kitchen sink…literally.   I found this awesome tip from here via pinterest on how to clean my kitchen sink.  The blog is called Homemade Mamas.

My sink is dirty…like really dirty.  We are coffee drinkers, wine drinkers, and food eaters.  All of which finds its leftovers going into the sink and causing all sorts of stains.  Even after scrubbing it using Comet with bleach I was never able to get the deep down stains which created a ring around the garbage disposal mocking me each and every time I looked at it.  I honestly thought my sink was a lost cause, much like my poor baking sheet.  Luckily, I have found saviors for both!

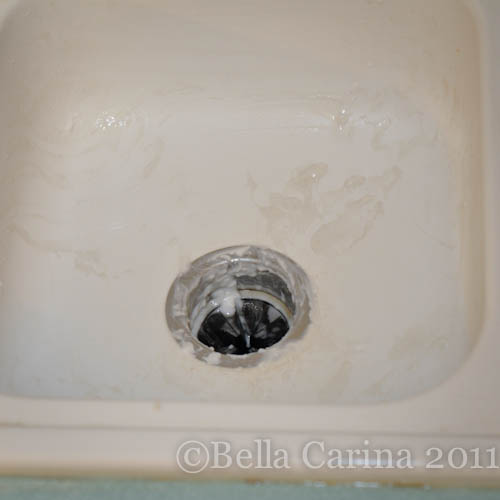
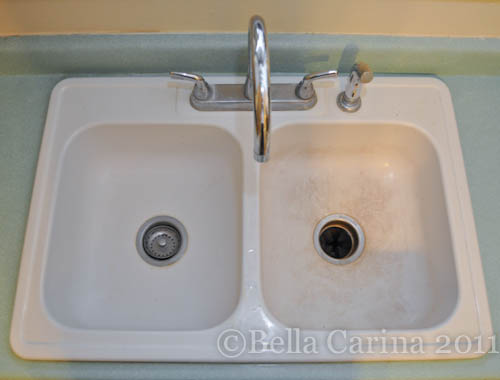
Here’s what our sink looked like before we attacked it with some mega cleaning power.  See how bad the disposal side is?!  yuck.
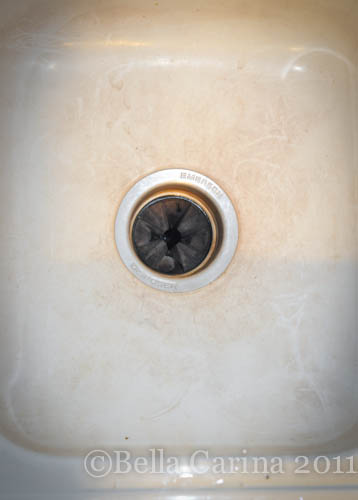
And a close up in case you didn’t get enough…
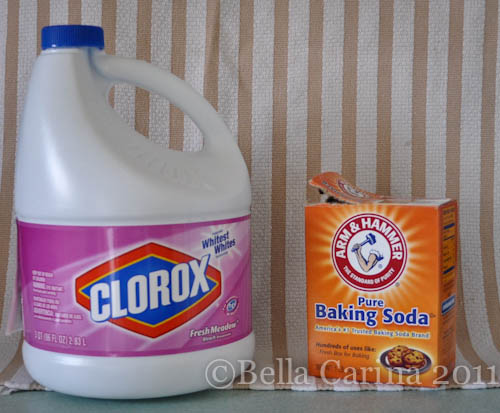
If your sink is as dirty as mine, you probably already have all you need to remedy the situation in your house.  Score one for not having to make a trip to the store for extra cleaning supplies!

  • Bleach
  • Baking soda

First, Dane mixed 1/4 cup of baking soda with an 1/8 of a cup of bleach (gotta love a man that helps clean…and helps with blog posts 😉 ) as recommended by the Homemade Mamas.  This created a slightly soupy mixture.  Oh, and make sure to open a window or two because this stuff smells very strong!
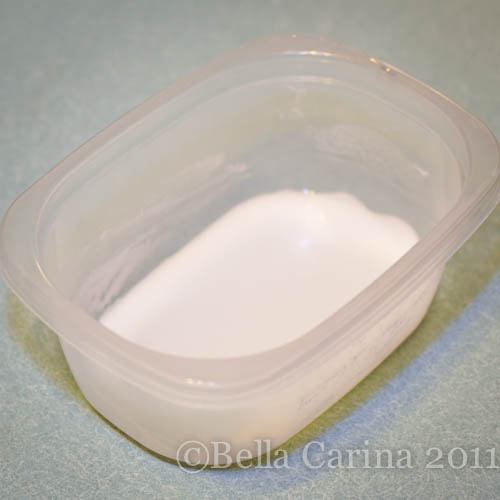
It seemed to thicken up a little while sitting, but stirring it up made it watery.
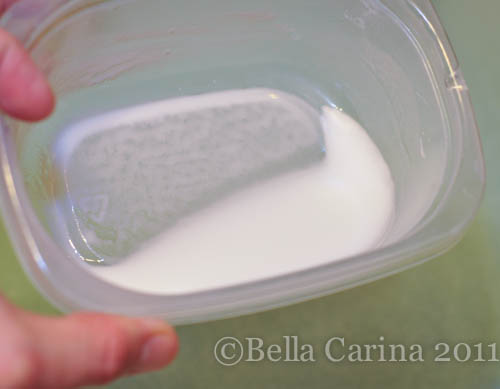
I had imagined that the proportions suggested by the Homemade Mamas would be slightly more pasty and less liquidy, but we went for it anyway.  Dane just wore some thick dish gloves to apply it to the sink.  (This next picture really shows how even though most of the sink came clean, there were still some imbedded stains around the disposal that we being stubborn.)
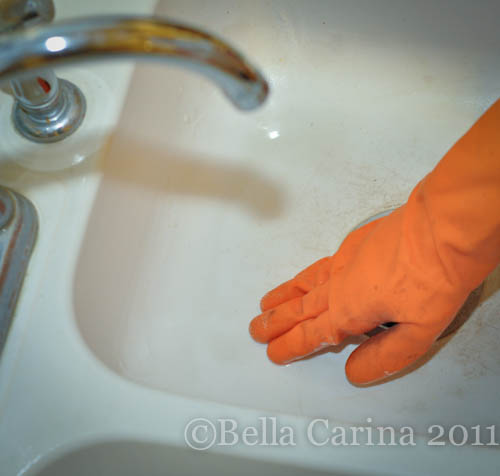
We could immediately tell that it was getting the majority of the sink clean.  But, we thought that a slightly more pasty mixture would be better for the worst of the stains.  We mixed another batch using 1/4 cup baking soda and 1/16 cup bleach (4:1 mixture).  This created a paste that didn’t go down the drain.

Dane continued to use a gloved hand to rub the paste on the sink.
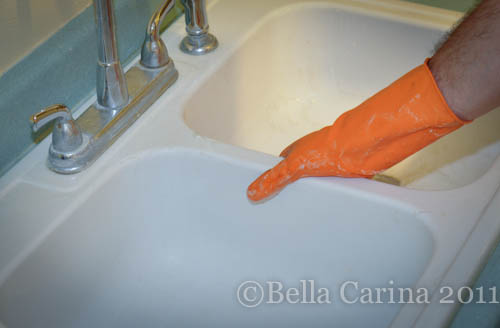
Then we let it sit for about 15 minutes.

Doesn’t it look delicious?

After 15 minutes, I used a sponge to lightly scrub the sink.  Then I rinsed everything thoroughly.  I was seriously amazed at the result!  So shiny and clean!
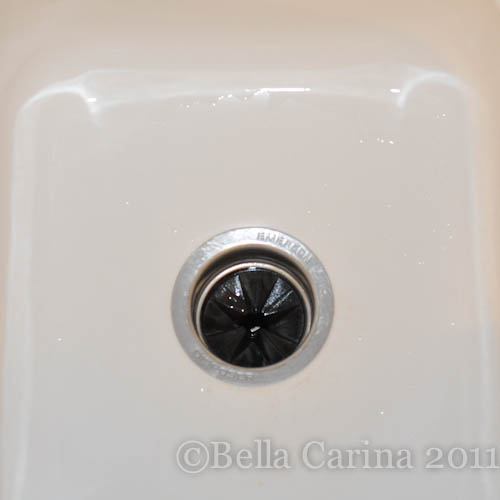
Here’s a close up of that really stubborn spot.
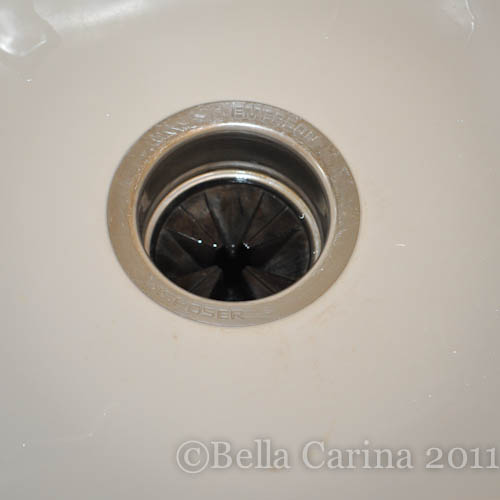
I wish I had a photo of what it looks like when I scrub it with Comet to compare.  The result was even better than I expected!

And because we all love a good before and after…
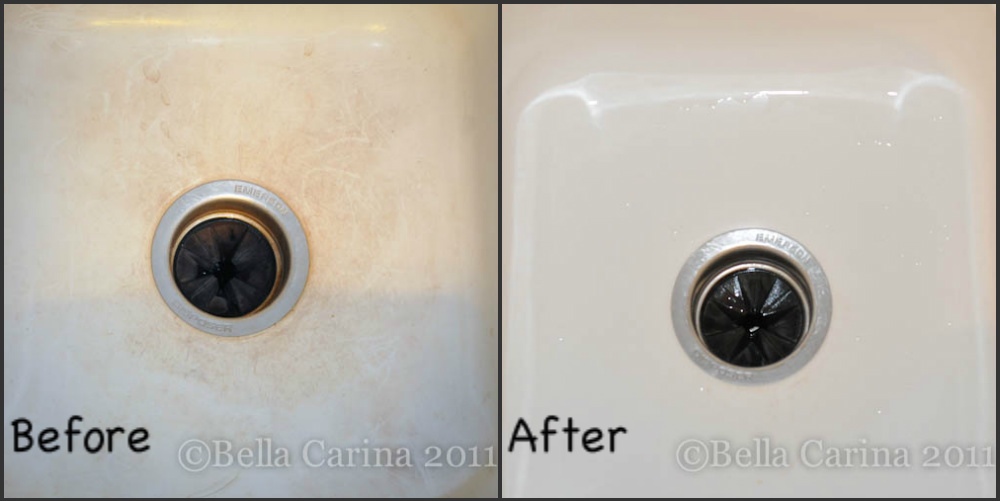
If you have any porcelain that you can’t seem to get clean, then I would definitely try this!

I’m thinking that my shower may be up next…wondering if it will work on the plastic…I’ll be sure to let you know!

**Hey!  Be sure to like me on Facebook and follow me on Pinterest!  You can click the buttons in the side bar! **

Posted in Home & Garden, Tutorials | Tagged , , , | 1 Comment

~ Grandma Fannye’s Potatoes ~

My very beloved Grandma Fannye passed away in April of 2007. She was as Italian as they come, but one non-Italian dish that she made for us at all of our holiday gatherings was her potatoes. Now that she is gone, a holiday without her potatoes just doesn’t feel right to me. At the request of my bestie, Cara, I decided to blog about it. 😉

Last year was my first Thanksgiving that I spent with Dane’s family and although all of the food was delicious, I really felt like something was missing. I guess you can say I have a strong food to memory connection. 😉

This year, Dane’s mom was kind enough to allow me to introduce some of my family’s tradition into theirs and it was decided that I would make Grandma Fannye’s Potatoes.

Growing up, these potatoes were something that I had known only as Grandma’s Potatoes and she had said she got the recipe a long time ago from a friend at a potluck. It wasn’t until recently that I did a little google machining and discovered that this recipe is quite popular and has many variations. I think the best comparison might be Cracker Barrel’s version which they call a Hashbrown Casserole.

Without further ado…I give you Grandma Fannye’s Potatoes.

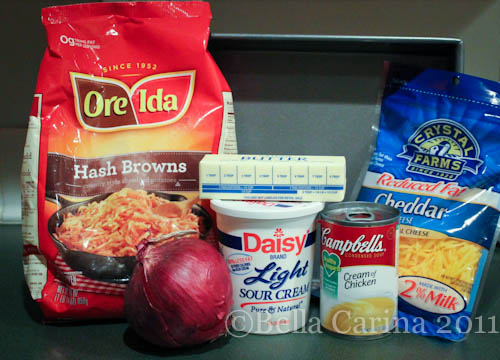
Ingredients:

  • 1 pound frozen shredded hashbrowns (that’s one of the regular bags)
  • 1 can cream of chicken soup
  • 2 cups shredded cheddar (I used reduced fat)
  • 16 oz sour cream (I used Light)
  • 1/2 cube of butter cut into tablespoons
  • 1/4 cup of onion of your choosing (I used a purple onion this time)

All of this gets baked in a 9 x 13 pan. Glass or metal both work fine. First, spray your pan with non-stick cooking spray and set aside. This dish can be prepared in advance and then cooked later. I prepared this the night before Thanksgiving and kept it in the refrigerator until I was ready to bake it. This can also be baked right away. If you want to bake it now, preheat your oven to 350 degrees at this step.

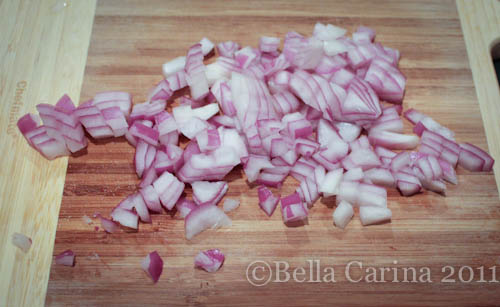
Next, dice your onion. I ended up using about half of this onion and didn’t really measure exactly 1/4 cup. I’ve used green onions in the past which adds a little more color to the dish as well, but we needed the other half of the onion for stuffing, so purple it was. Both are delicious.

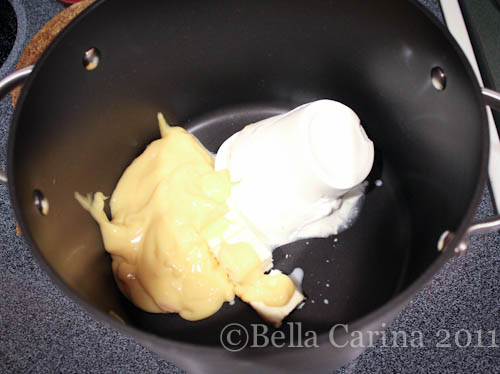
Next, heat up the sour cream, soup, and butter in a large stock pot on the stove over medium heat.

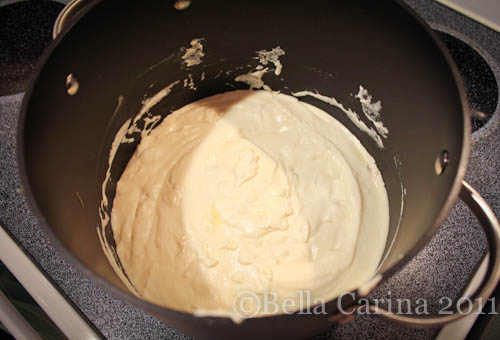
Cook stirring constantly until the butter is melted and all three ingredients are well combined.

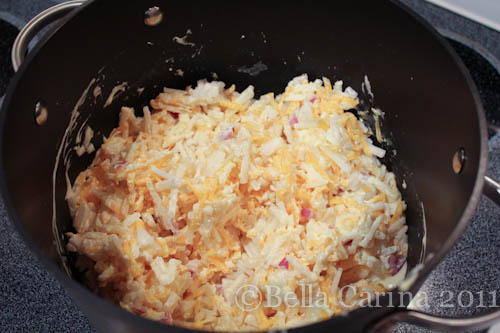
This creates kind of a sauce. Once this is done, add the bag of hashbrowns (I usually pull them out of the freezer along with the rest of the ingredients, so it’s only slightly defrosted at this point, which is fine), the onion, and the cheese. Stir everything well until all of the hashbrowns are covered in sauce and the cheese and onions are distributed evenly.

At this point, if you are going to cook this right away, leave it on the stove for 5 to 10 more minutes, stirring occasionally. You aren’t trying to cook it, but the potatoes should be almost completely defrosted. If you are preparing this in advance, no further cooking is needed.

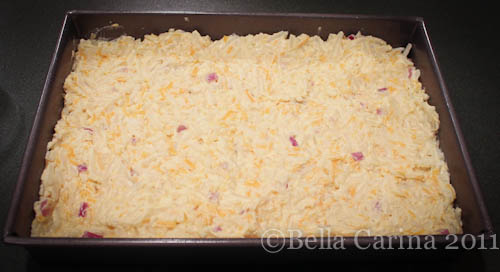
Next pour everything into your 9 x 13 pan and use a spatula to spread it evenly. If you are baking this later, cover with foil and refrigerate until you are ready to bake it.

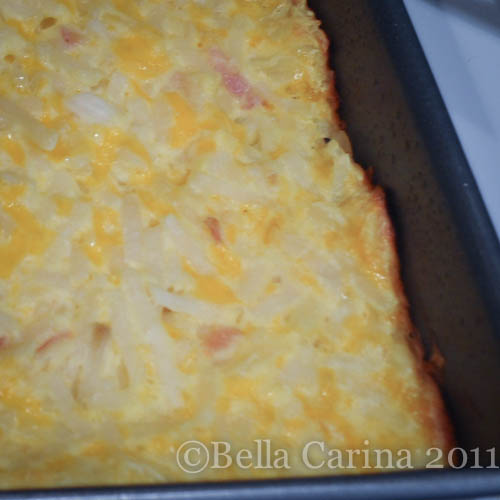
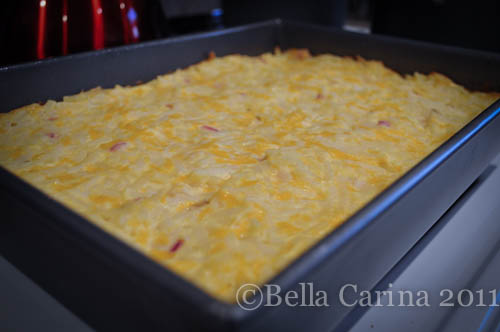
To bake now, cover with foil and bake for 20 minutes. After 20 minutes, remove the foil and bake for another 20 minutes or so. If you used a glass baking dish, you’ll be able to to see the edges bubbling, which is an indicator of doneness. You also want the edges to be crispy like this and all the cheese to be melted.

This dish is super yummy. It’s quite rare that I meet someone that doesn’t like this potatoey, cheesy, yumminess. :)

Sorry, I didn’t get a photo of this piled up on a plate, but I was a little busy enjoying an awesome Thanksgiving dinner with family. :) Ahhh, I love the holidays!

One of the things I love about this is the semi-homemadeness…it’s easy to throw together and makes a great side dish for all kinds of meals. I think my favorites are ham and turkey.

Funny side note: One time when my Grandma was watching us while my parents were out of town for a few days, I remember requesting that she make us her potatoes…a few times…in a few days. I’m pretty sure my brother and I lived off of Grandma’s Potatoes that whole time my parents were gone. 😉 Also, Grandma’s Potatoes between a roll actually makes quite a killer sandwich!

Anyone else have a go to holiday dish that is a “must have”? Do you also have a strong food to memories connection?

Posted in Food, Holidays, Life | Tagged , , , , | 7 Comments

~ Homemade Vanilla Extract ~

Being a chocolate chip cookie dough lover, I’ve been wanting to make my own vanilla extract for a while.  Actually, it was ever since I saw Ina make it on one of her cooking shows a couple years ago.  (The recipe isn’t exactly brain surgery, but here’s the link in case you want to see it for yourself.)  On a recent trip to Jungle Jim’s, down near Cincinnati, I got my hands on some vanilla beans that didn’t cost an arm and a leg ($2.99 for 2 beans).  The other bonus was that I could purchase them in a reasonable quantity since when you buy them online they usually are sold in bulk.  I figured I wanted to try a small batch before I went too hog wild on this stuff.  :)

Jungle Jim’s is one of Ohio’s many few gems.  It’s a HUGE grocery store and international market where you can buy basically anything you can think of.  They also carry a wide variety of craft beers and wine.  Ya, it’s pretty awesome.

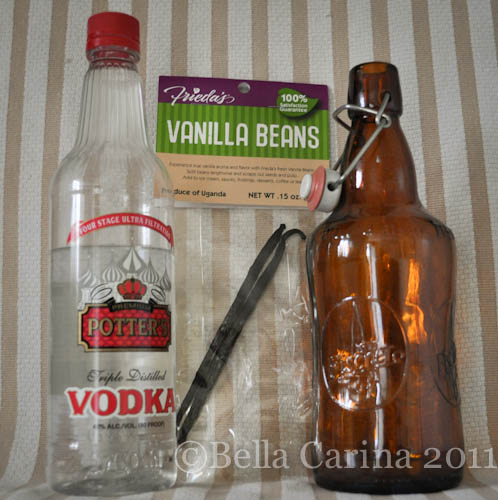
What you’ll need to make your own vanilla:

  • Empty glass bottle
  • Vanilla beans
  • Vodka or Rum

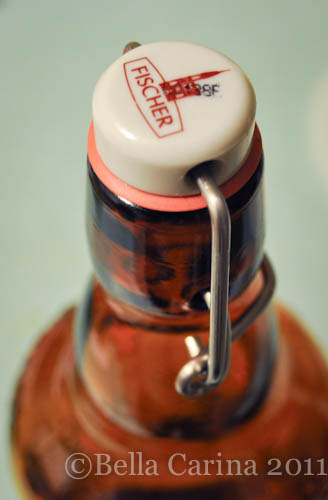
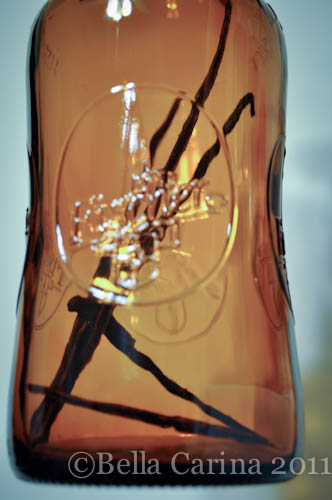
Dane knew I wanted to make vanilla eventually, so he specifically bought a beer that had a cool bottle with a lid that could be closed air tight.  I can’t remember if he actually enjoyed the beer, but I was happy to have the bottle for free. 😉  Here’s a close up of the lid for ya.

I know you can buy similar bottles online or I have even seen them for pretty inexpensive at TJ Maxx in the kitchen section.  A screw top bottle would be ok as well.

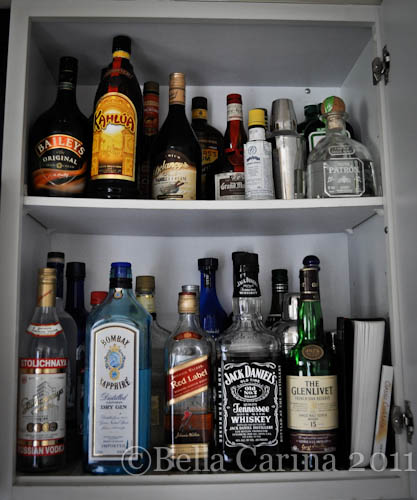
We actually have a pretty well stocked liquor cabinet, which is slightly funny since Dane and I are definitely more beer and wine drinkers than mixed drinks.  I blame it on the fact that we are both fairly conscientious hosts…we want to be able to offer our guests their drink of choice.  And we’ve been known to throw a party here and there.  😉  So, when it came time to deciding what alcohol I wanted to use, I went no further than the kitchen.  These were my choices

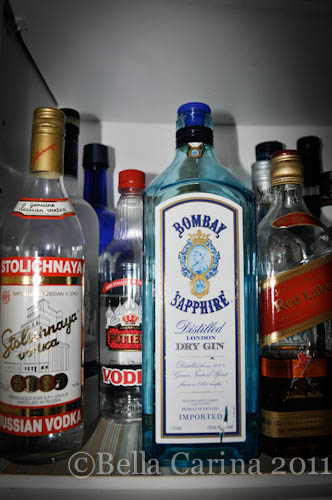
I zeroed in on this little guy hiding behind the Bombay Sapphire gin.  See the Potter Vodka in the plastic bottle?  Ya, him.

I also didn’t want to use our expensive vodka or rum since I had read that it doesn’t really matter which kind you use.  (Dane later told me that we have this to clean out his beer brewing supplies…apparently no one bought this to actually drink…I mean we aren’t in college anymore, people. 😉 )

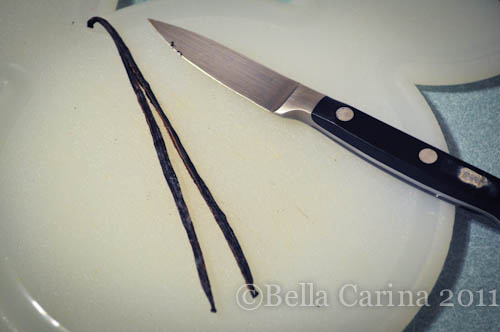
I started out by slicing my vanilla beans lengthwise in half using a paring knife.  I didn’t slice them all the way.  And yes, that is a Mikey Mouse cutting board, and yes it is awesome.  :)

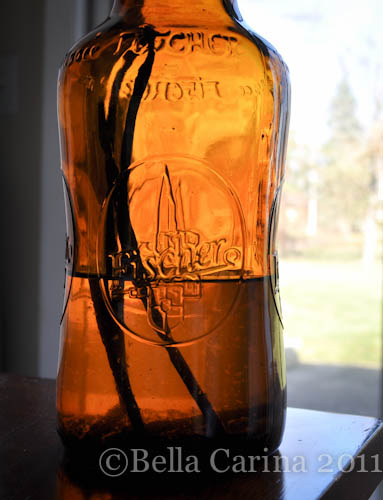
Then I put my two sliced vanilla beans into my bottle.

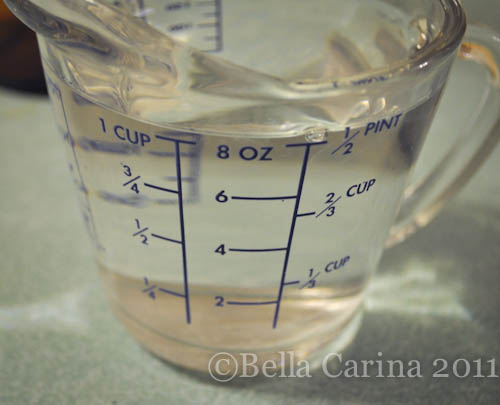
Since I only used two vanilla beans, I measured out 8 oz of vodka.  The good thing about making your own vanilla is that it will last indefinitely and you can continue adding more beans and more alcohol to increase your stash, so if this goes well, I’ll just buy more beans and fill ‘er all the way to the top.

A funnel would have made this next part easier, but I don’t have one, so I just carefully poured the vodka into the bottle over the sink.  I gave it a good shake and then I was done!  Continue to shake your bottle at least once a week or so.  After a month, the vodka should be infused enough to start baking with it!

It’s been about a week since I made this and it smells super vanilla-ie and delicious.  I can’t wait to bake with it and see if it makes a difference in my cookies.

Before making my own vanilla, I had never read the ingredients on my store bought bottle.  I currently use the large bottle from Costco since it’s the most inexpensive that I have found.  I was surprised to see that it contained sugar!  I guess we’ll see if that’s a good or bad thing.

One thing that I have noticed already is that there are tons of vanilla particles floating around in the extract.  Not sure how I feel about that, but it may make my cookies even better.  That remains to be seen.

I’ll be back to let you know how my homemade vanilla extract fares against the store bought when it’s ready!

Posted in Food, Tutorials | Tagged , , , , , | 5 Comments

~ It’s beginning to look {a little} like Christmas ~

Last year we went treeless here at House of DK, which was honestly a little depressing.

This year, we snagged a fake tree at Big Lots (marked down to $25 from $35) right before Thanksgiving. I’ve never been a fake tree kinda girl, but I’ll take what I can get!  No ornaments on yet, but it’s still nice to get into the spirit.  😉

Which brings me to my question of the day…white lights or multi colored for your tree and why?

I say multi, Dane likes white, but they only had the multi colored available (it’s a pre-lit guy), so I won that one. 😉

20111128-194133.jpg

Related Posts Plugin for WordPress, Blogger...
Posted in Decor, Holidays, Life | Tagged , , , , | 2 Comments