There’s nothing better than the smell of homemade pizza cooking in your oven. And I’m half Italian, so of course I love pizza! How cliche, right? Maybe you think that making your own pizza dough is too complicated? I’m here to tell you that you can do it! The ingredients are probably much more simple than you might think. This does take a little planning though because the dough takes an hour to rise, so be sure to plan ahead. Trust me, it’s worth it!
This dough is easiest made with a stand up mixer and a dough hook, but I’ve seen my mom make it with a Cuisinart, too! And I’m sure you could knead it by hand if you are up for the challenge. This recipe makes one pizza, which is enough for two people. Double it to make two pizzas.
Ingredients:
- 3 cups flour
- 1 teaspoon salt
- 1 teaspoon active yeast
- 1 tablespoon sugar
- 1 cup warm water (from the tap)
- 1 tablespoon olive oil
Don’t forget your dough hook! That’s the cork screw looking thing in the photo below.
 Measure out one cup of warm water (from the tap, but not too hot) and add the teaspoon of yeast and tablespoon of sugar and stir. I have a jar of yeast. If you are using packets, use one half of a packet.
At first, it won’t look like much, but after about 5 minutes, the mixture should start to foam up and look similar to the foamy head on a beer.
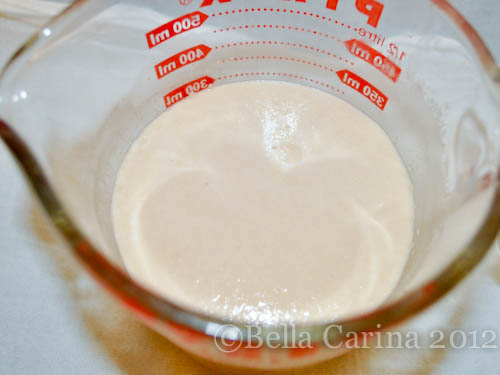 I do this to make sure that the yeast is still active. If it doesn’t foam up, your yeast is bad and your dough won’t rise…no bueno. While you are waiting for your yeast to foam up, put the three cups flour, salt, and olive oil in your stand up mixer.
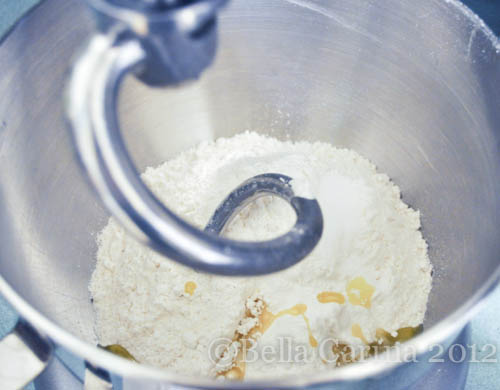 After your yeast, sugar, and water mixture foams up, turn the mixer to level 2 and slowly pour in all of the liquid. Stir up the liquid as you pour it to make sure all the yeast makes it in as well.
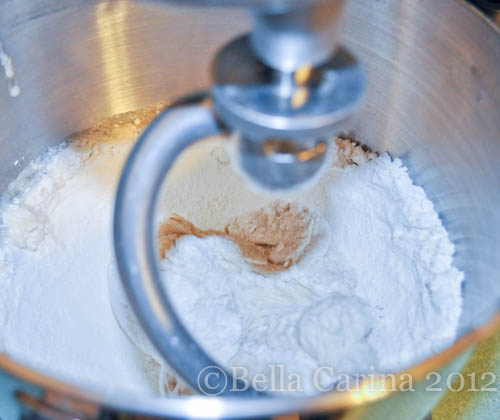 Keep the mixer on level 2. The dough will start to come together as it continues mixing. See it starting to pull away from the sides of the bowl?
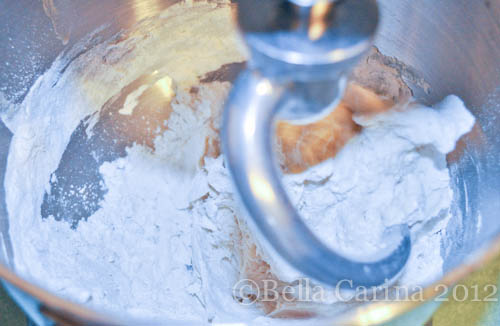 The great thing about using a dough hook is that it does the kneading for you. Keep letting it mix and the dough will start to take shape.
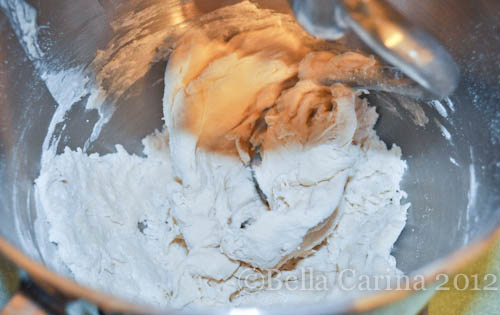 The dough needs to keep mixing until it pulls away completely from the sides of the bowl. You may need to add a little extra water until it looks like this (or a little more flour if it seems too sticky). Let it knead for about a minute more once it’s all balled up.
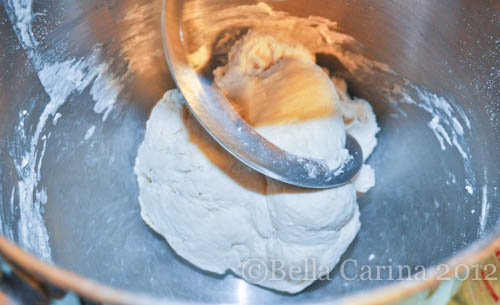 Now, grease a glass or stainless steel bowl. I poured some olive oil into my bowl and smeared it around with a paper towel. If you have an olive oil mister (I don’t) or spray olive oil, that would work great as well.
Shape the dough into a ball and put it in the greased bowl. Turn the ball over to make sure it gets a little oil on all sides and then cover the bowl with plastic wrap.
It needs to be in a warm, draft-free place for about an hour to rise. If you have a gas oven, just having the pilot light on should keep the oven warm enough and you can just pop it in. My oven is electric, so while the dough is mixing, I turn the oven on to 200 degrees for just a couple minutes and then turn it off. This makes it just warm enough without it being too warm. It also helps to warm up my pizza stone a bit.
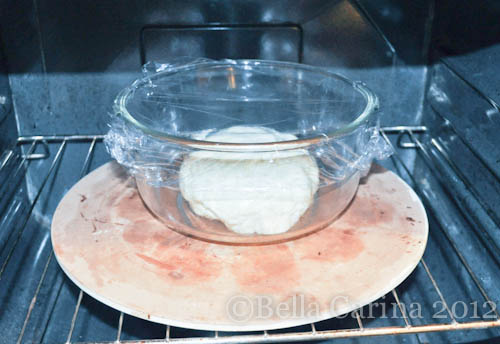 After an hour, your dough should have doubled in size. Just like magic!
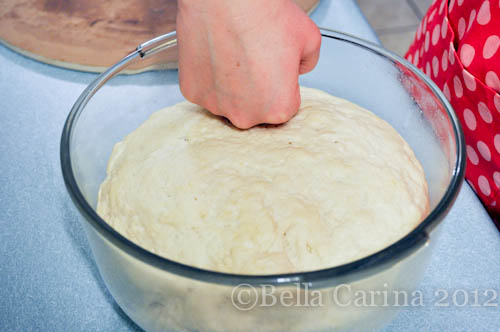
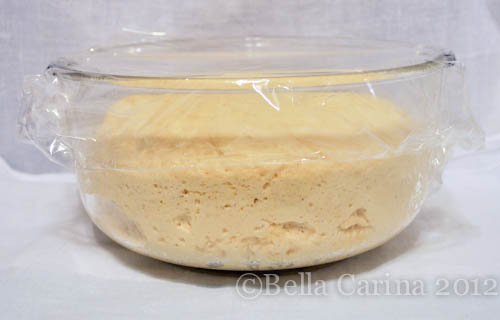 Now comes the fun part…punching down the dough. And that is exactly what it sounds like.
 Oh, and don’t forget to turn your oven to 450 degrees to preheat while you’re jazzing up your pizza pie!
Punch the dough down into the bowl. The yeast creates air bubbles, so it’s feels kinda like a sponge. This part is very therapeutic, actually haha. You don’t really need to punch it…it’s more like just pushing it down with your fists.
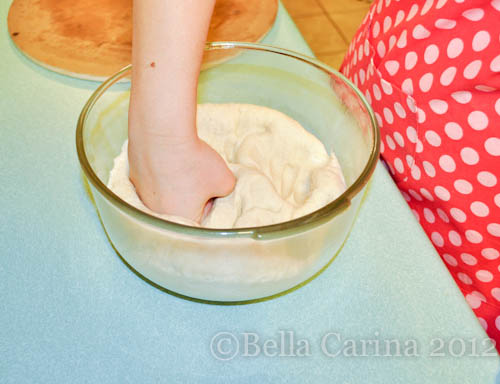 Now, it’s time to take the dough out of the bowl and shape it into a pizza shape. I like to put corn meal on my pizza stone so the dough doesn’t stick. You can also use a little bit of flour for this. If you don’t have a pizza stone, a baking sheet will work just fine. And there’s nothing wrong with a rectangle pizza…that’s the shape I grew up with when my mom made it at home. 😉
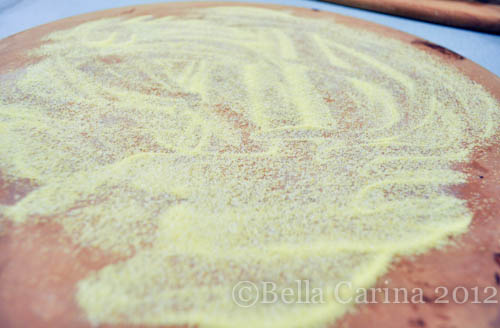 Use your fingers, palms, and fists to push down and out on the dough until it is in the shape that you want it. Even though my OCD kicks in, I’m resigned to the fact that it will never be a perfect circle…I haven’t perfected the whole pizza toss thing. 😉
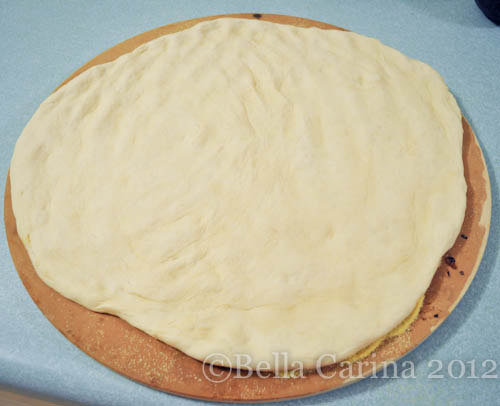 Now, dress your pizza up however you like! I spread some olive oil all over the dough, add some tomato sauce, mozzarella cheese, turkey pepperoni, and black olives. In general, I’m a pizza purist…I don’t like weird stuff on pizza that is made to be other places…like BLT pizzas for instance…no thanks! Lettuce belongs in a salad on the side, not on top of my pizza!
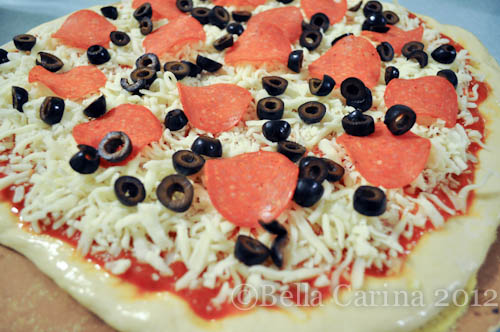 When your oven is sufficiently preheated, cook the pizza for 10-20 minutes. Be sure to check it at regular intervals. The cheese should be bubbly and the crust should be golden brown.
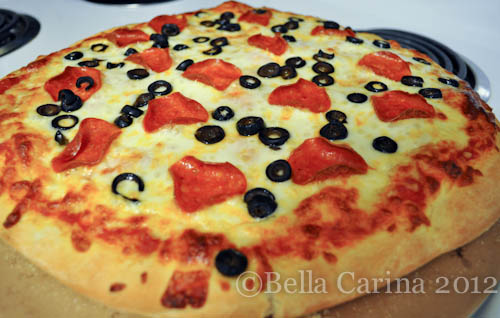 And that’s it! If you don’t count the whole waiting one hour for the dough to rise, this is actually a pretty quick meal. And it is sooo good!
This would be something fun for a dinner party as well. You could make the dough in advance and have everyone make their own mini pizzas. Now, that’s the kind of dinner party I like to go to!
Anyone else a fan of homemade pizza? How about any tips for getting it to bake perfectly every time?

 And Roman’s cute puppy paws left a trail on our patio. So cute!
 And our wood pile looked a little more rustic…
 And, even more exciting for me was that I had some reprieve from wiping off thick nasty mud from Roman’s paws (and back, and face) every time he came back in the house.
 Don’t get me wrong, I’m glad it’s not 20 below zero here, but if it’s going to be close to freezing and raining, then I’ll take snow any day.
 And my wood pile is back to looking like a soaked hot mess.

