I’ll let you finish the rest of the title of this post…I am a lady after all! 😉 We got us some hard water here in them there these parts! Sorry for the momentary lapse in my ability to speak in correct English. I swear I have a bachelor’s degree and a master’s degree…no really…I swear. So anyway, apparently Ohio has some pretty ridic (yes, that’s short for ridiculous, and yes, it saves time ;)) hard water issues.
The house that we live in here in Ohio actually has a water softener in the garage, it’s just never worked in the 16 odd months that we’ve lived here. And, believe me, I’ve tried to fix it. Hard water is really no fun. All my used-to-be-clear drinking glasses have become frosted, my coffee pot always has water spots, and our sinks spray water in all different directions. Now, I know how to deal with each of these issues, but like any normal American, I’m lazy. 😉 I usually wait until the sink has sprayed me one too many times before I actually do anything about it.
Today was that day for the sink in our master bathroom. (I call it the “master” bath because it’s attached to our bedroom, but it’s really all in the eye of the beholder…it barely fits two people inside without bumping elbows or a wall. But it’s awesome having a second bathroom, so I don’t complain!) So, today I went to wash my hands and got a nice spray of water on my shirt/pants. And that was it. It was time for me to do something about it. And since I’m a blogger now, I figured I’d share it with the world wide web just in case there are people out there that are interested in learning how to fix their own rogue faucet. 
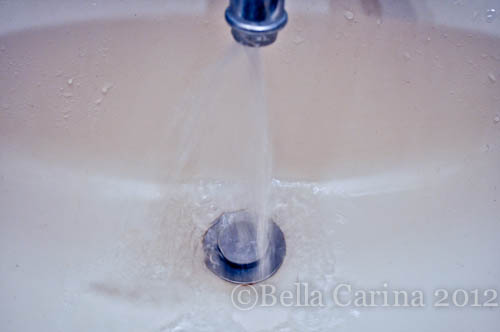
Here’s what my sink was looking like before. Water sprayin’ every which way. Since water is clear, it’s a little hard to see, but you get the point.
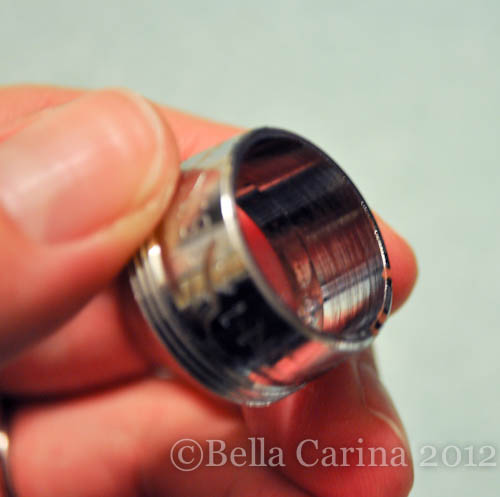
 To remedy this, I got out a pair of pliers from our tool box and unscrewed the screen portion of the faucet. Remember: Lefty Loosey, Righty Tighty. (Note: use a cloth in between the pliers and the faucet to protect the metal…I forgot to do that in my rush to combat the out of control faucet.)
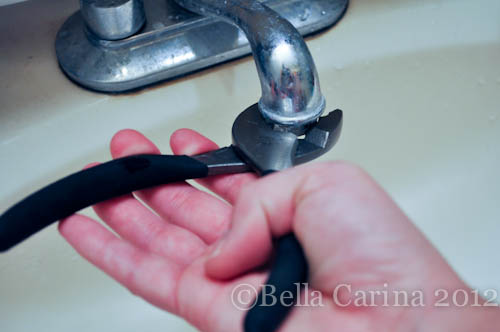 Tada! The underside of a faucet! All lime scaley and what not.
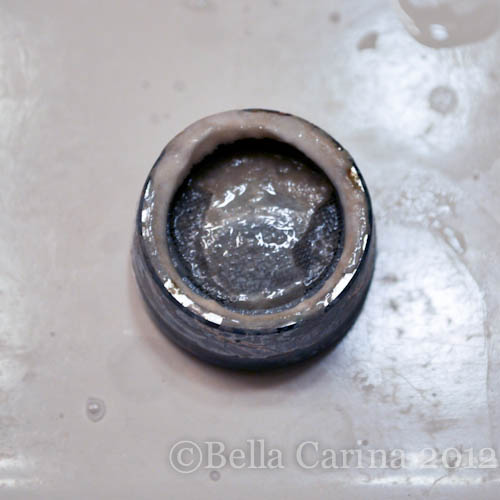 And now for the rarely seen inside of a faucet! (PS: I’m sure there is more proper terminology than what I am going to use this entire post, but hey, I never claimed to be a plumber.)
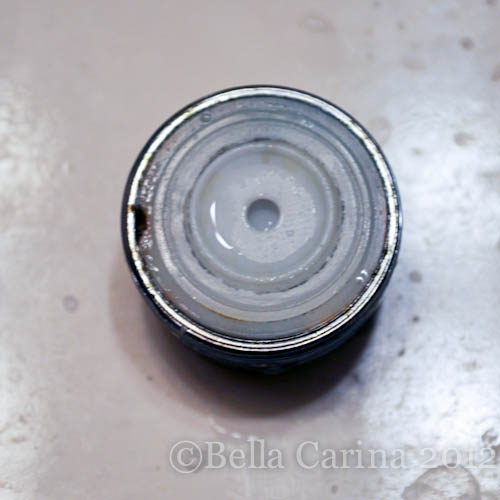 Here’s where it gets important to be an attention to detail type person. Make sure you remember how the faucet goes back together. See how there is a white plastic piece? You can pull that out of the metal, and then that plastic piece usually comes apart into a couple pieces as well. REMEMBER how your specific faucet goes back together! This bathroom sink faucet is pretty simple, but I once spent way too long trying to figure out how to get our kitchen sink faucet back together. It was extremely annoying. I used my finger to push on the screen part to pop out the plastic piece.
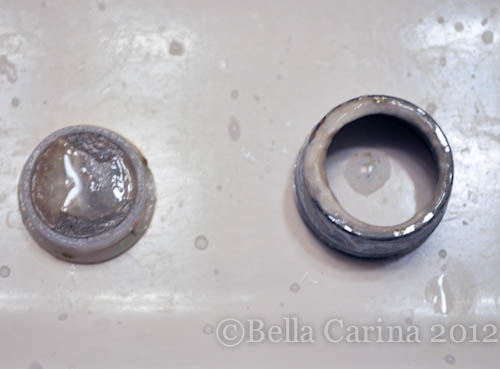 Then take apart the two plastic pieces and pop out the screen.
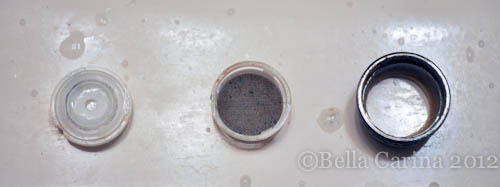 These are the parts that you’ll want to get clean.
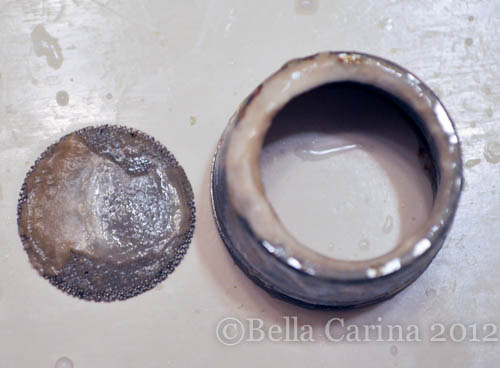 Look at all that yummy calcium and lime build up…yuck. Now you know why my water was spraying out all over the place. That is supposed to be a screen!
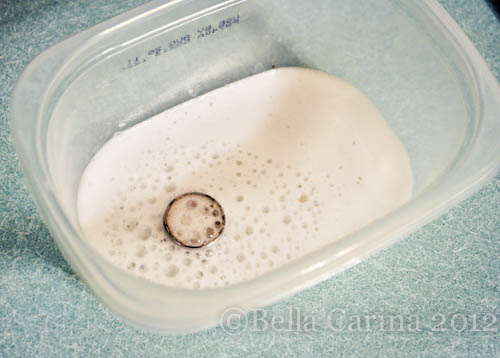
If I was diligent enough to take care of this on a regular basis, I could probably soak all the pieces in white vinegar for a couple hours and be done with it. (White vinegar is awesome for removing hard water stains) But, since this is the first time in 16 months that I’m cleaning this little guy, I had to bring in the big guns. Lime Away to the rescue!
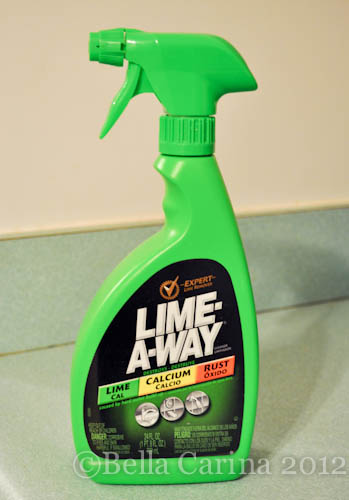 I make sure to keep a good stash of these disposable plastic containers around for situations just like this. This one was probably from a container of honey roasted turkey breast (my fave). Put the offending metal pieces into the container and then spray a whole bunch of Lime Away (or other calcium and lime fighting agent) into it until both pieces are thoroughly covered. Then find something to do for a couple hours.
 After a couple hours, I grabbed some gloves (you don’t want to be touching Lime Away with your bare hands) and an old toothbrush that we now use for cleaning.
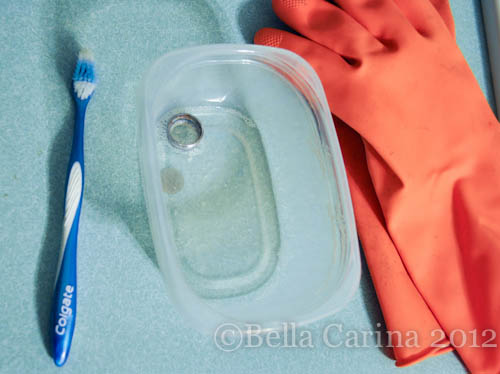 The screen was pretty clean on its own, so I just gave it a good rinse. The other metal piece had other plans. I scrubbed it with the toothbrush and even took a butter knife to it to chip away at the build up, but I wasn’t happy with it just yet. I dumped out the old Lime Away and put the metal piece back in the container and gave it another good dousing of cleaner. Then, I wait another couple hours.
Finally, it was clean!
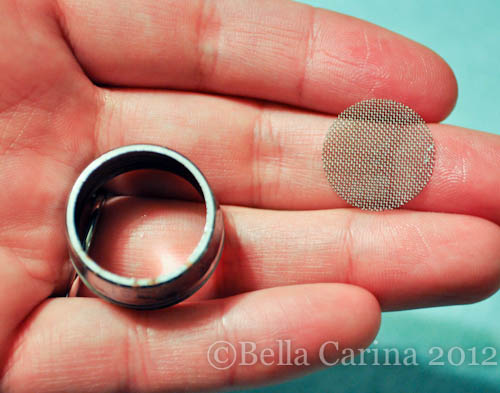 Let’s just take a moment to remember what these used to look like… wowza.
 And here’s what happens when you forget to use a cloth to protect the metal…oops.
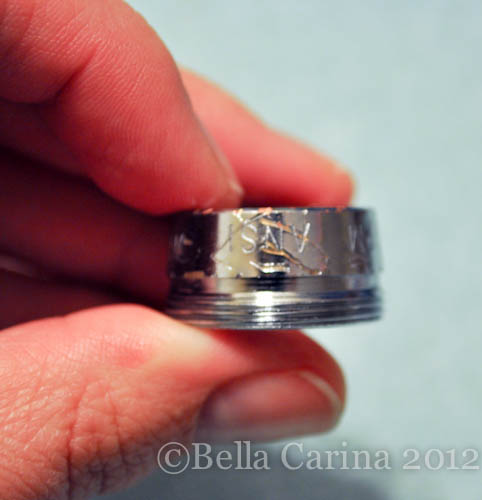 Luckily, you never really see this part of the faucet unless you are two and a half feet tall…which I am not…and neither is Dane. Hopefully Roman won’t complain…he’s always finding something to complain about.
Now that everything is clean and sparkly, it’s time to put it all back together. First, put the screen back into its proper place.
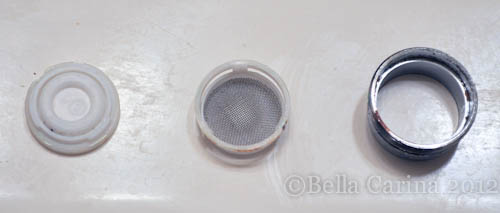 Then, put the two plastic pieces together.
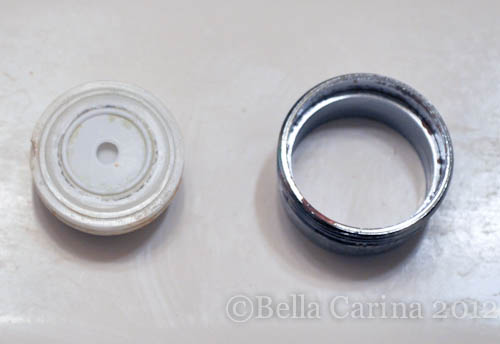 Now, put the plastic piece back into the metal piece where it belongs.
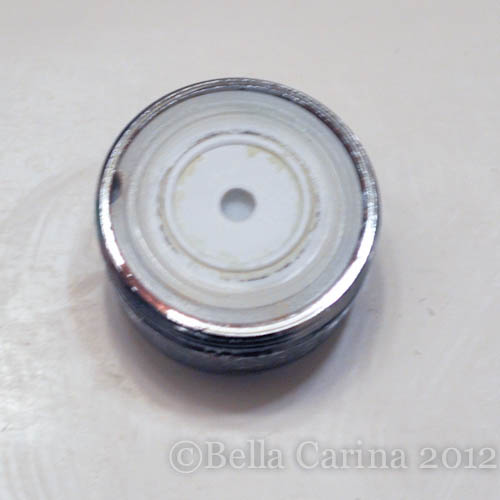 Now, screw ‘er back on the faucet.
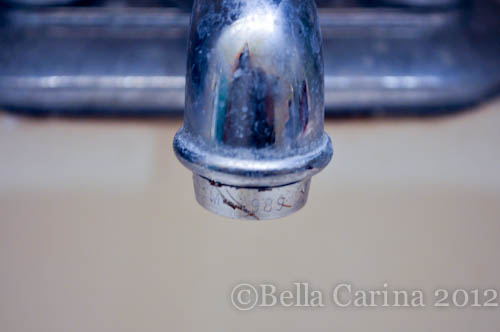 Give ‘er a good test run. Now it’s spraying straight! Well, slightly to the left, but not spraying my pants, so I say I win!
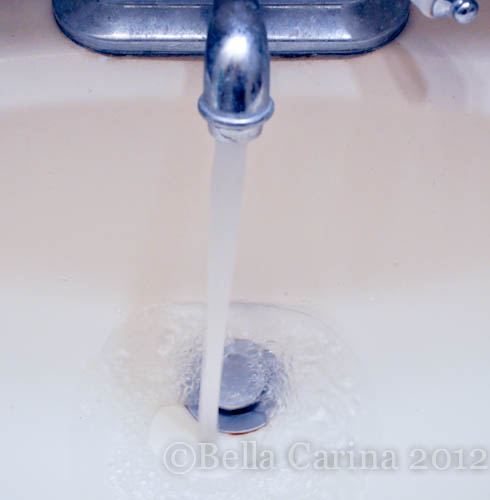 Please ignore the spots on the rest of the faucet…we have hard water, ya know.
Guess it’s about time for me to clean the rest of my sink, huh? 😉

thanks for the tips! I just finished lime-ing away my shower head!! It looks so fresh and so clean! =)
Nice!
Pingback: Removing Hard Water Stains With White Vinegar | Bella Carina