I love the look of paper lined envelopes, but I’m not too keen on the price. Or that they don’t come in the exact color that I’m looking for when I’m looking for it. I had some cards to send out (more on that later) and I really wanted to add a special detail touch. I decided to figure out this whole paper lined envelope thing on my own!
 Part of my inspiration for these envelopes came from looking through oodles of invitation websites and wondering in my crazy DIY mind if it is something that I could actually do myself. When it comes to this wedding, anything that I can do myself equals more money going to other things that I care about more. So, we can call this a little run-through to see if DIYing 100 plus paper lined envelopes is really a possibility.
So, here’s what you’ll need to do this project:
- envelopes
- paper, to line said envelopes
- paper cutter
- scissors
- scrap piece of card stock to make template
- pen
- glue stick
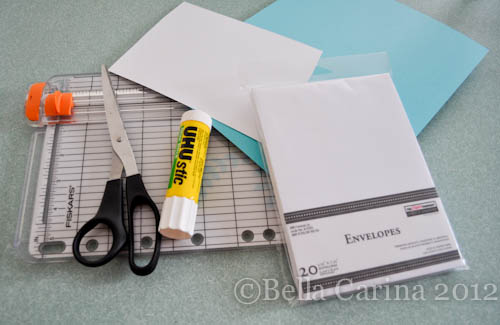 Talking about envelopes reminds me of what my sister used to call them when we were little; ol-lo-lopes. Haha It’s always the funniest things that you remember from your childhood isn’t it?
These envelopes (it is a tricky word to say, if you think about it) were actually not that easy to find. I also did not want to purchase 8,000 of them, so places like Office Depot were out. I ended up finding these at Jo-Ann on sale for under $4.
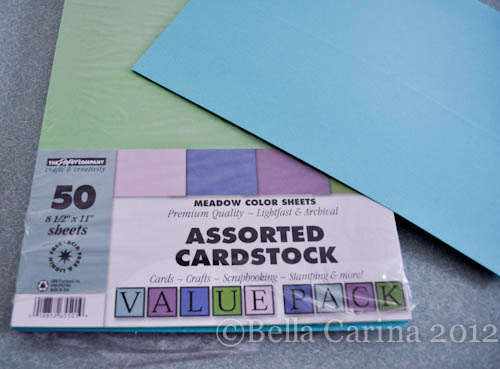
 We already had this paper lying around in the office and since it had a shade of teal that I liked I figured it would work well. (Note: in retrospect, I think that using card stock was not the best idea. Something thinner, maybe even wrapping paper, probably would have been easier to work with, but I digress.)
 The first thing that you’ll want to do is trace out the envelope onto a piece of card stock and cut it out. I used my paper cutter for any straight cuts. Then, you’ll want to shave it down just a tad on the edges. I just eyeballed this part. For the top, put the piece of card stock in the envelope and make sure that the paper lining will be below the adhesive strip and cut it accordingly on your card stock. (Sorry there are no pictures of this step…hopefully you can figure it out. It will make more sense in the following steps.)
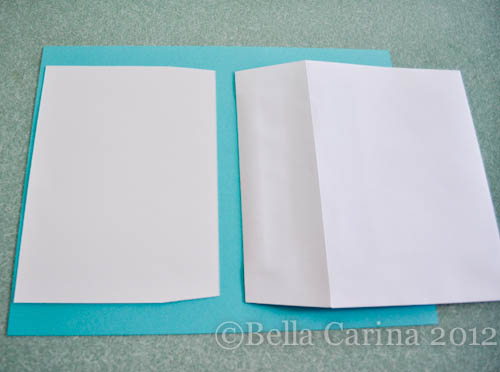 Now, we want to cut out the card stock to match our template. I decided that to conserve paper, I would cut my card stock in half first.
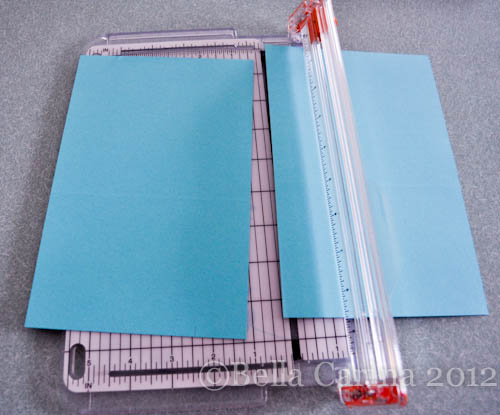 This made it so that my paper lining did not go all the way to the bottom of the envelope, but I was ok with that.
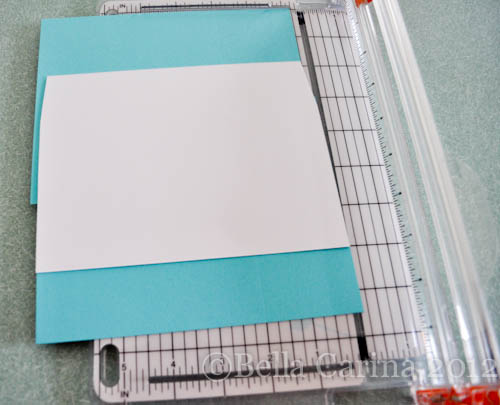
Next, use your template as a guide to cut the paper lining to the proper width. I was able to cut two at a time with no problem.
 Now, use scissors to cut the angled part. On the style of envelope I was using this wasn’t very dramatic, but it is an important step.
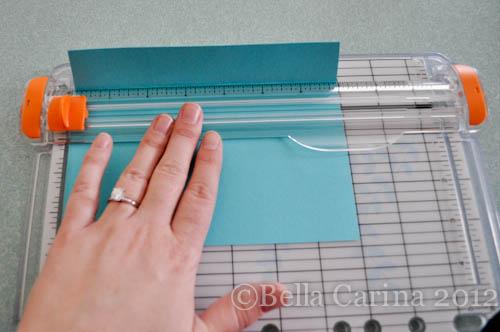
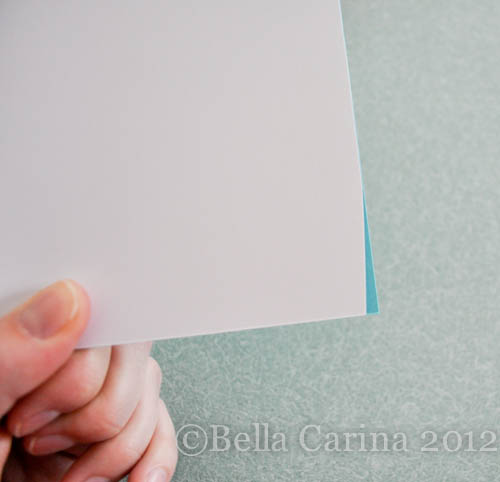 Next, pre-fold the liner right where the angled cut begins. I used my paper cutter as a guide to make the fold straight. The lines on the paper cutter also aid in this. (I obviously used two hands for this, but it’s kinda tricky to take pictures without using a hand. ;))
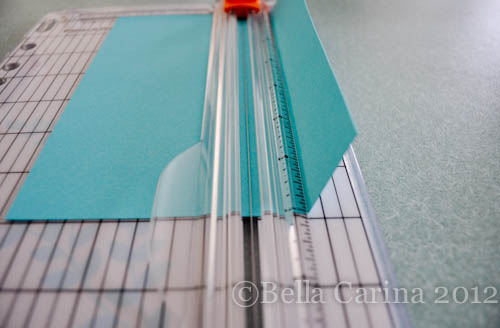 Make sure it is folded well. Then insert the liner into your envelope and line it up where you want it.
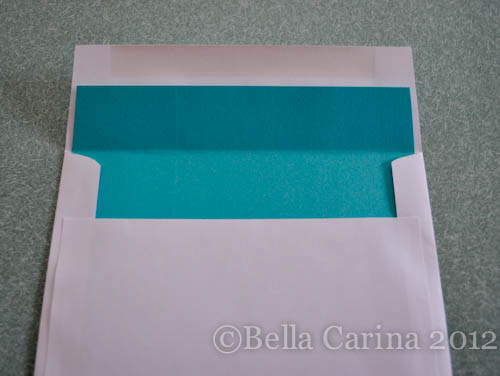 Now, apply glue to the back of the paper liner that will attach to the flap. I made sure to get a good amount on there without having chunks of glue and took it all the way to the edge.
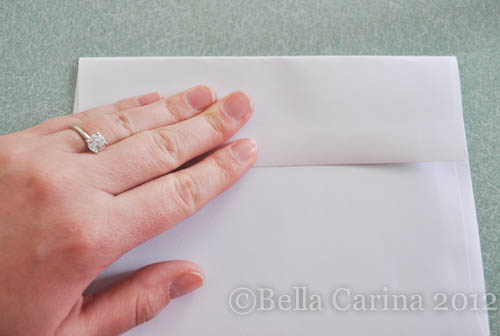
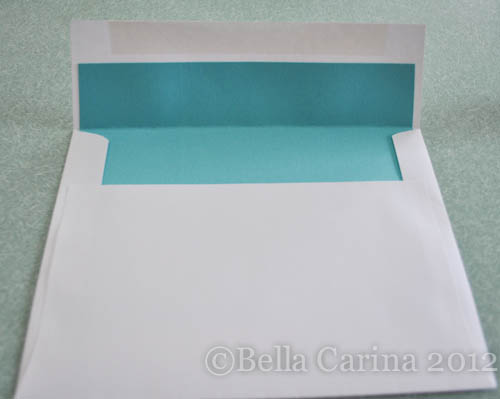
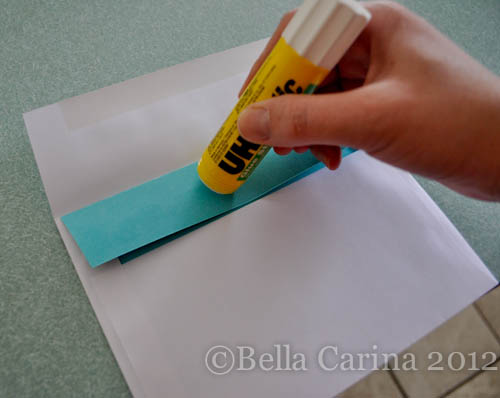 Make sure the paper is lined up properly and then fold the flap over and press down well.
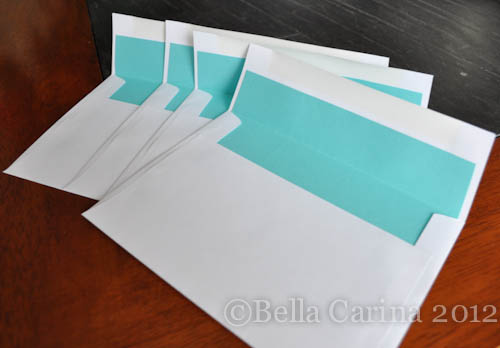 They just give your card a little something extra.
Now, I’m not gonna lie…this took a long time. I could see getting into a rhythm after a while and getting things moving faster (and maybe with some friends), but I’m not sure if this is something I want to do for my invites. We’ll see how much free time I still have when that process rolls around. 😉
But, overall, I think that for birthday cards or cards that you aren’t sending out in bulk, this little project is easy and makes the person receiving your card feel a little more special. 

I love the envelopes… but can’t stop admiring your ring <3 xo
<3 xo
Pingback: DIY “Will You Be My Bridesmaid?” Cards | Bella Carina