 I thought I’d start the 12 Days of Cookies & Candies off with a bang…the always delicious Peanut Butter Blossom Cookies! For the record, I have always loved these cookies, but never knew what they were called. At our party we called them Thumbprint cookies, but apparently the “official” name is Peanut Butter Blossoms. Honestly, I don’t care what you call them because these are freaking delicious! Anything with an entire Hershey’s kiss on top is good in my book.
When I was back in California with my besties Jenna and Cara, we got the cookie party started off right with these guys. The recipe we used was from here.
Ingredients:
- 1/2 cup shortening (we used butter flavored Crisco sticks)
- 1/2 cup peanut butter
- 1/2 cup firmly packed brown sugar
- 1/2 cup white sugar
- 1 large egg
- 2 tablespoons milk
- 1 teaspoon vanilla extract
- 1 3/4 cups flour
- 1 teaspoon baking soda
- 1/2 teaspoon salt
- about 1 cup white sugar (to roll the cookies in)
- 1 bag of Hershey’s kisses, unwrapped
 Oh, and if you really want to get into the holiday spirit, don’t forget the champagne!
 Or egg nog, or wine, or beer…whatever floats your boat.
Be sure to preheat your oven to 375 degrees. Then, in a stand up mixer, cream the crisco, peanut butter, brown sugar, and 1/2 cup of white sugar. Here’s us gettin’ started with the crisco and peanut butter.
 Next, add the egg, milk, and vanilla extract. Don’t forget to “stub your toe on the vanilla” as Jenna’s grandma always used to say. 😉 Beat all these ingredients together well.
 Next, we used Cara’s super awesome measuring cups to measure out the the dry ingredients into a separate bowl. Here’s a little demo of the cups.
Step one:
 I know…I was pretty amazed as well! The cool thing about these measuring cups is that they are great space savers and can slip into any drawer.
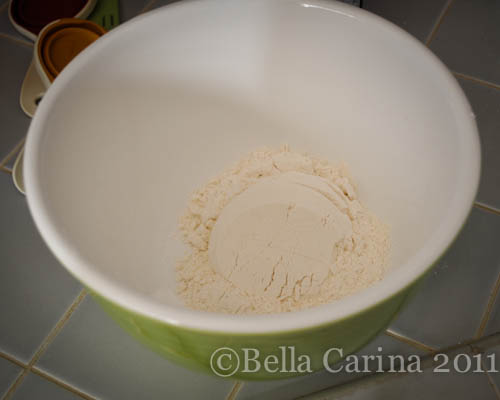
So anyway, back to the dry ingredients…flour, baking soda, and salt all into the bowl. Mix.
 Add the dry ingredients to the mixer and mix on low until the dough becomes stiff.
 When the dough was mixed, we scooped it into another bowl (we needed the mixer to get the next round of cookies goin’) and popped it into the fridge for a bit for the dough to stiffen up a little.
Meanwhile, pour some white sugar onto a plate.
 Did anyone else immediately get that “pour some sugar on me” song in their head? No? ok, just me then.
Behold…plate o’ sugar. Doesn’t Cara have the most beautiful plates? They’re from Italy. 
 When your cookie dough is ready, it’s time to roll some balls! That sounded bad…it’s not.
Roll balls of dough (approximately 1 inch each) and then roll in the white sugar and place on the baking sheet.

 Bake the cookies in the preheated oven for 10-12 minutes until they are golden brown. While the cookies bake, unwrap the kisses. You’ll probably need some help with this to get them all unwrapped in time…and try not to eat too many!
 As soon as the cookies are done baking, take them out of the oven and push one kiss into the center of each cookie. You want to make sure you do this when the cookies are still warm.
Here they are on a pretty plate for the Cookie Party.
 I could probably eat a whole plate of these delectable delights!
So, there’s one cookie/candy recipe down and 11 more to go. Anyone else love these cookies? What does your family call them? I think I just always called them “those hershey kiss cookies.” haha


Those are some of my fave cookies. I cheated and bought store bought premixed and then put the kisses on right out of the oven.
Nice! Quick and easy!
~ Karen
Those look delicious!!!
Pingback: On the Second Day of Christmas…we made Snowballs! | Bella Carina
Pingback: On the Third Day of Christmas…we made Homemade Oreos! | Bella Carina
Pingback: On the Fifth Day of Christmas…I made Red & Green m&m Cookies! | Bella Carina
Pingback: On the Sixth Day of Christmas…I made Salted Caramels! | Bella Carina
Pingback: On the Seventh Day of Christmas…I made Chocolate Fudge! | Bella Carina
Pingback: On the Ninth Day of Christmas…we had a Sugar Cookie disaster! | Bella Carina
Pingback: On the Tenth Day of Christmas…I made Peppermint Meringues! | Bella Carina
Pingback: On the Eleventh Day of Christmas…I made Italian Pizzelles! | Bella Carina
Pingback: On the Twelfth Day of Christmas…we made Scandinavians! | Bella Carina